DIY Sound Insulated Door for Audio Booth: Home Voiceover Audiobooth Construction - Part 4
In my favorite design inspiration, they used an exterior weatherproof door for their closet vocal booth. If I had been able to build a taller booth I could have purchased a standard exterior door and used that. Unfortunately, the height of my booth was limited by the closet space my booth sits in. I would have had to special order an exterior door and this would have affected the overall budget by hundreds of dollars. I decided to follow another DIY recommendation to create a layered door.
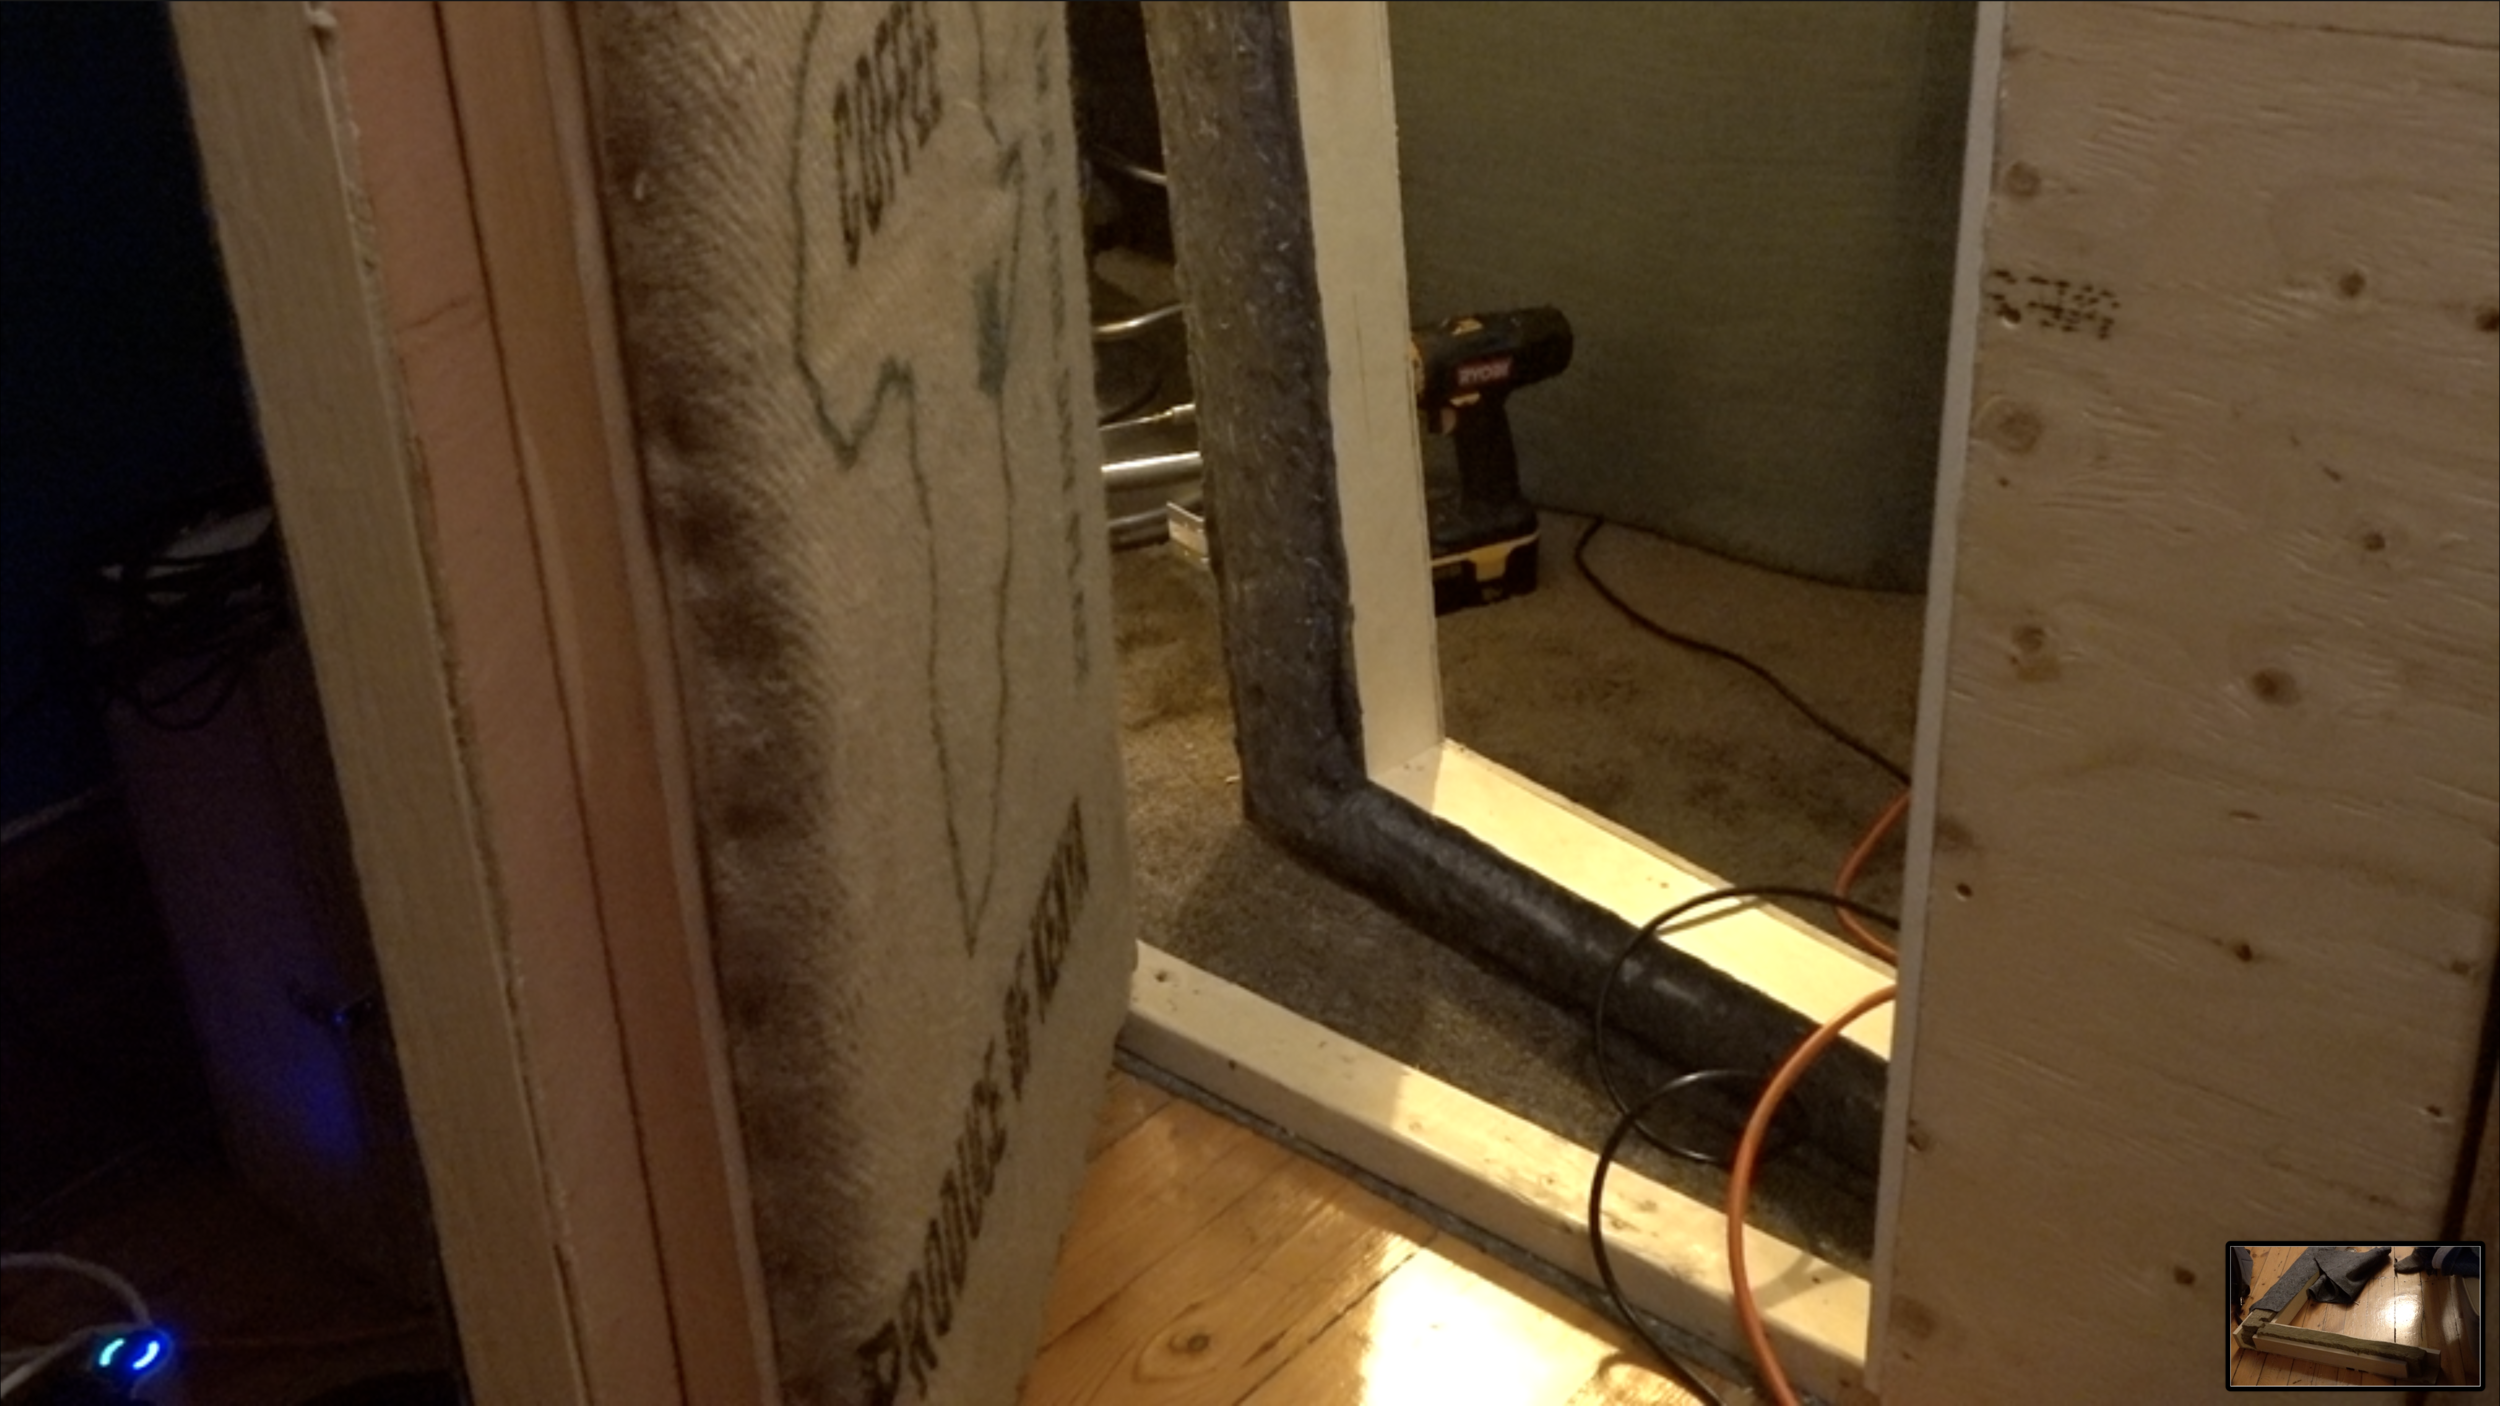
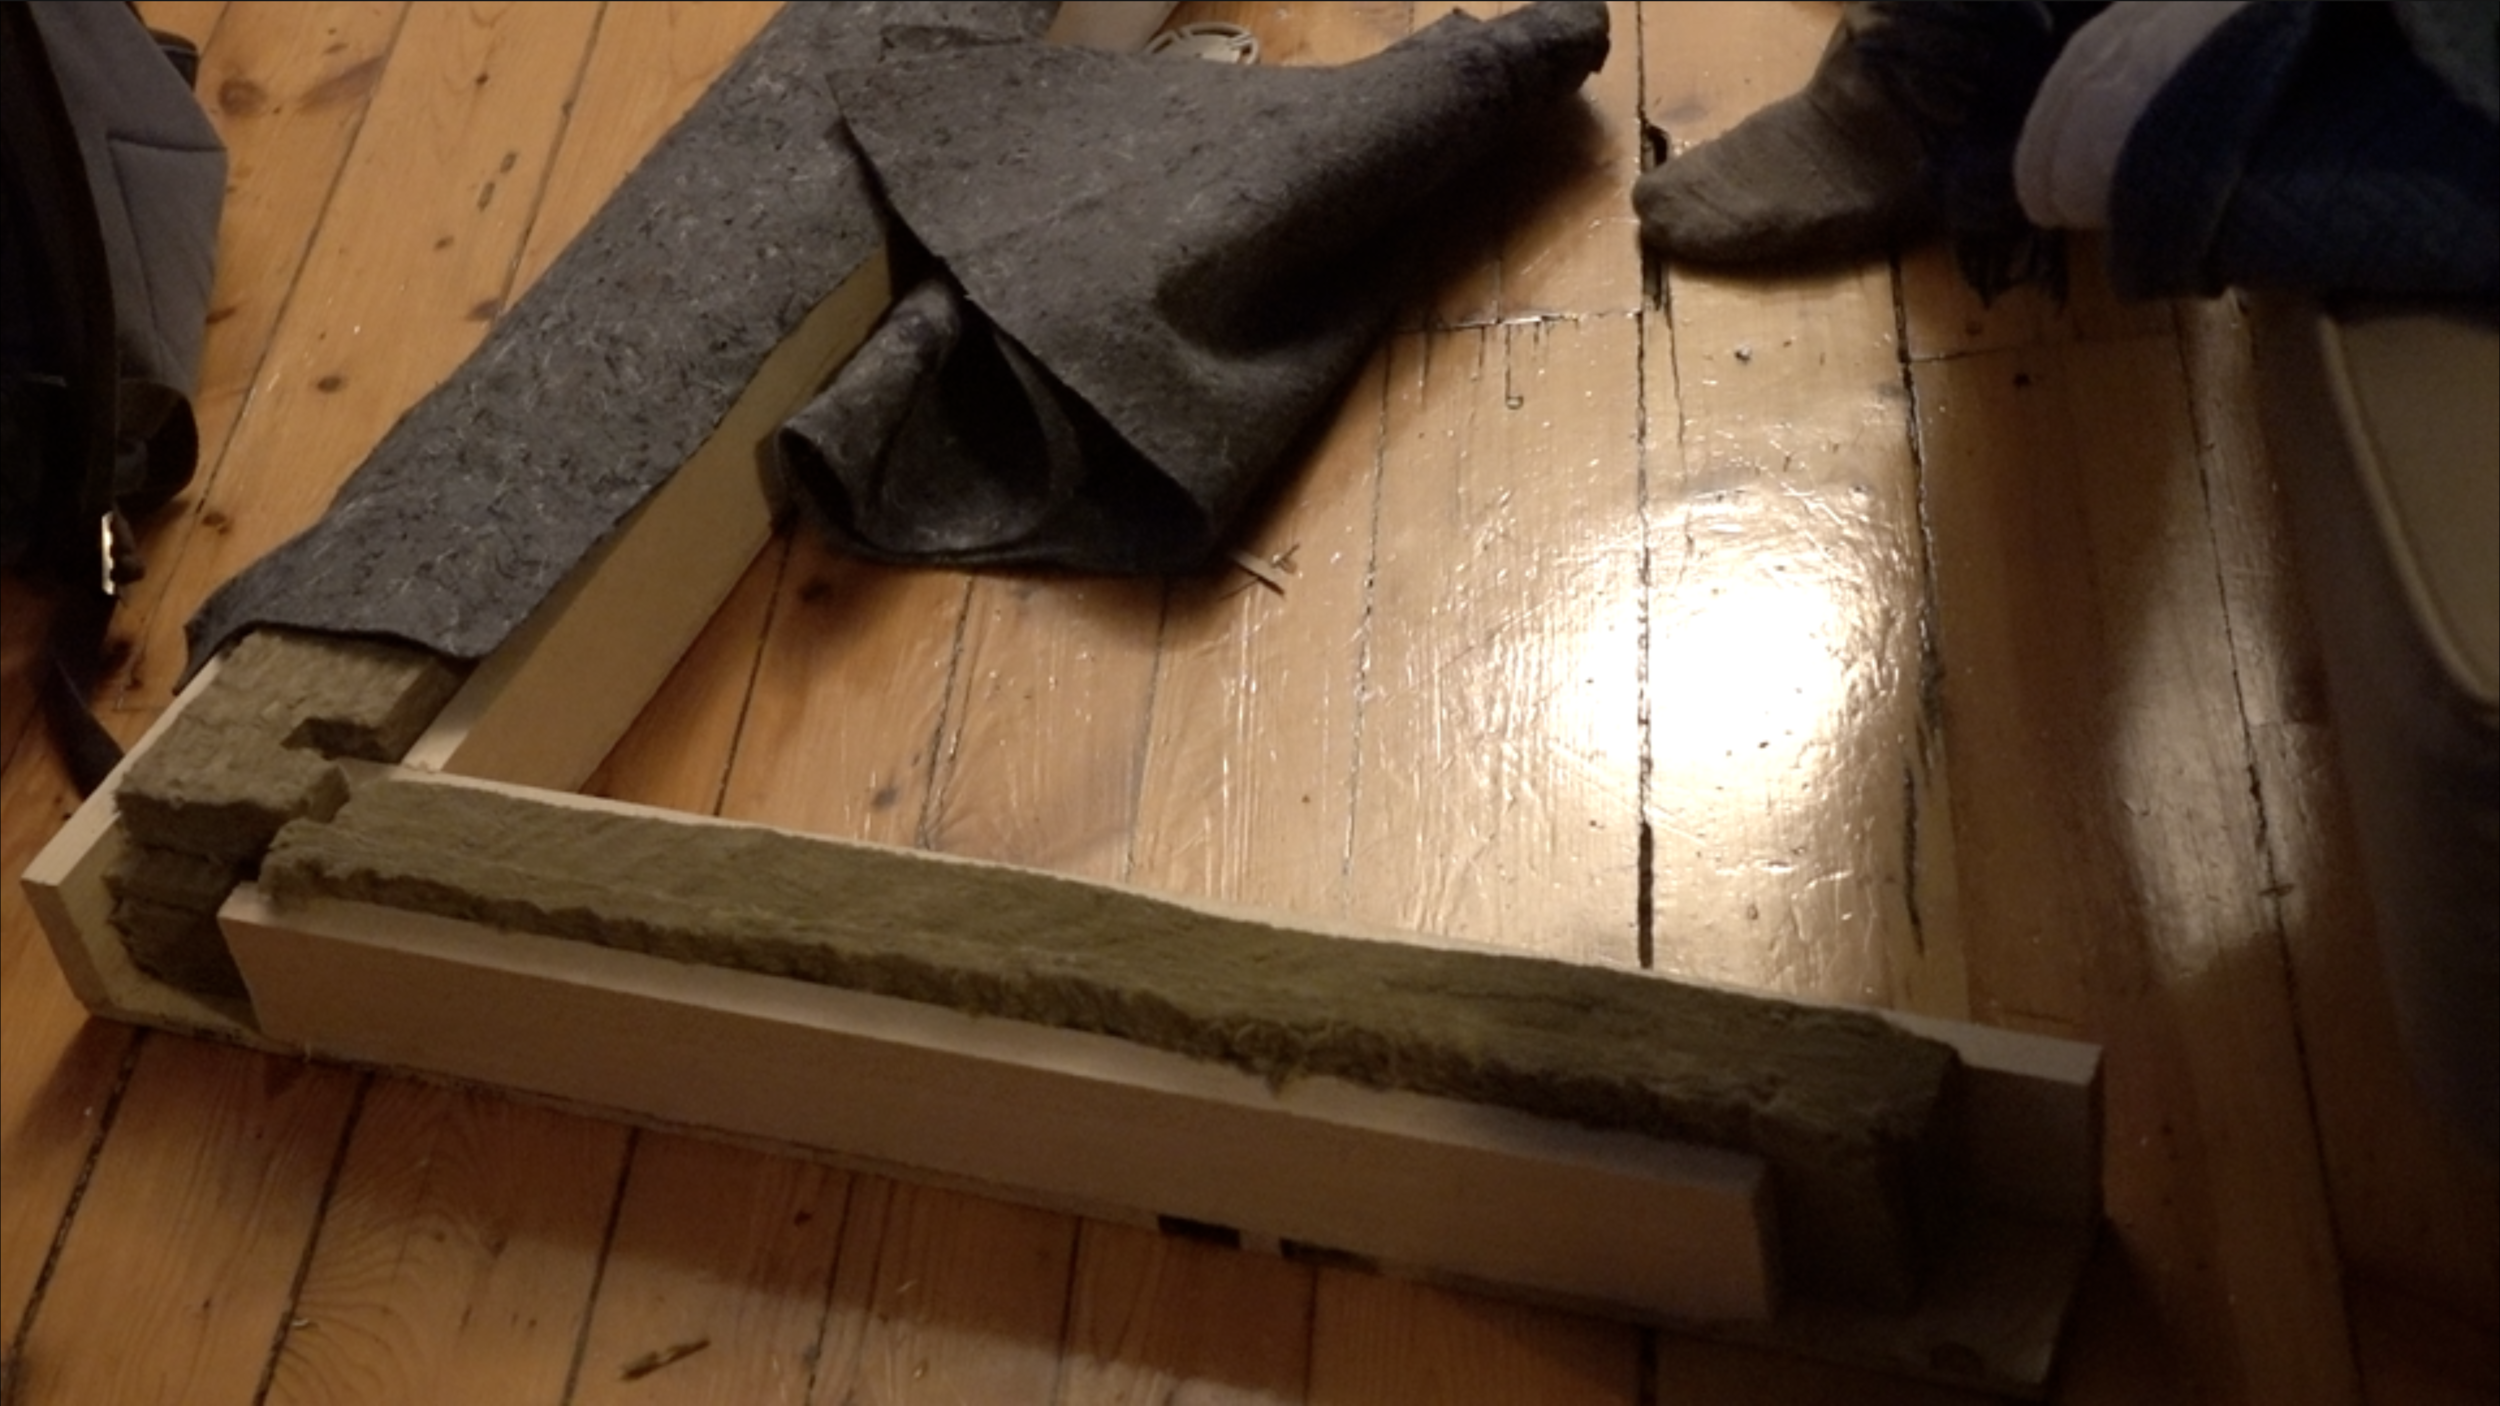
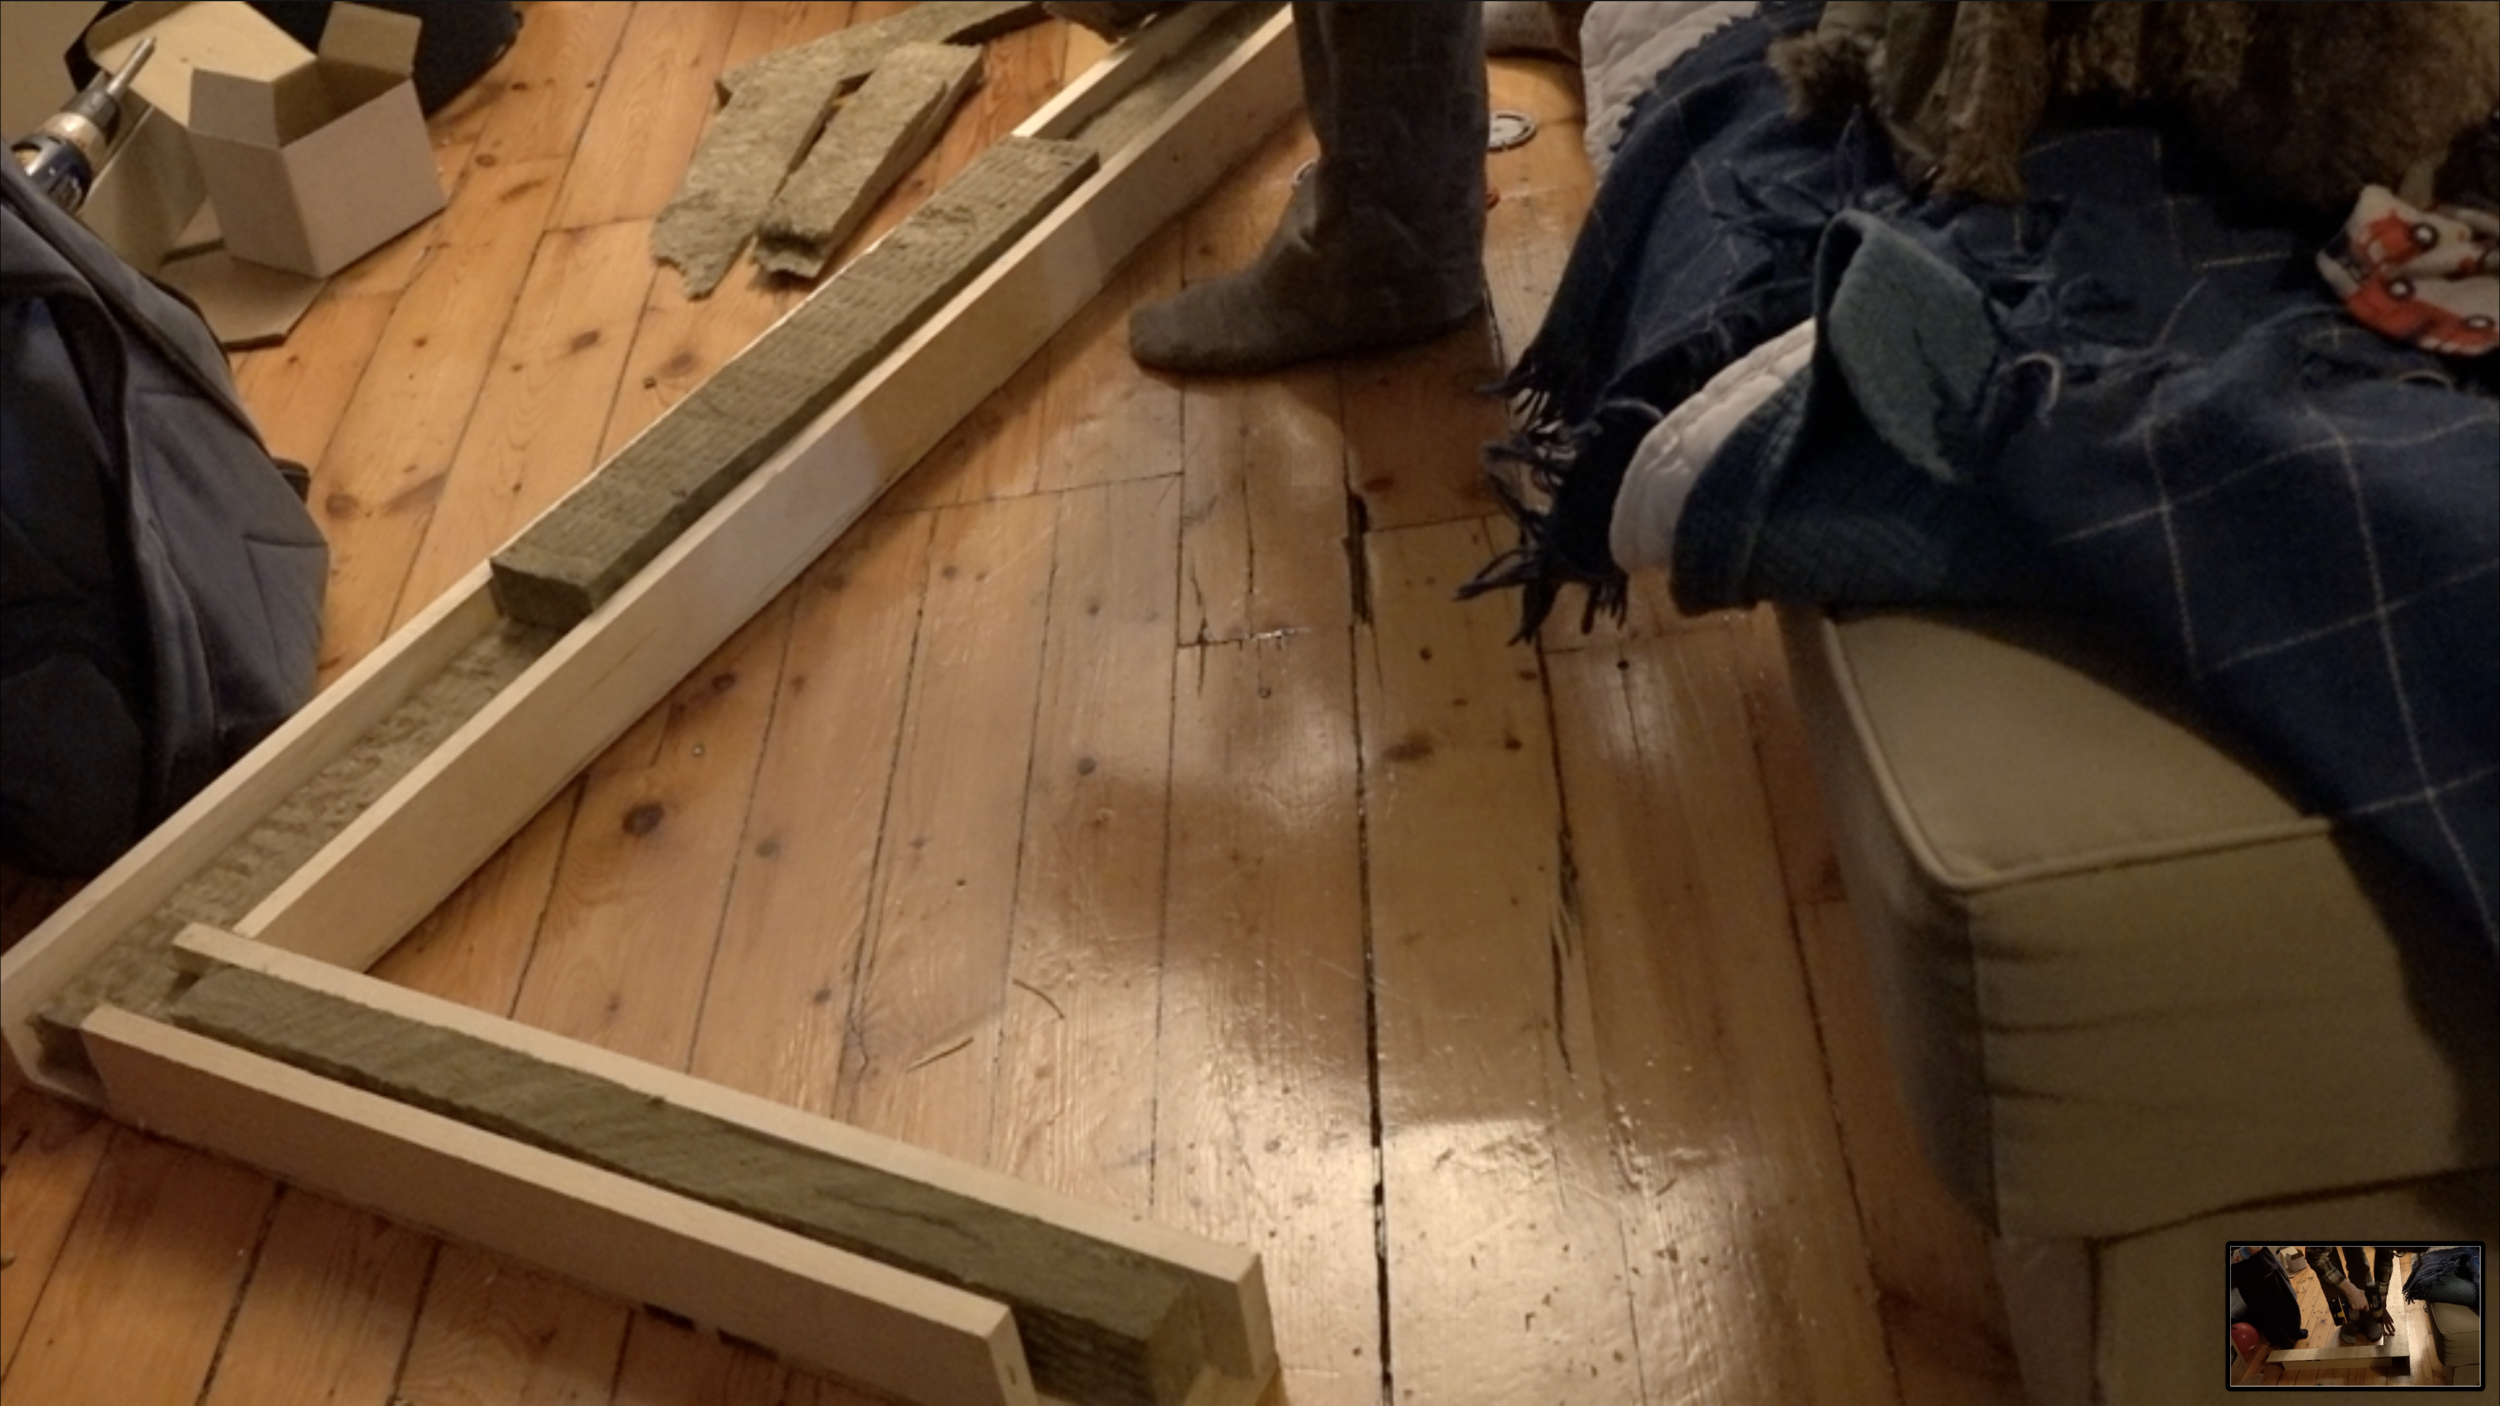
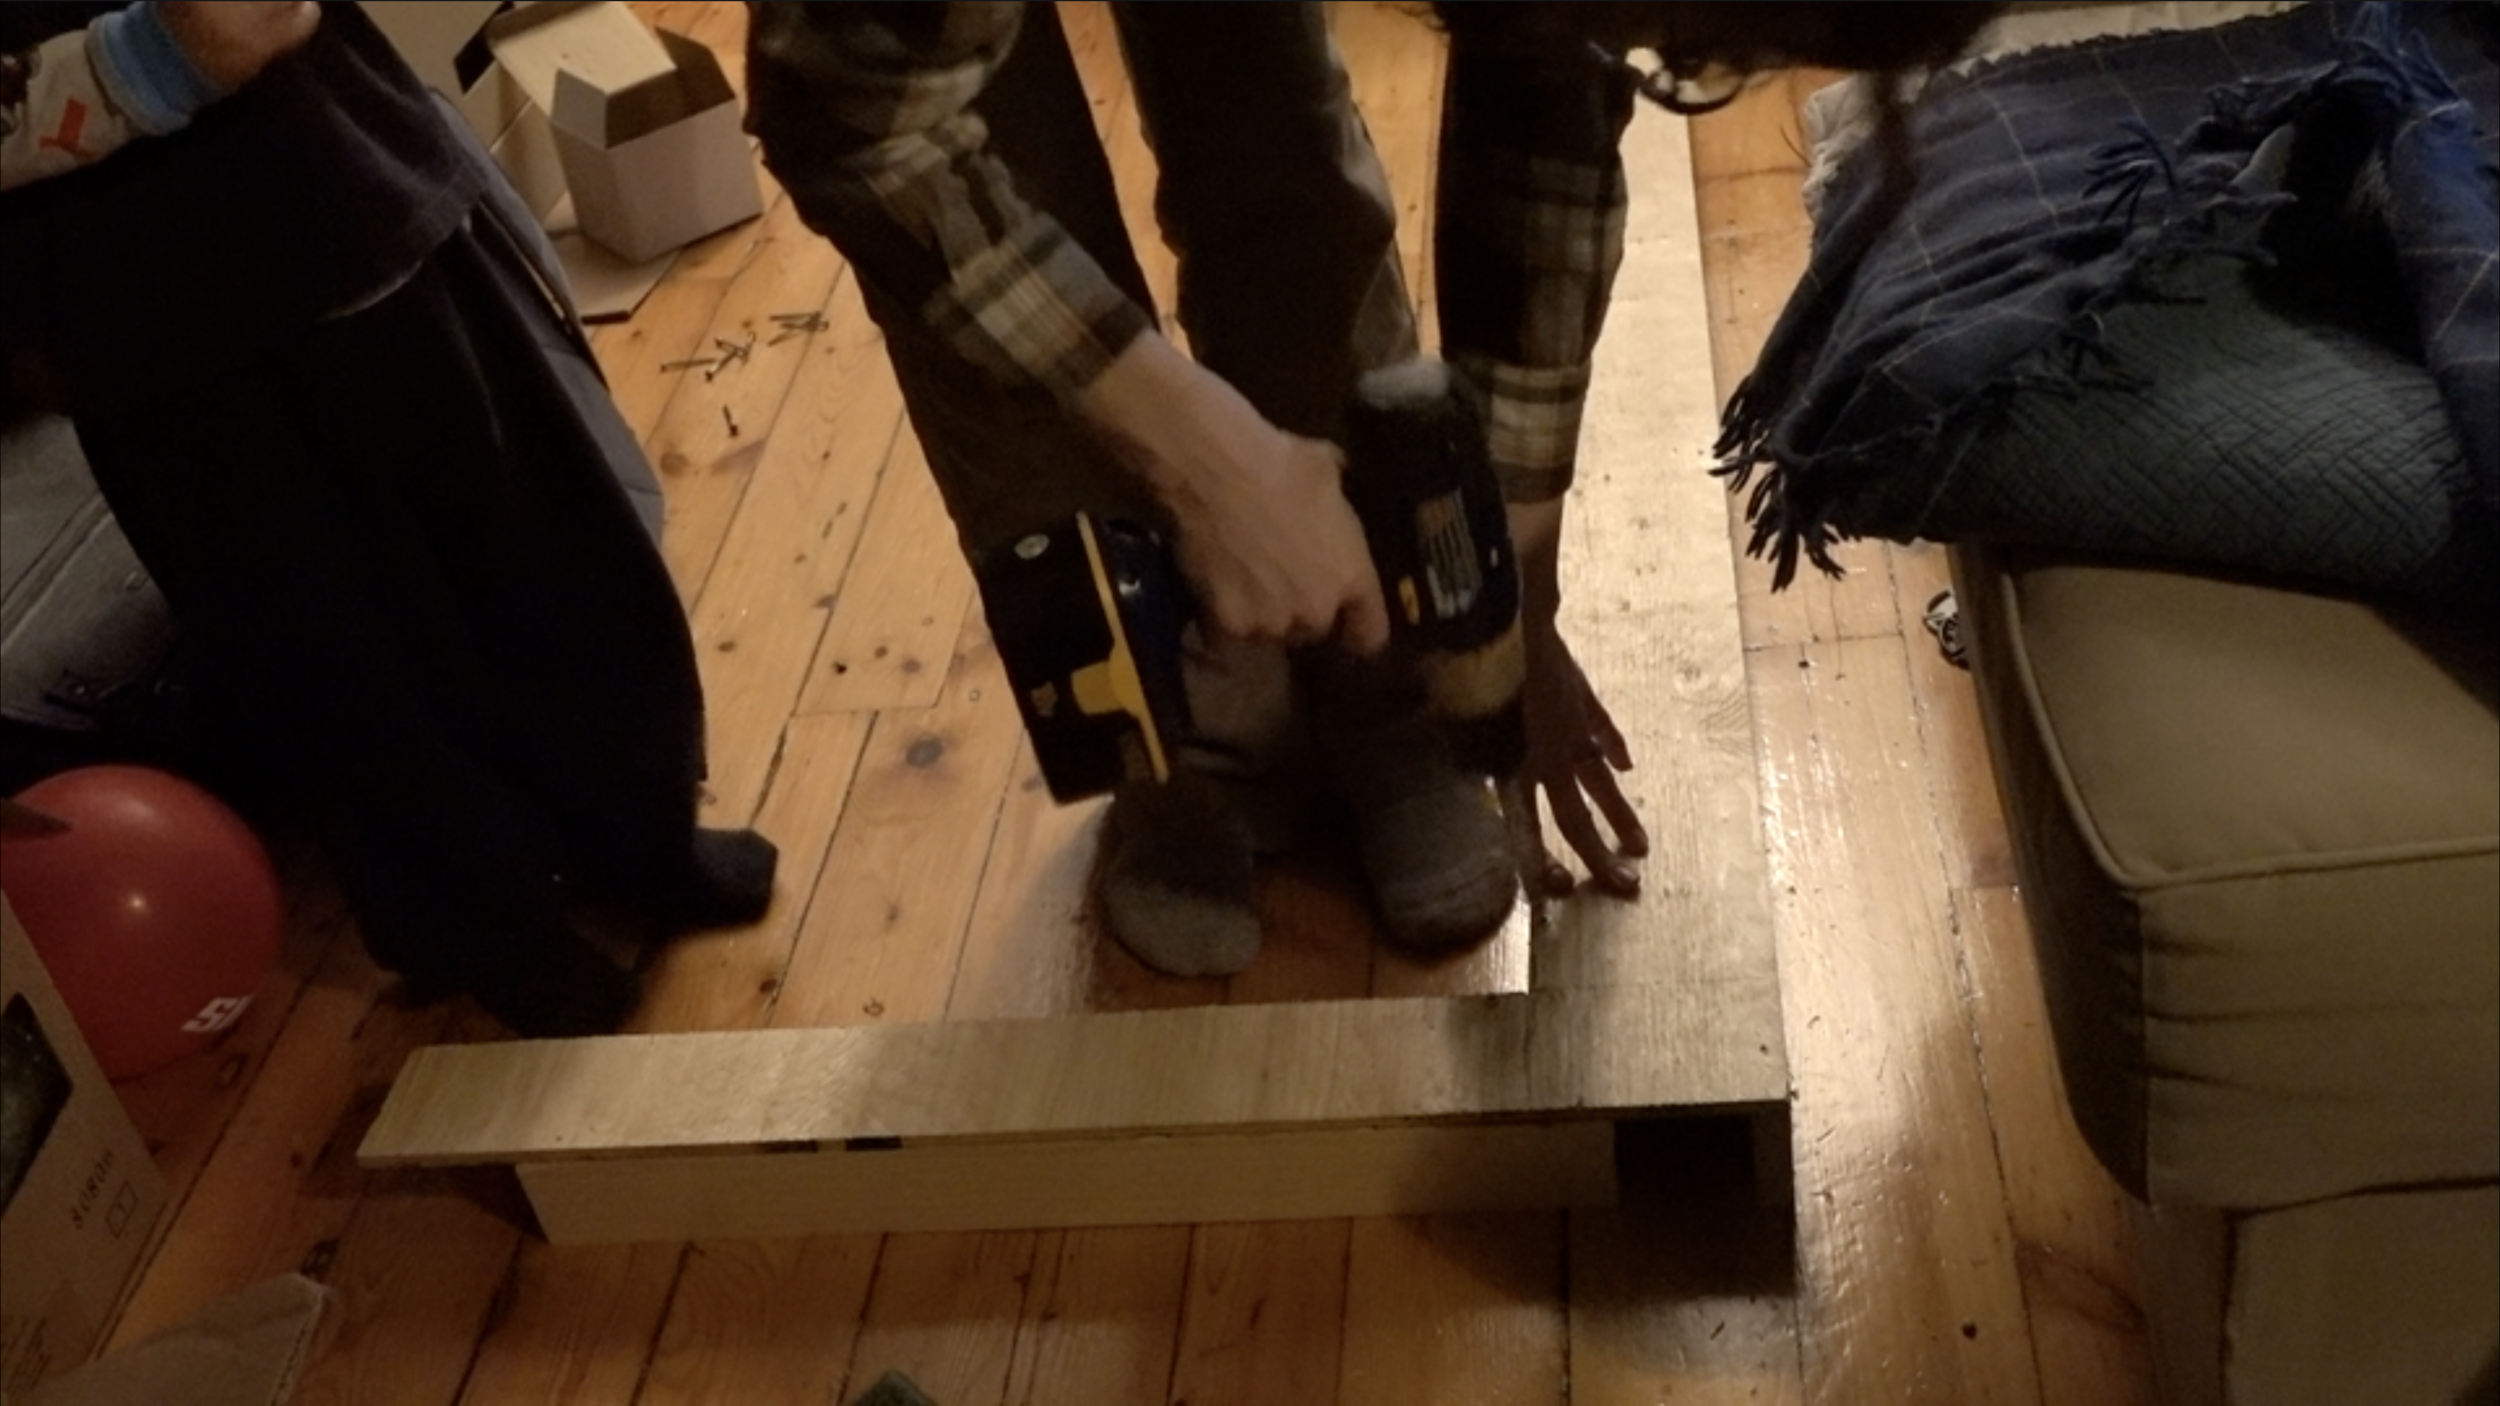
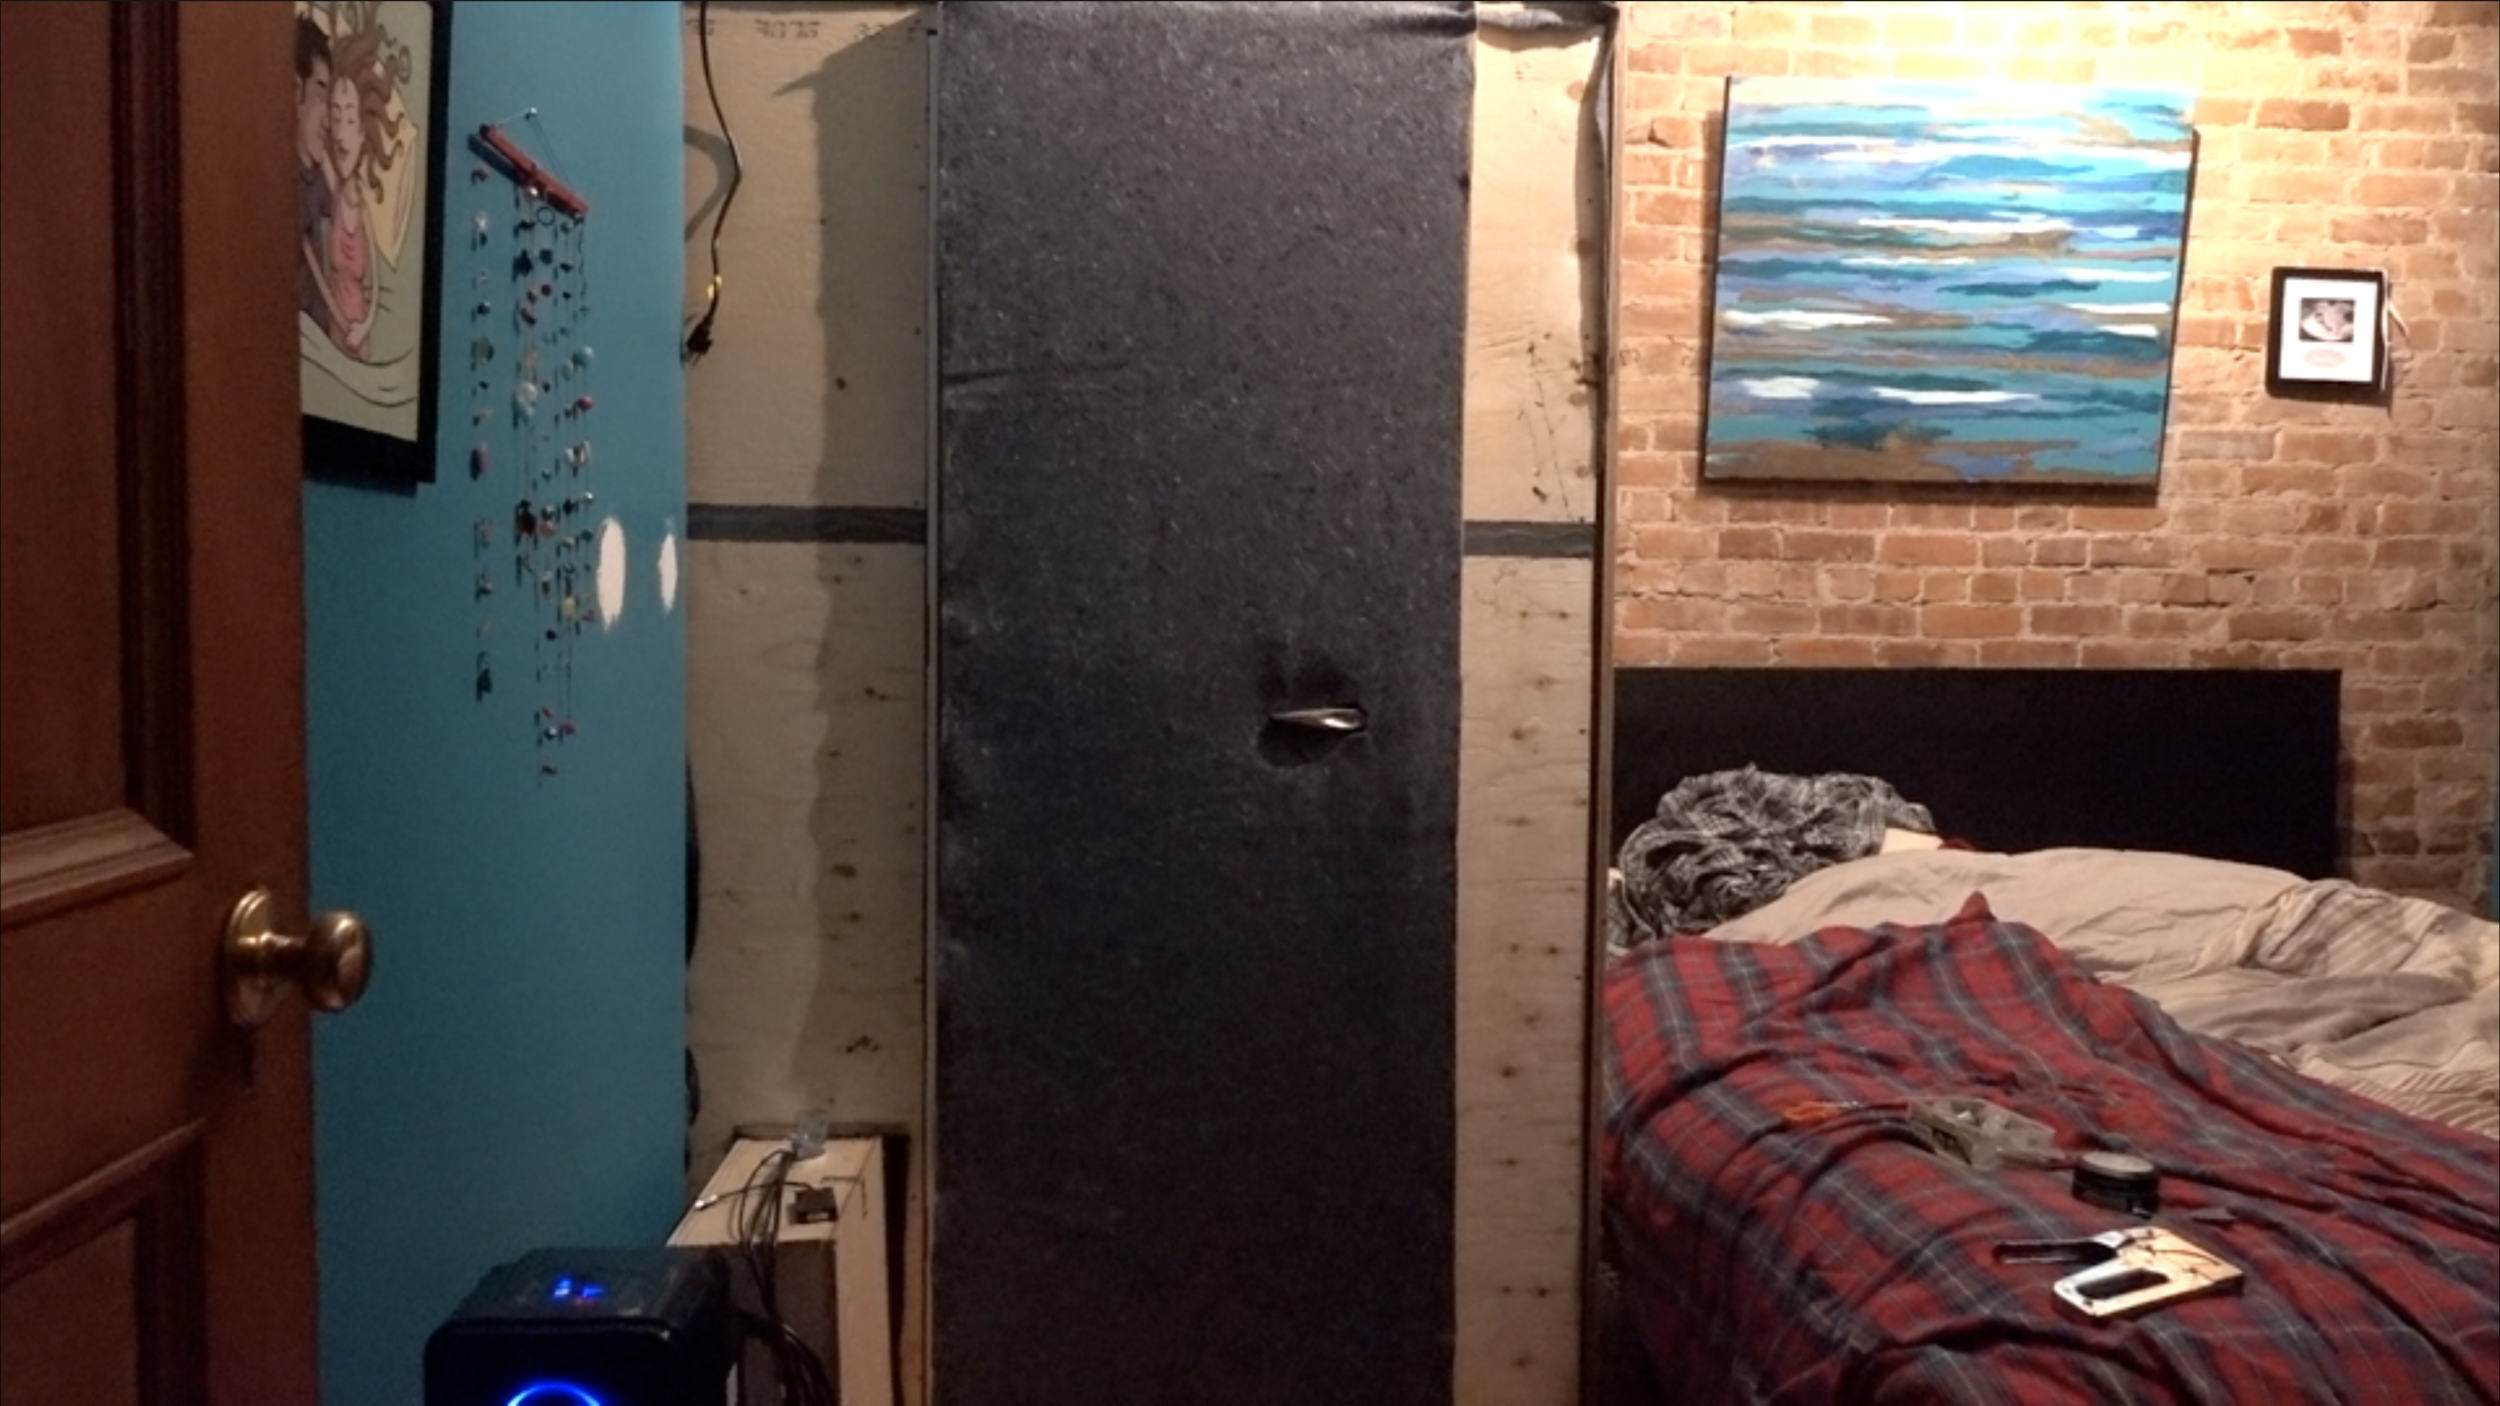
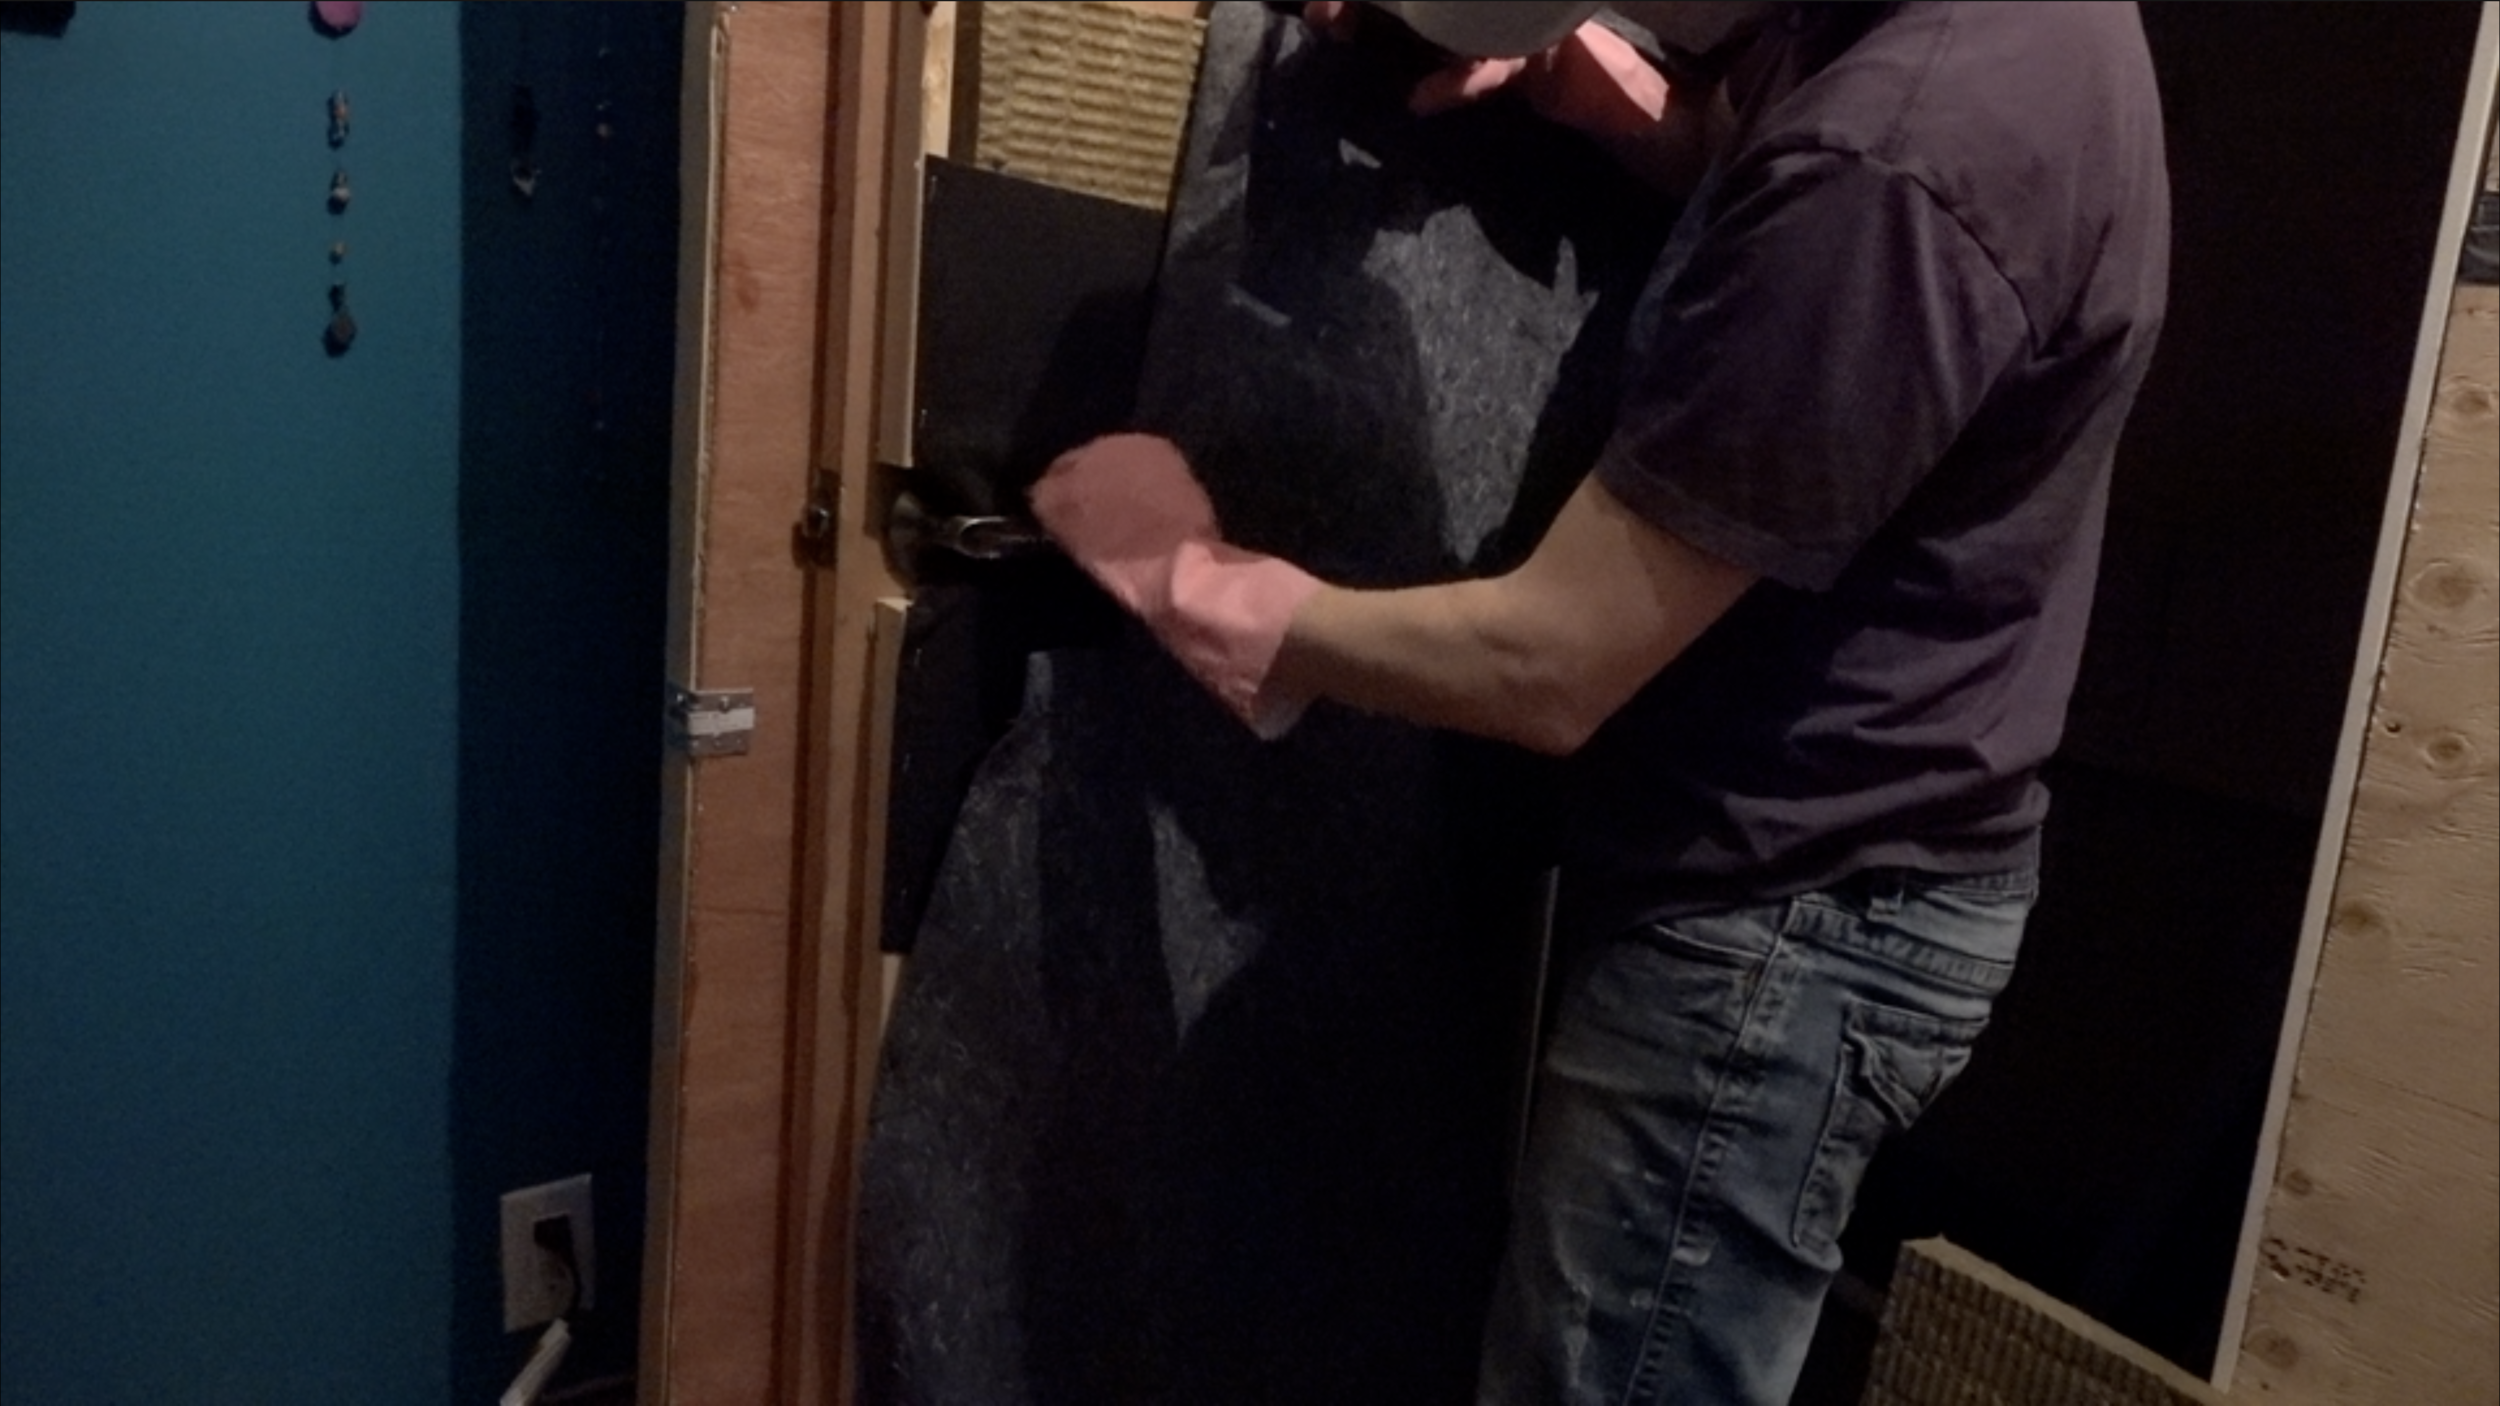
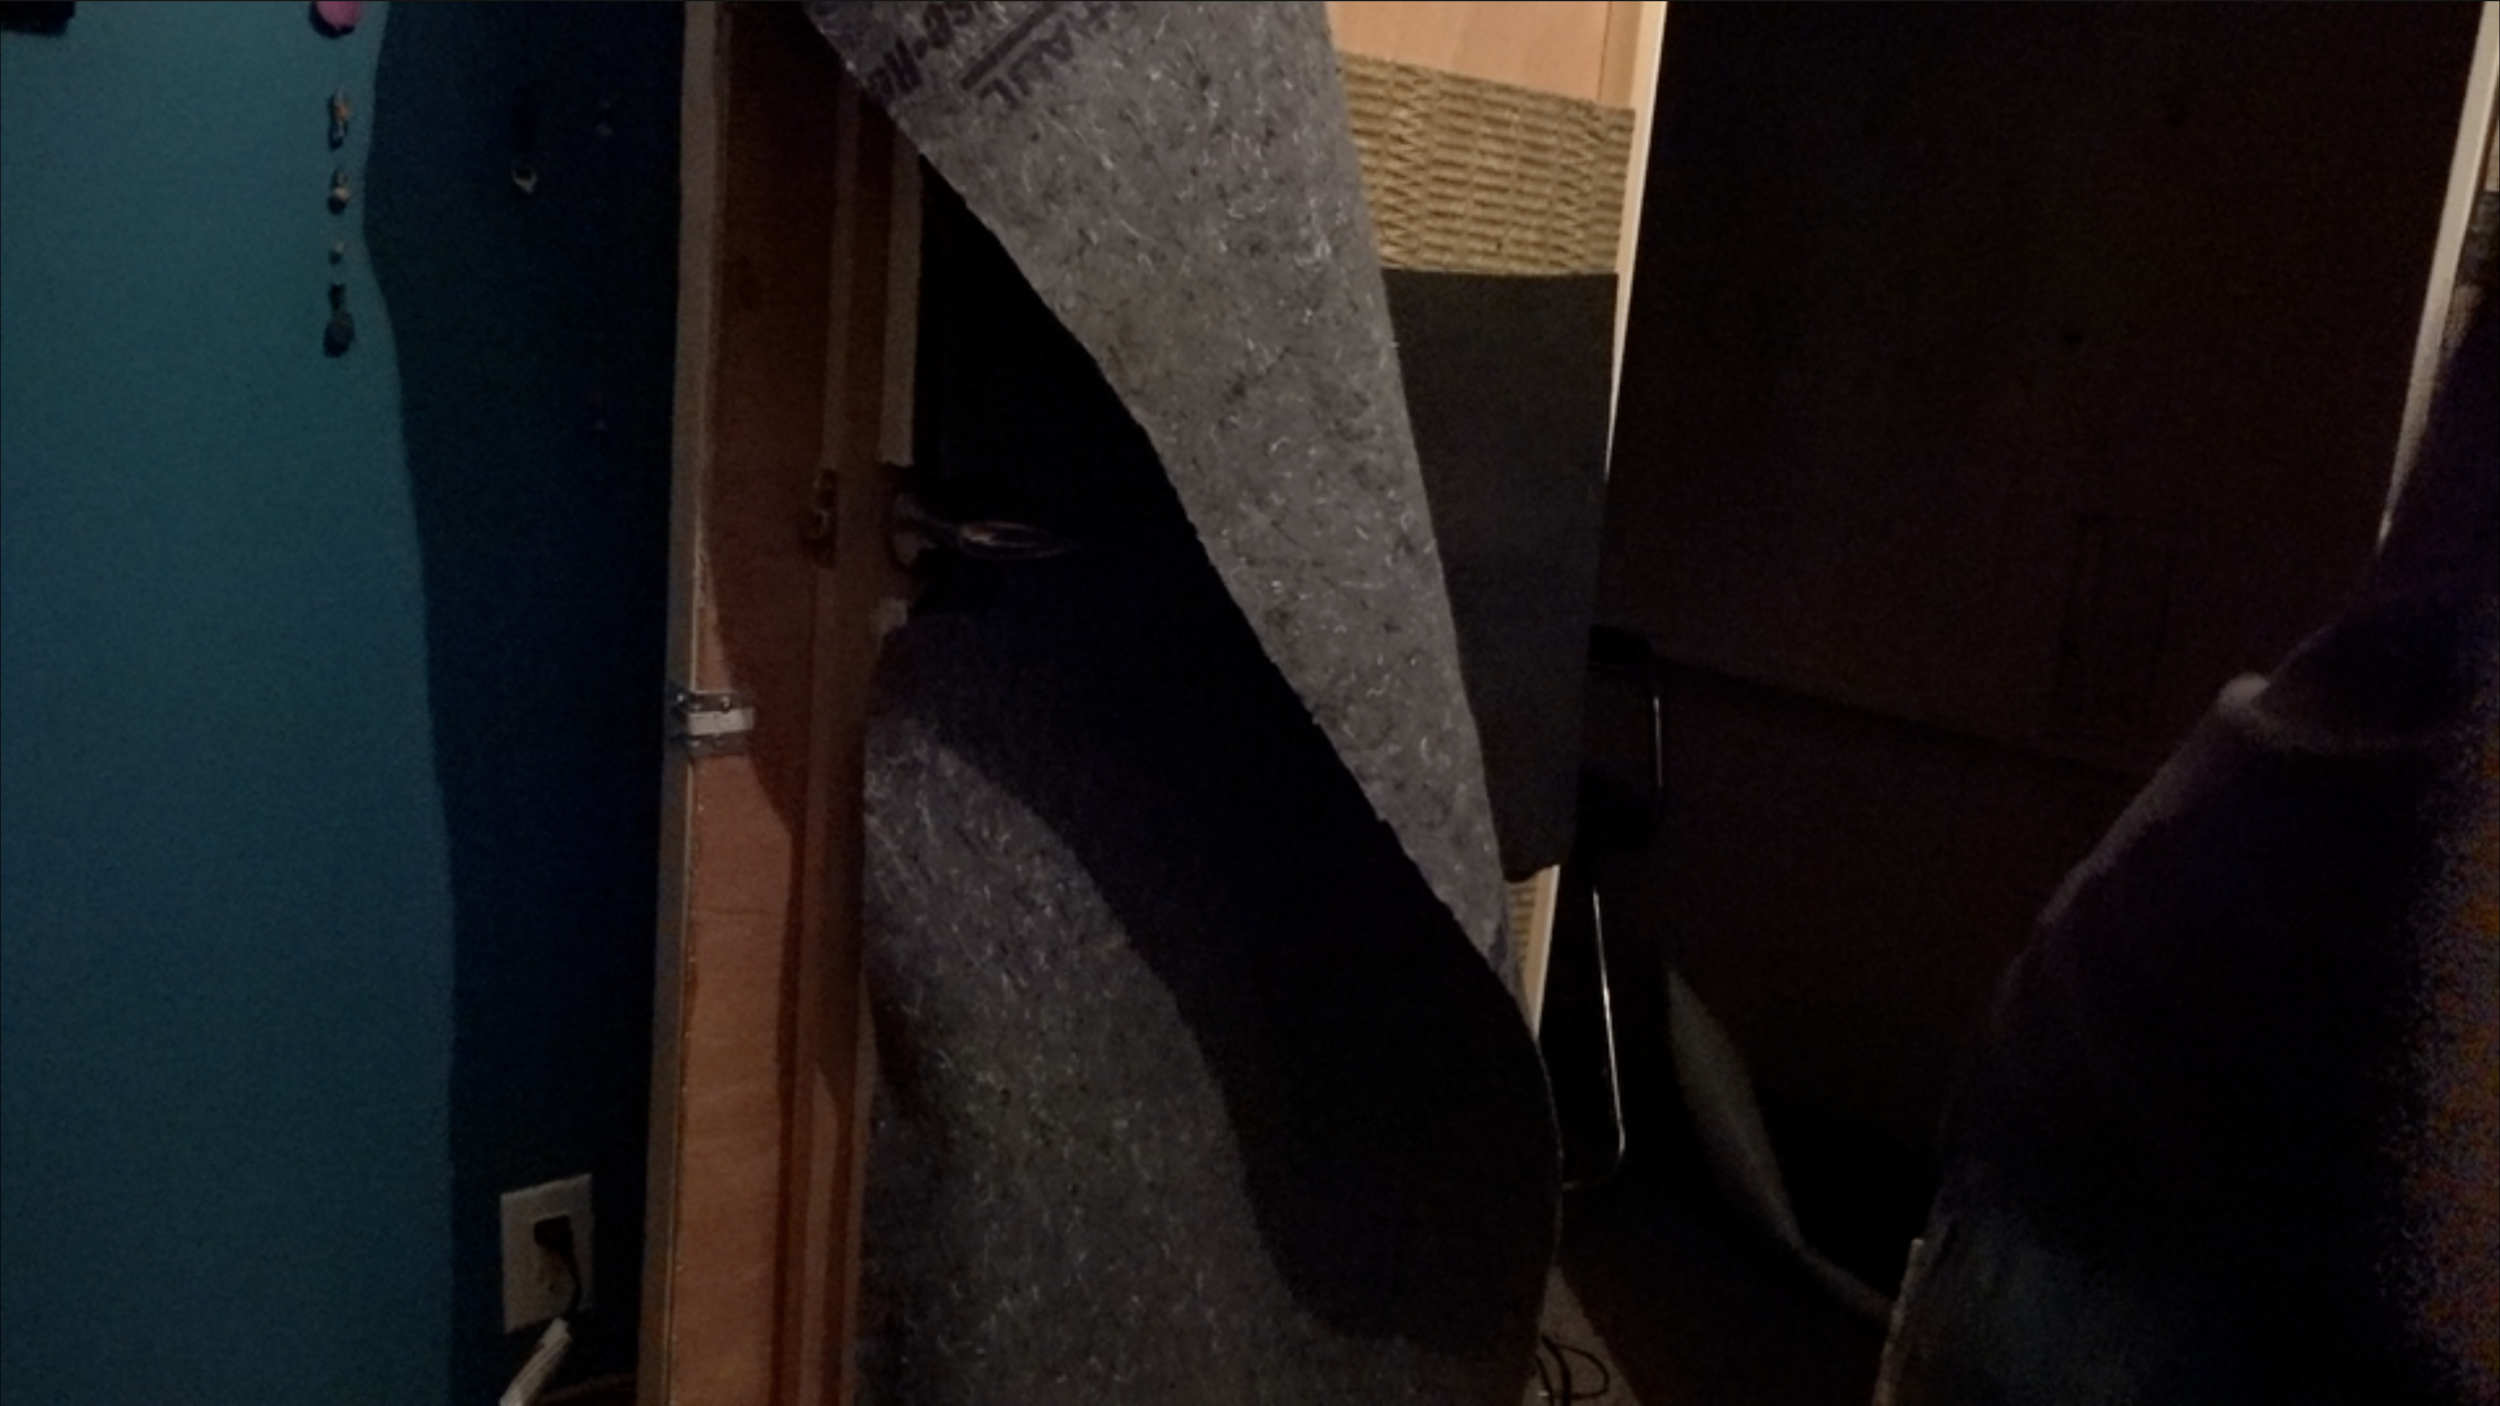
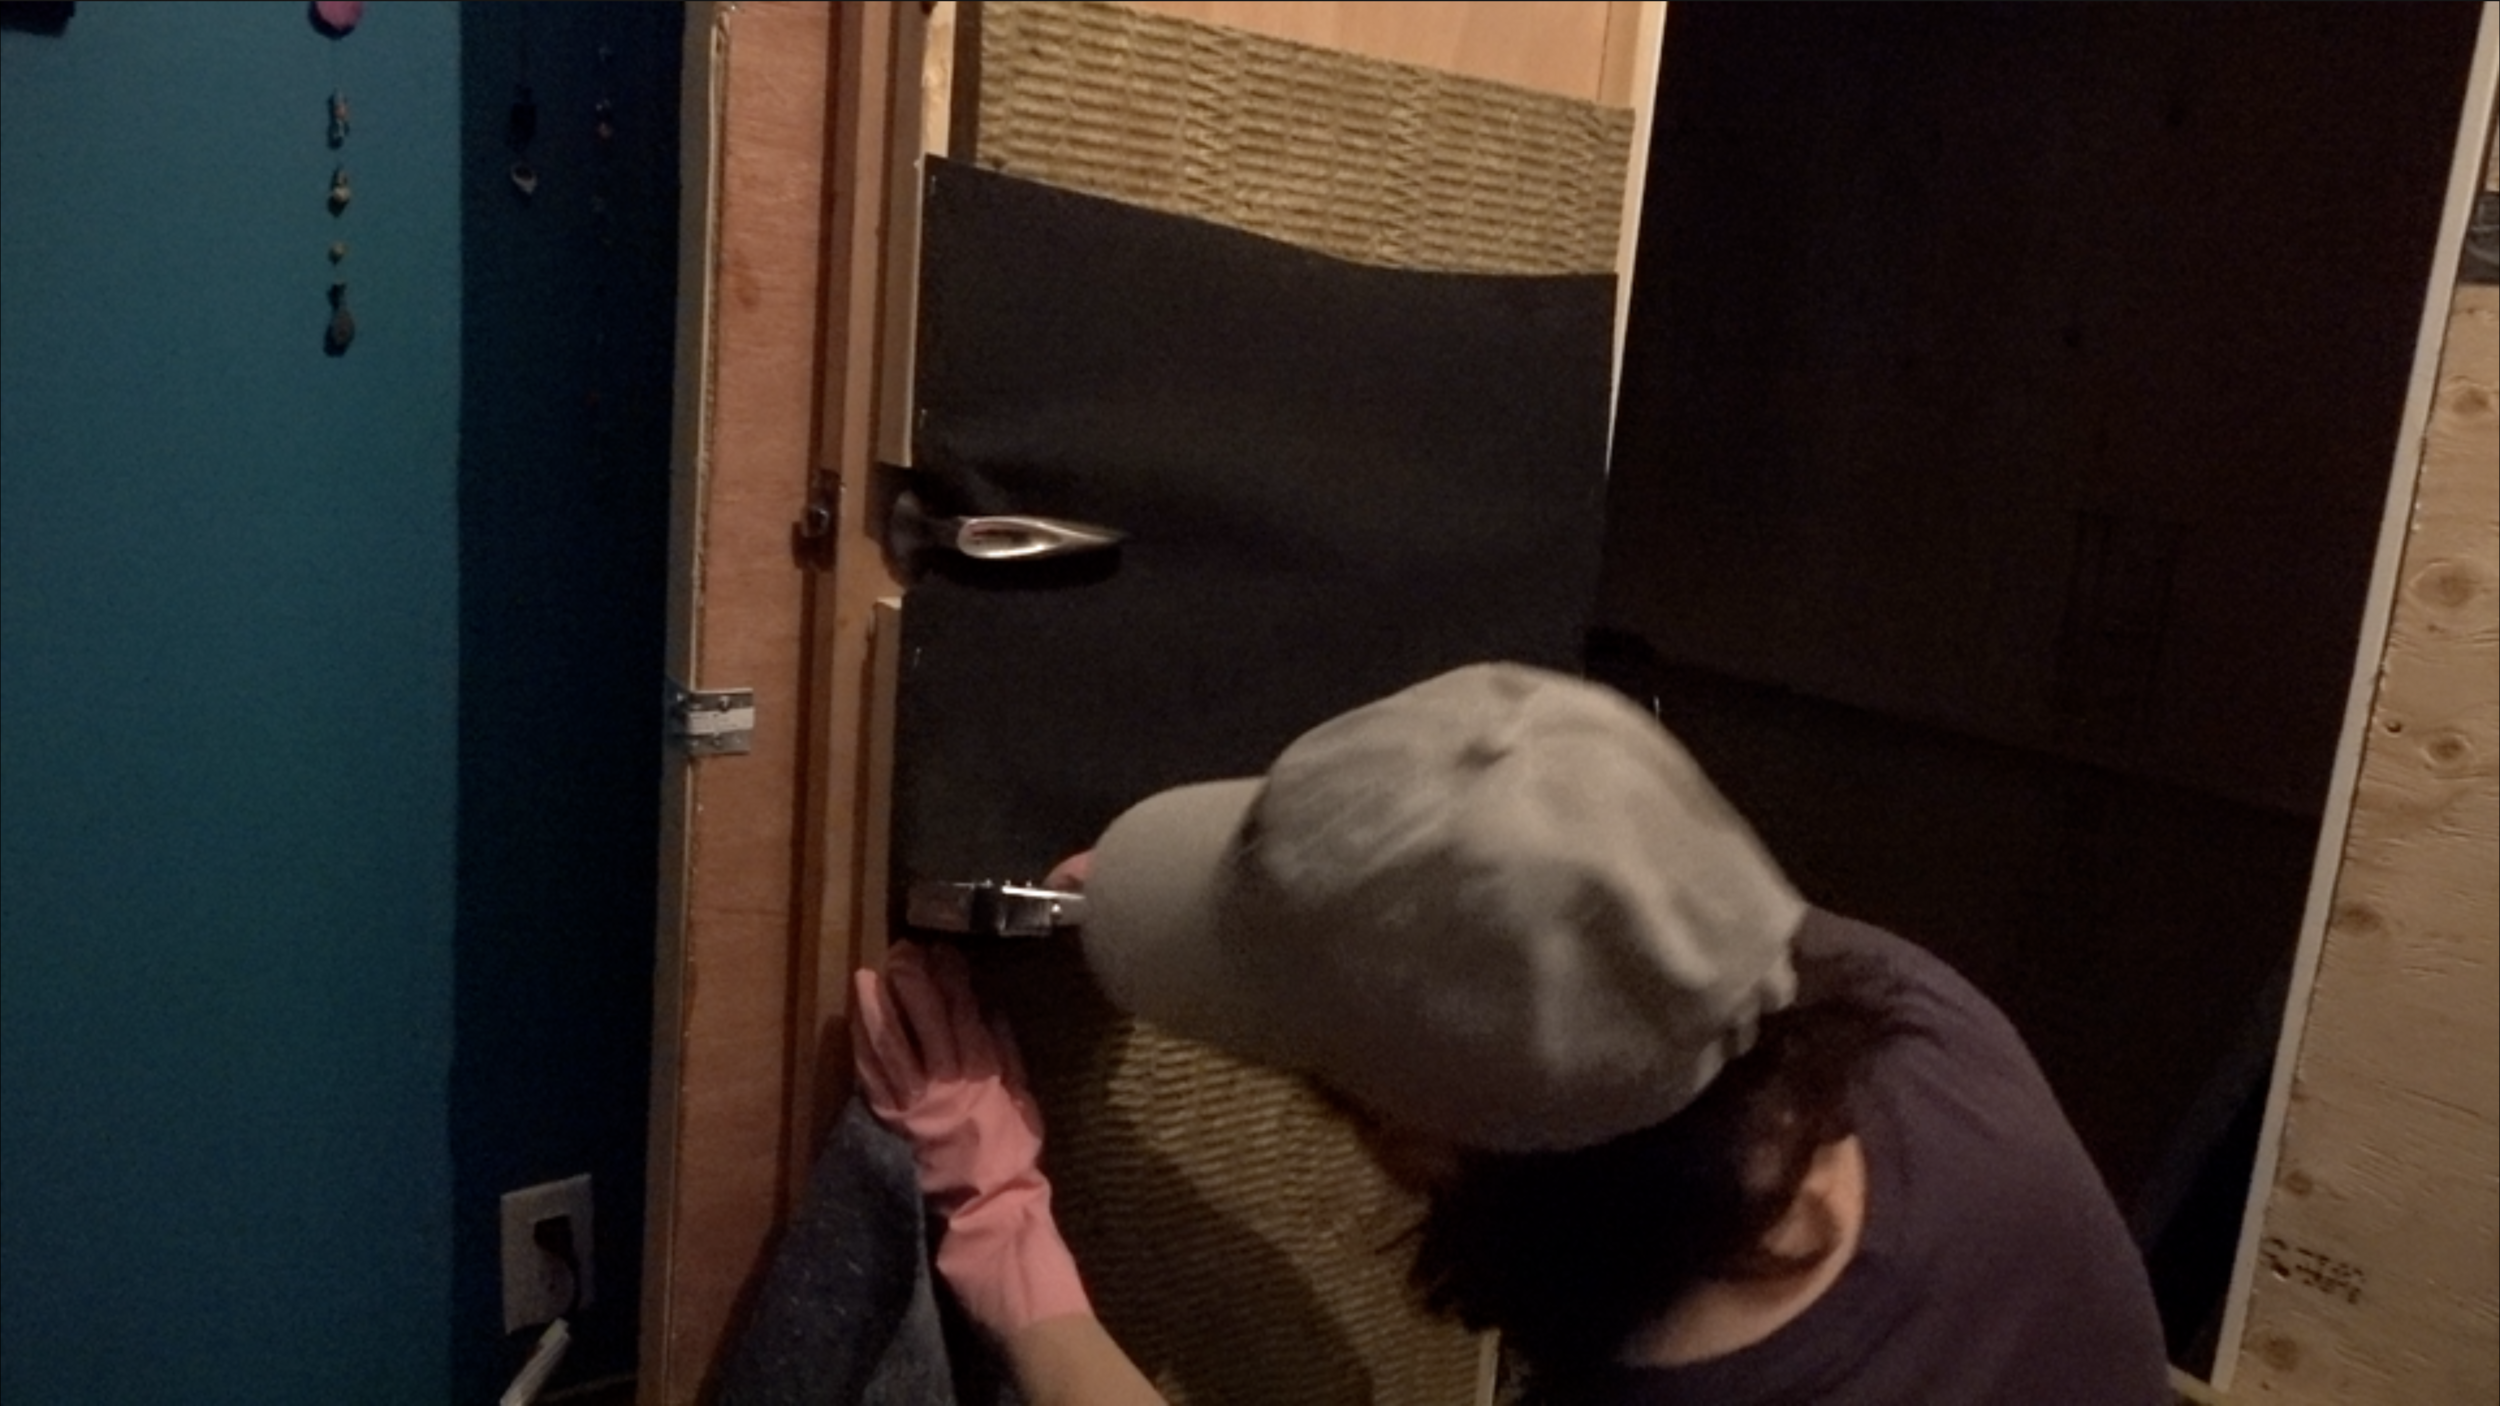
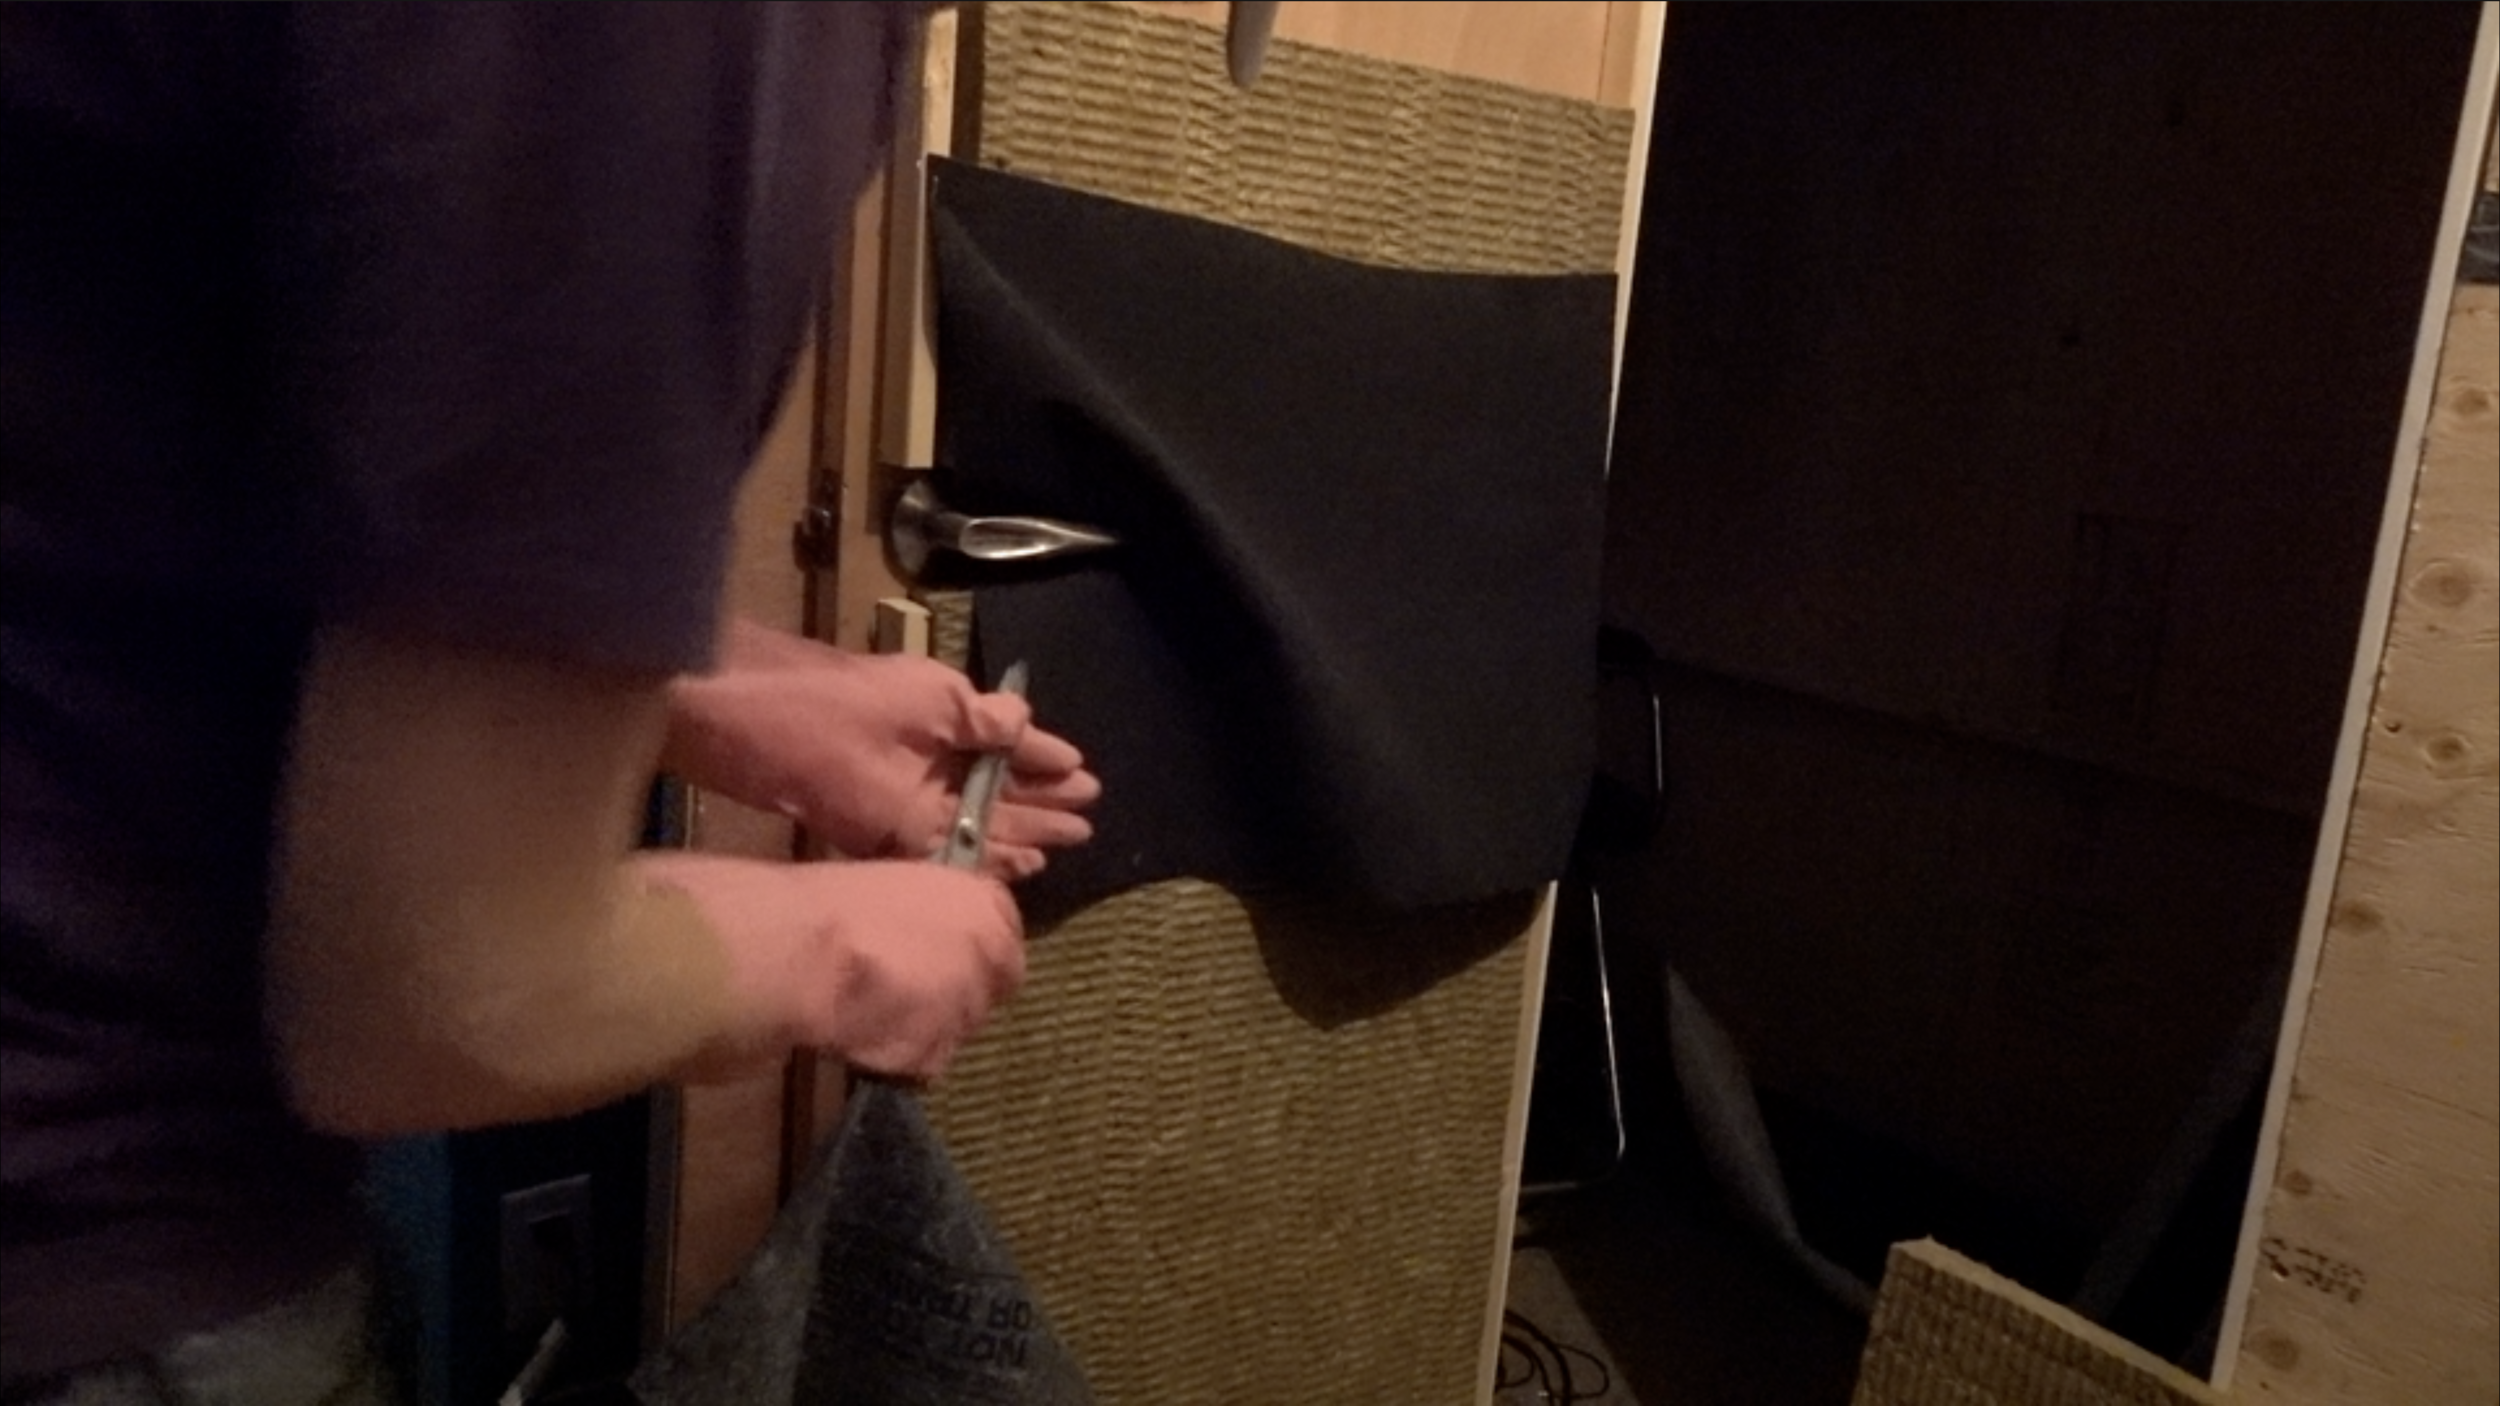
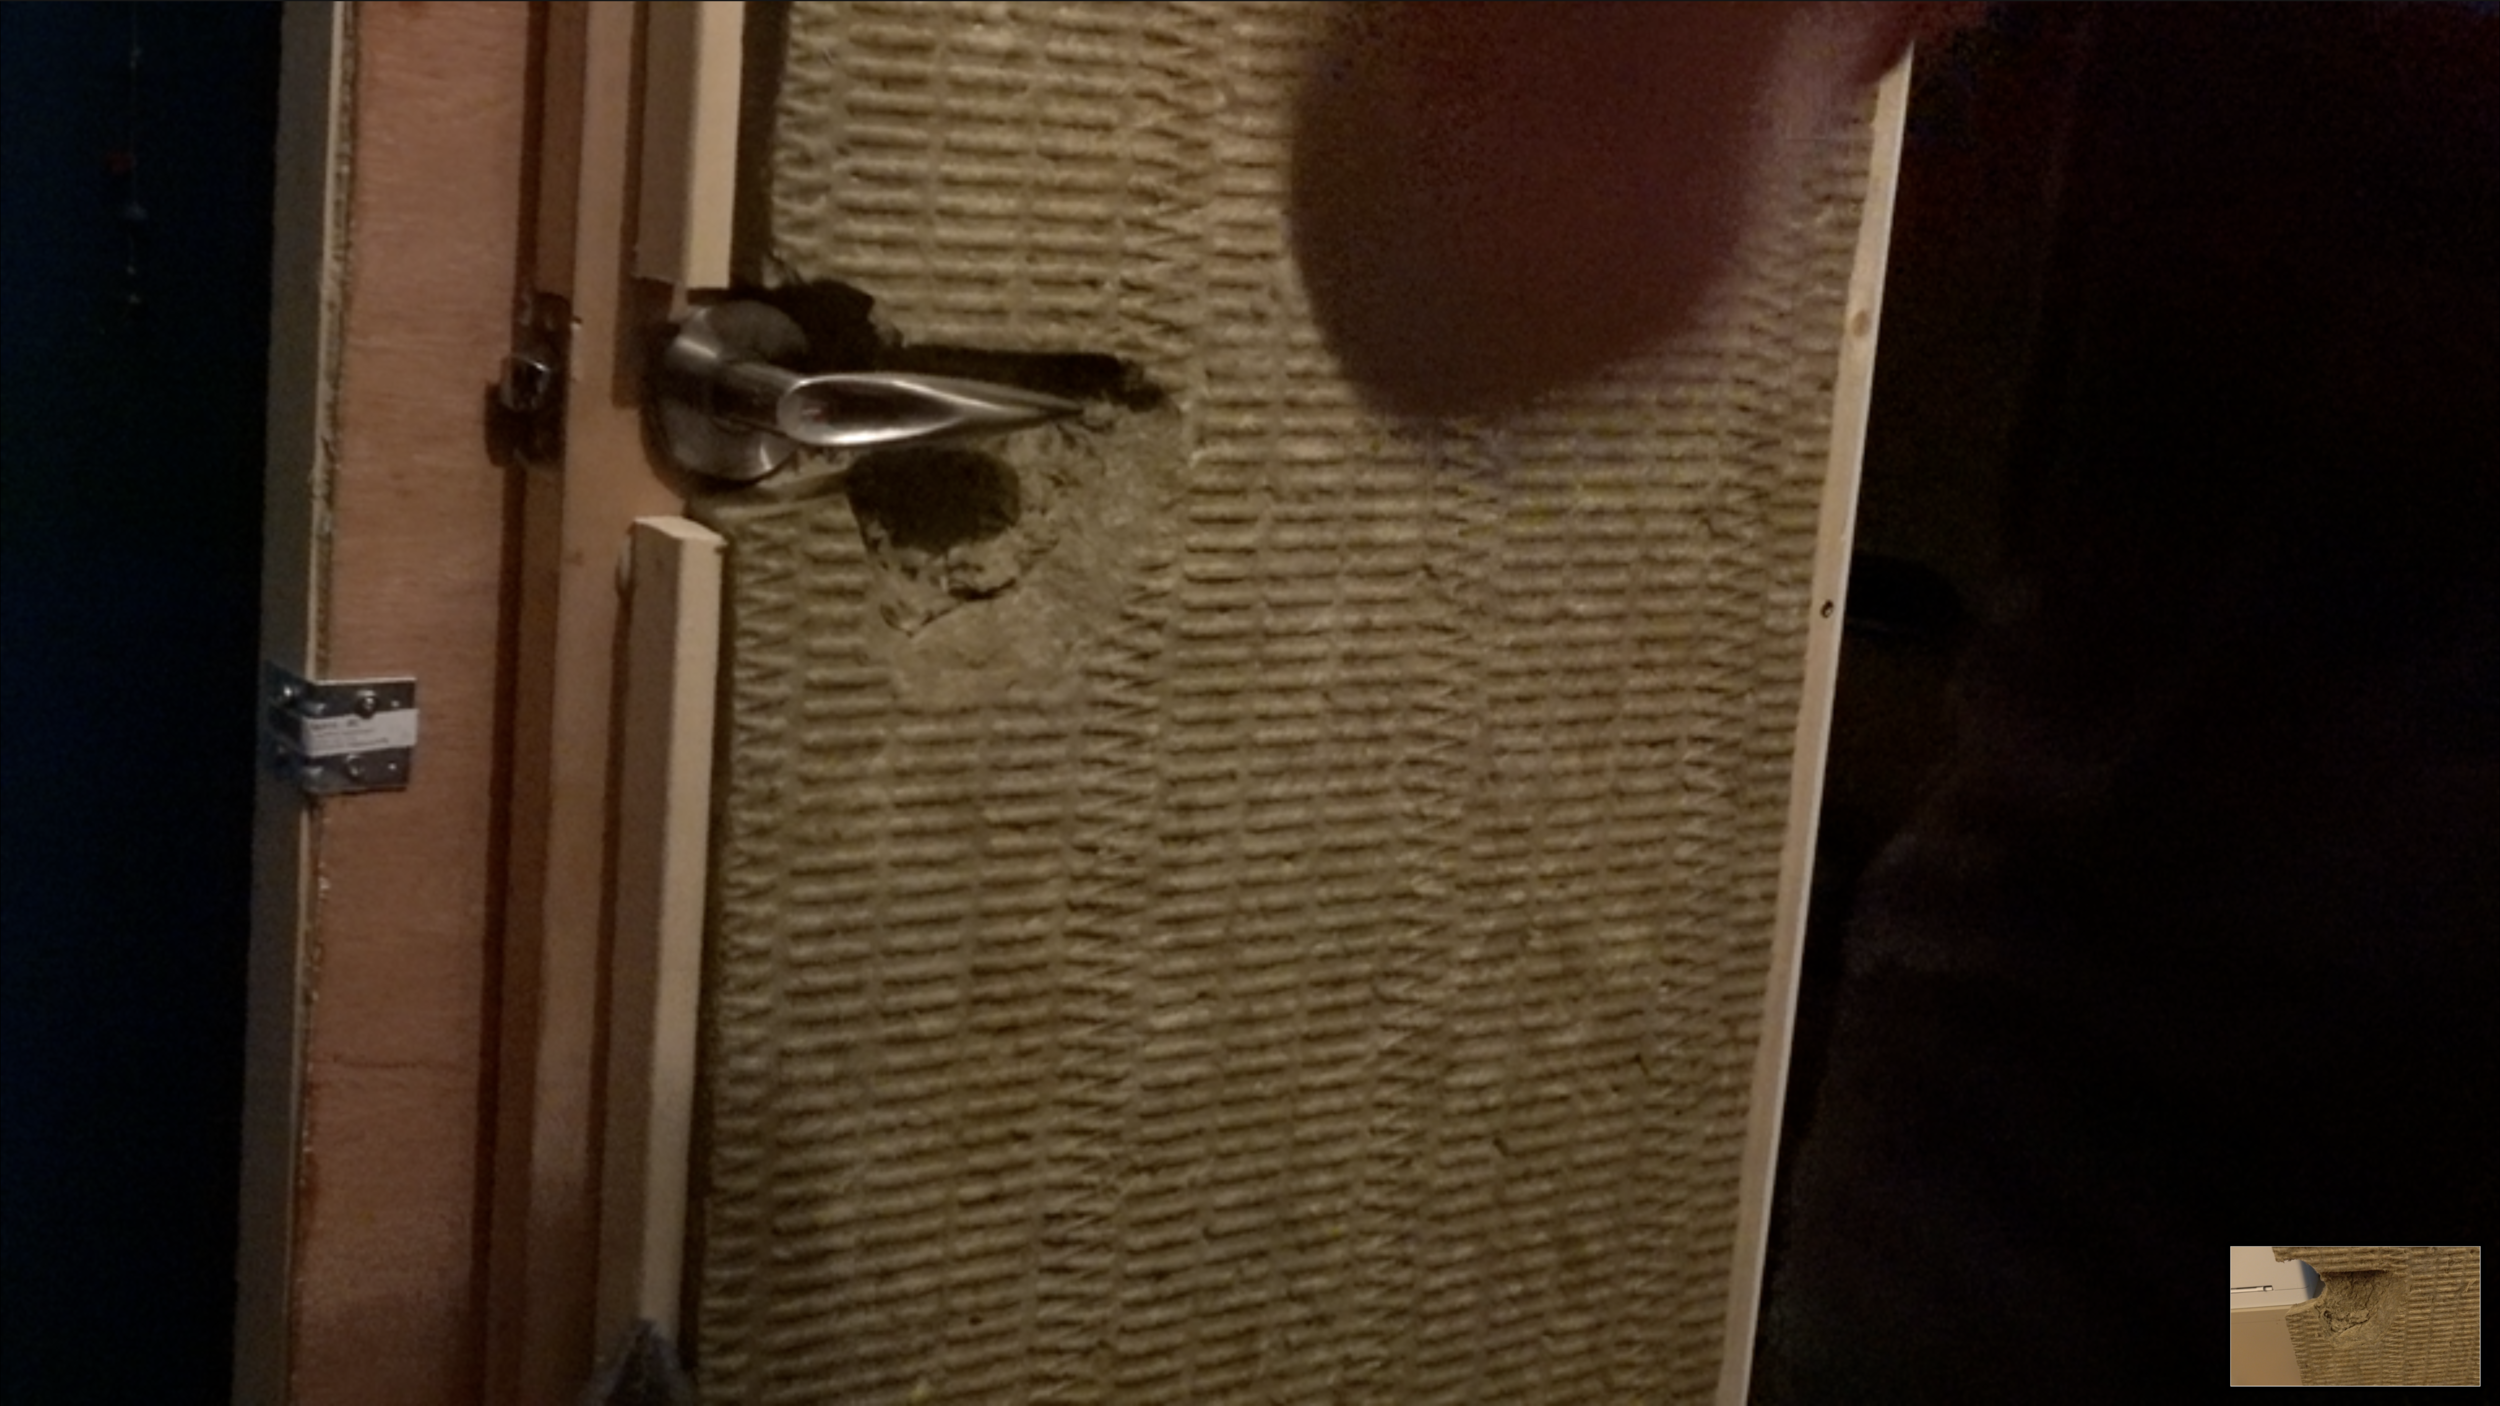
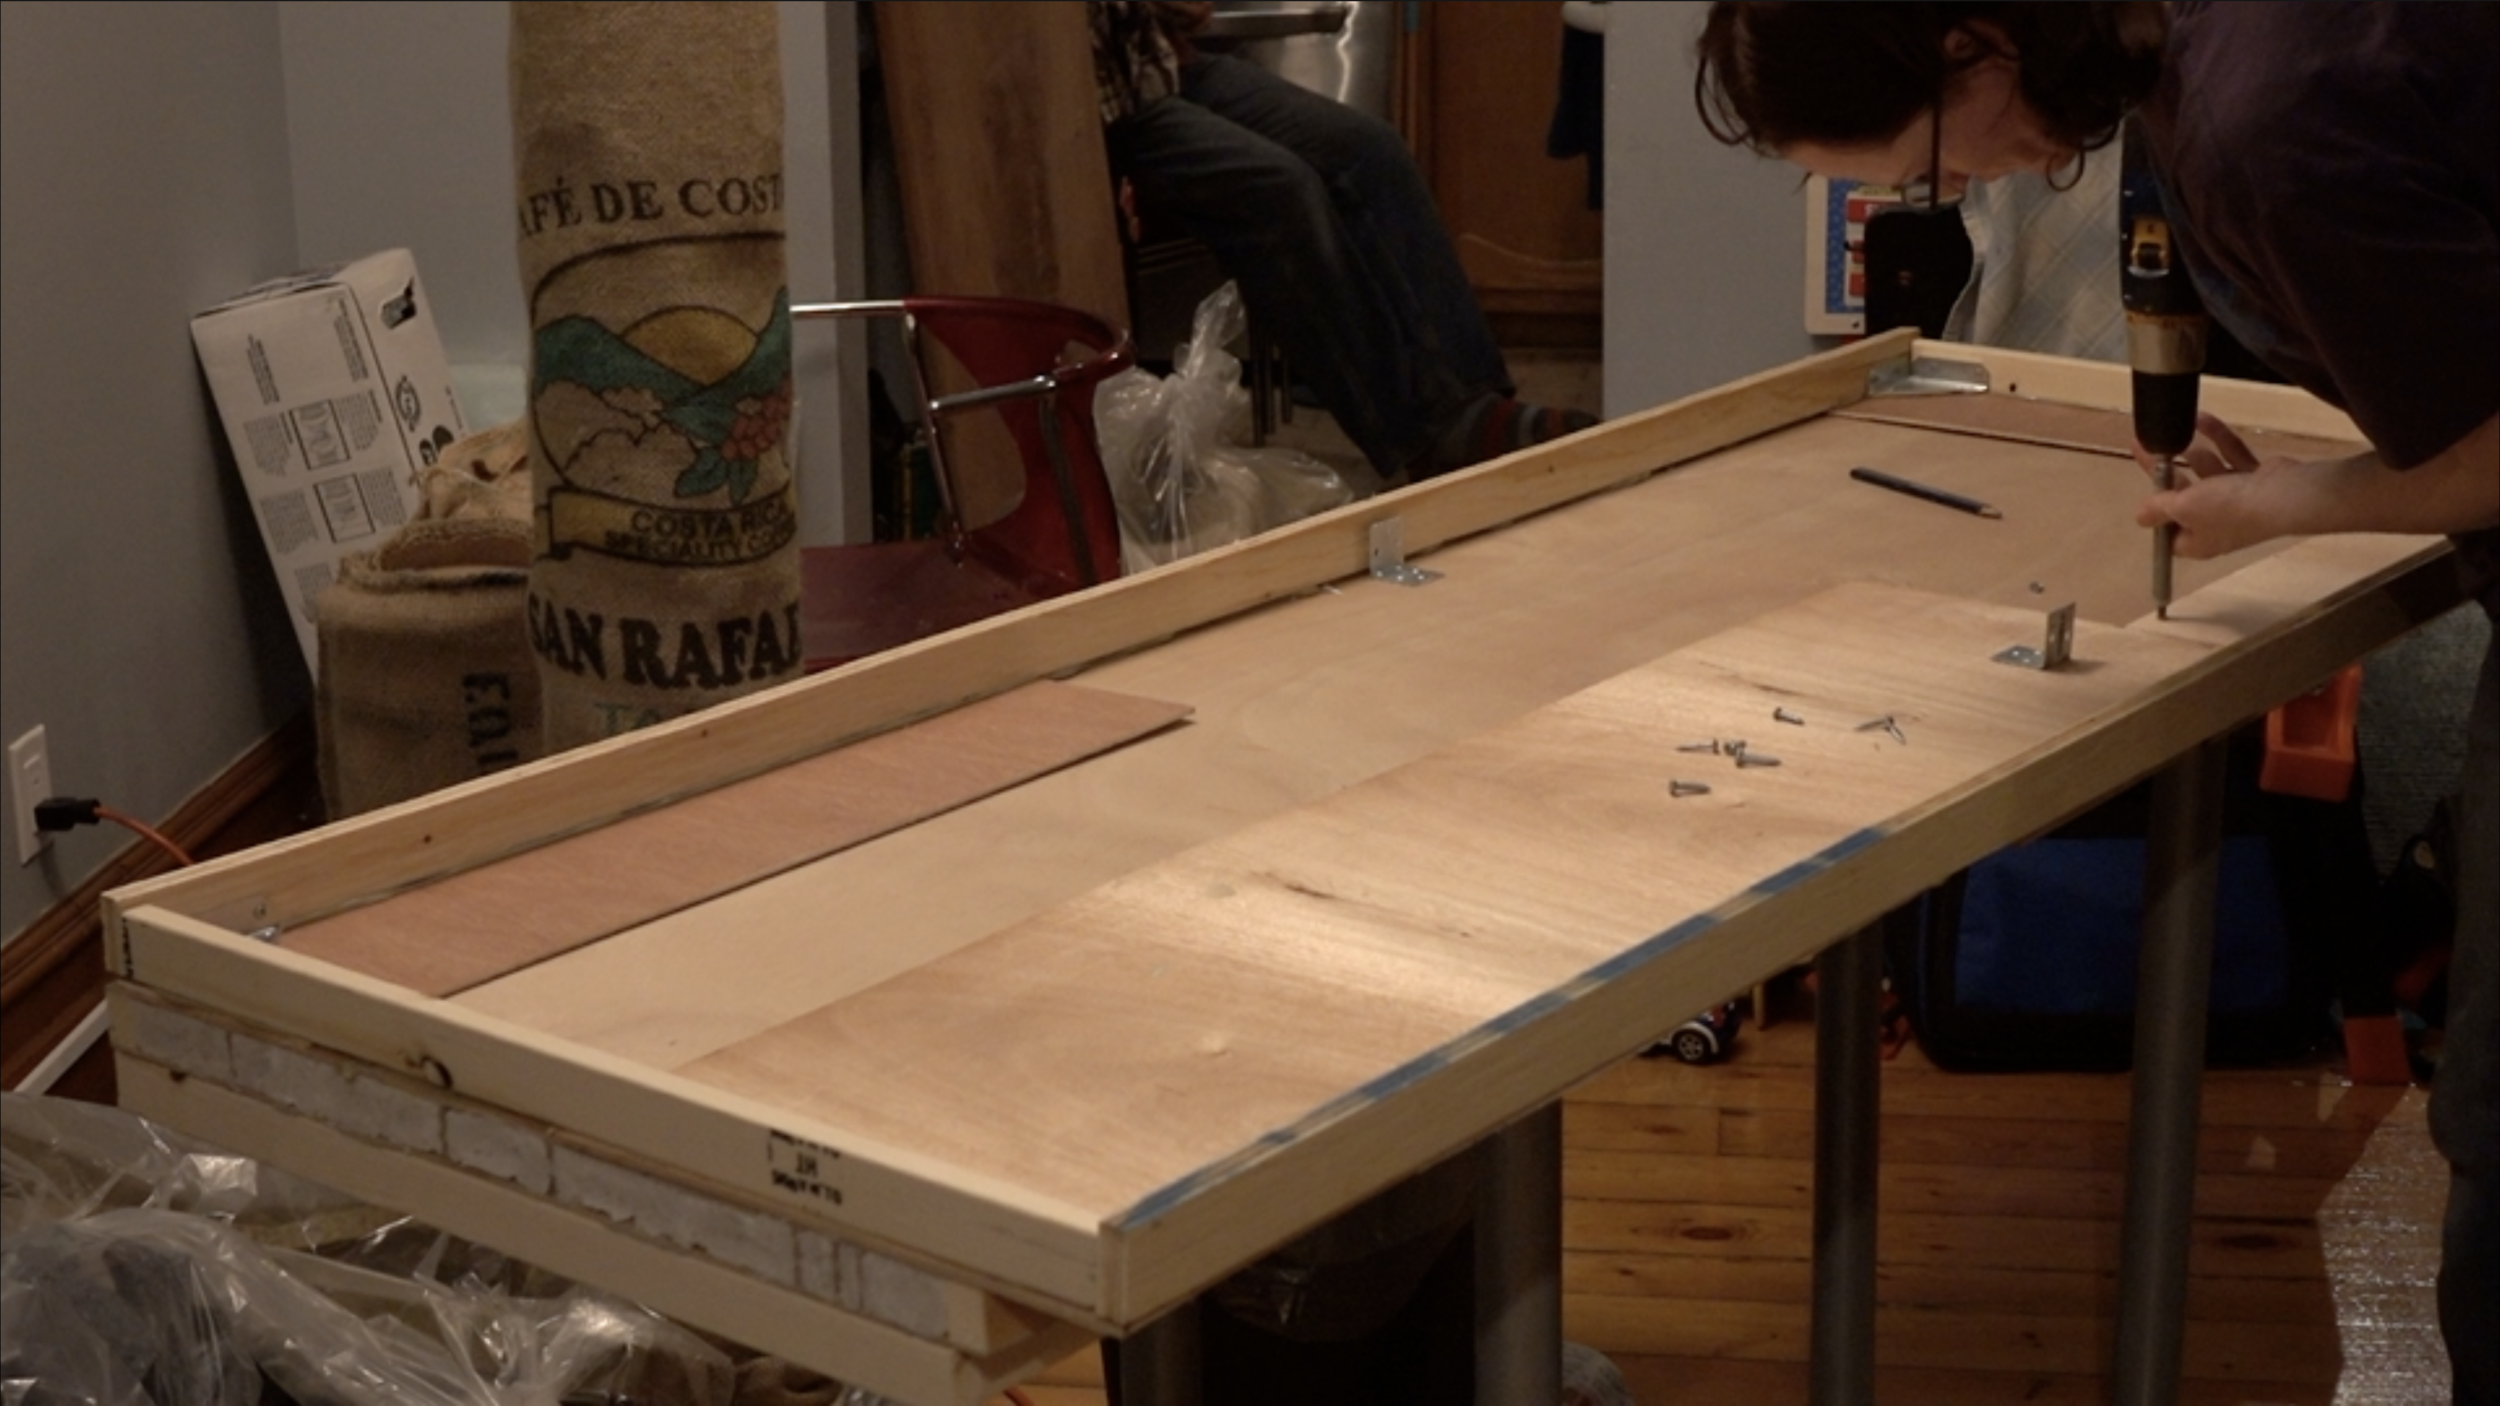
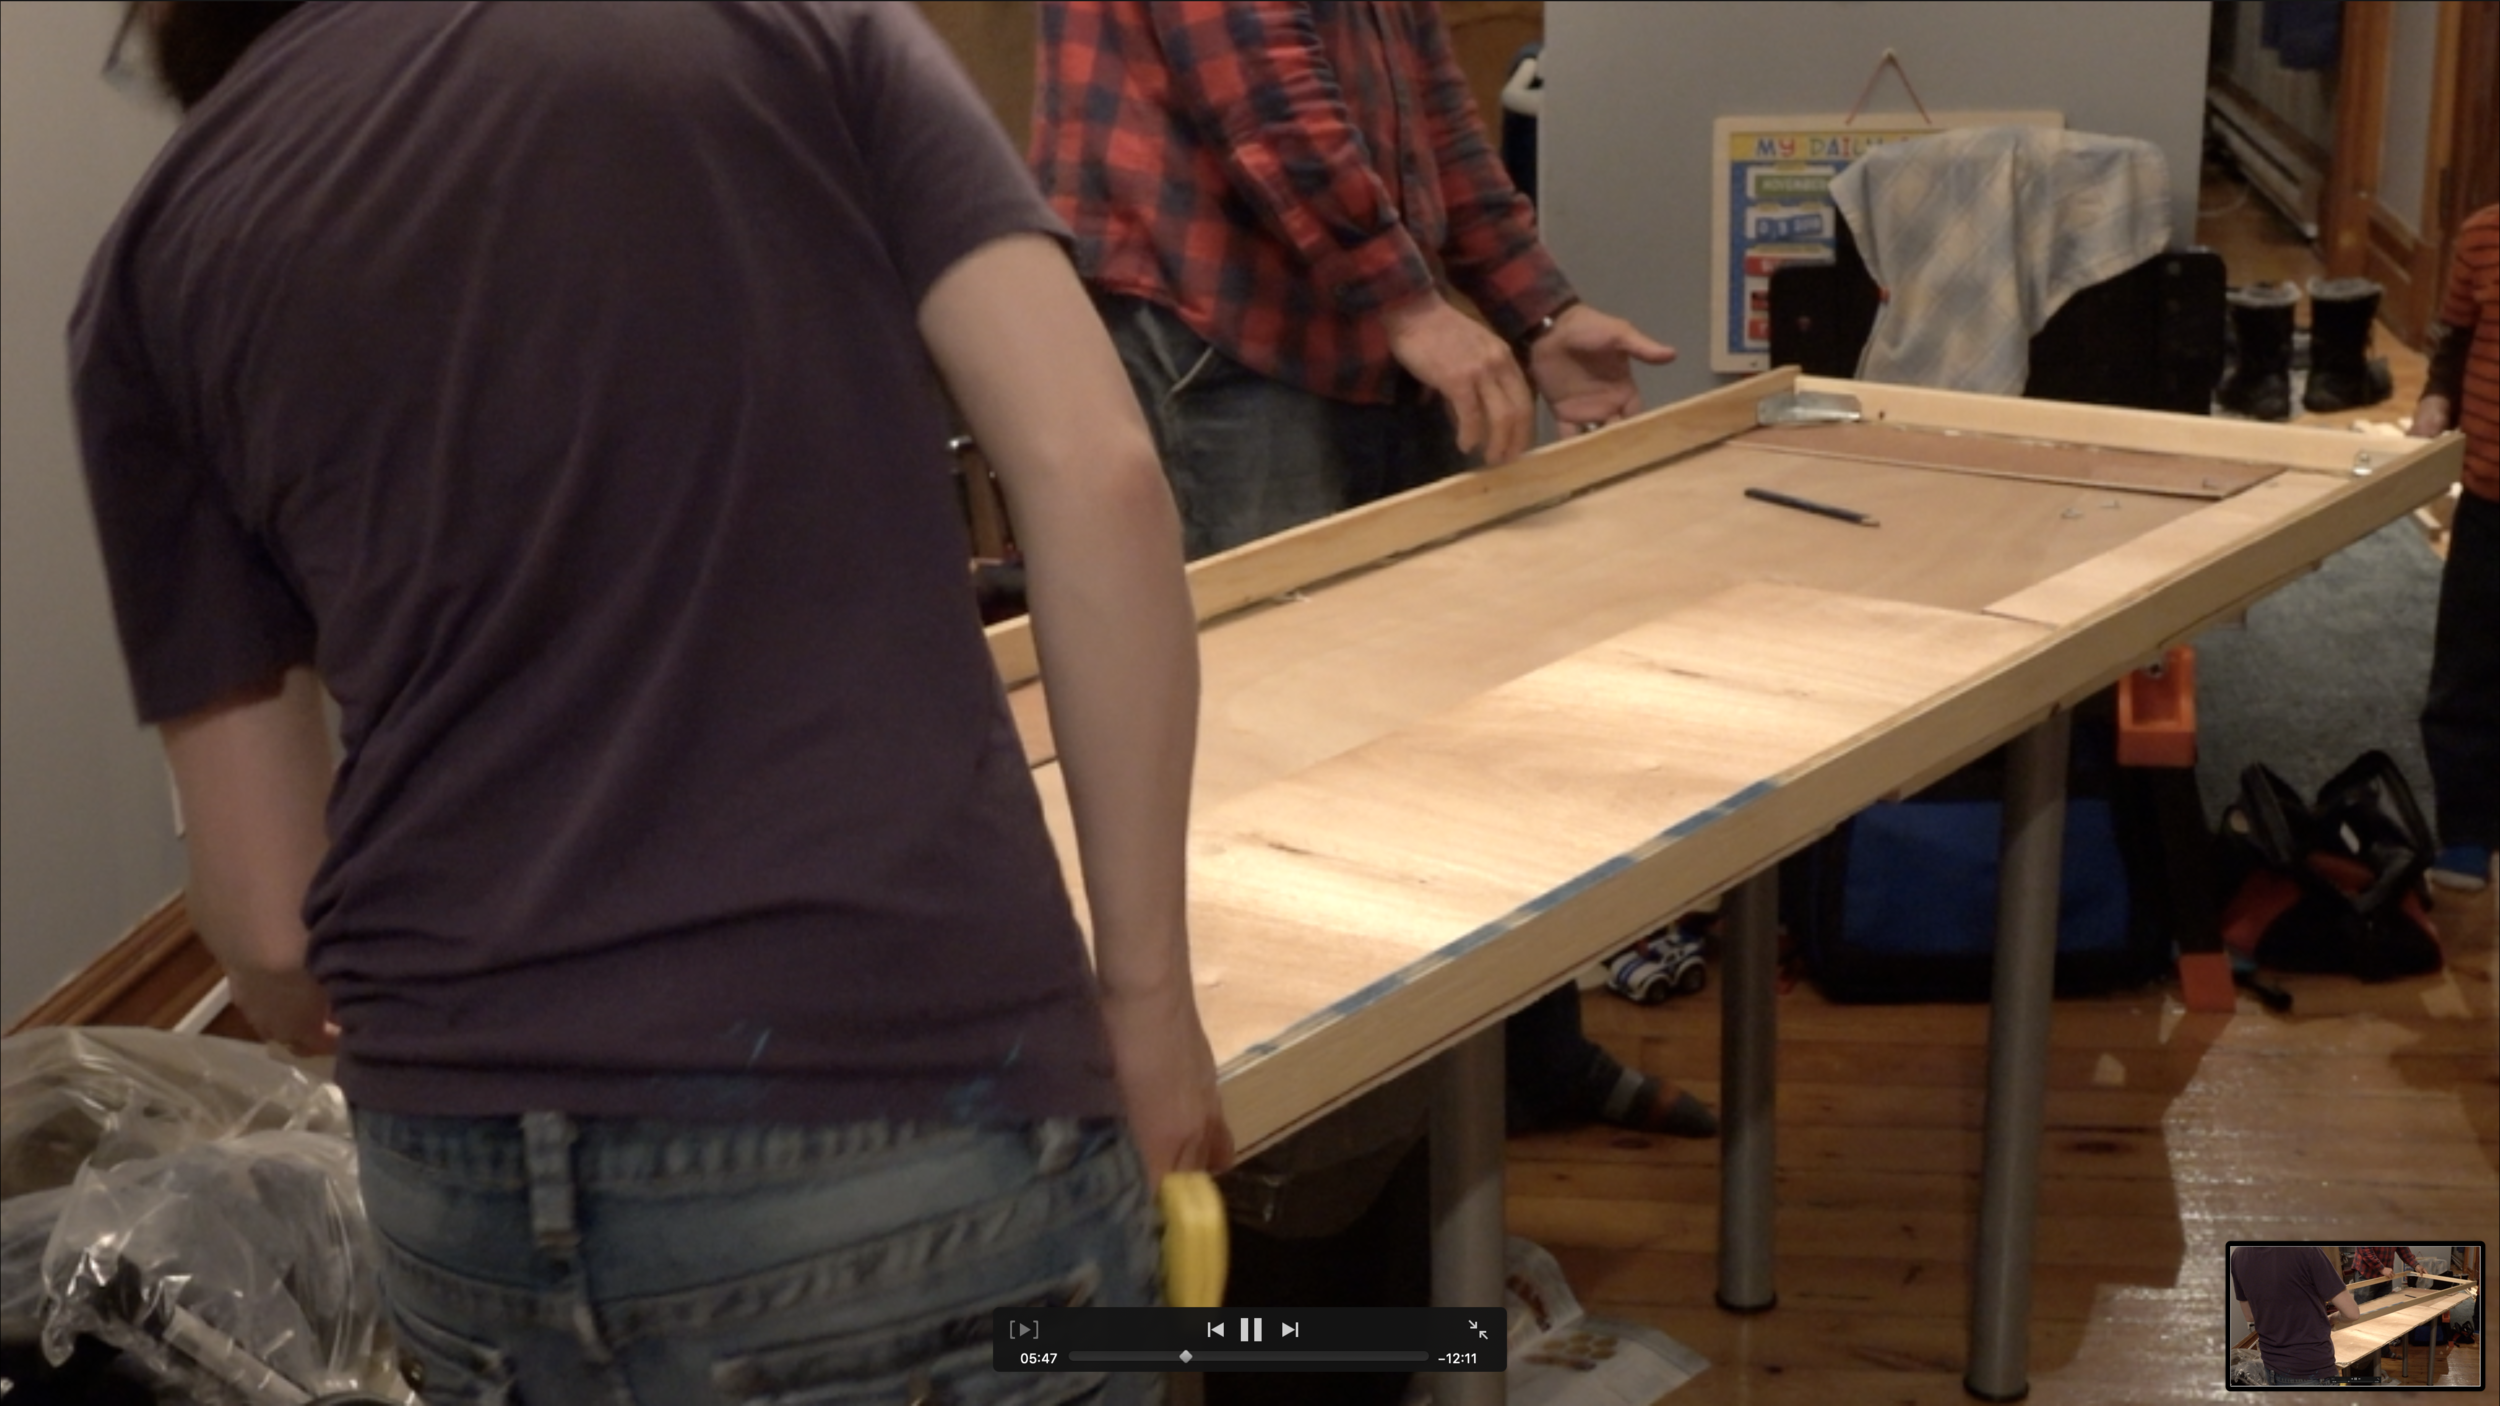
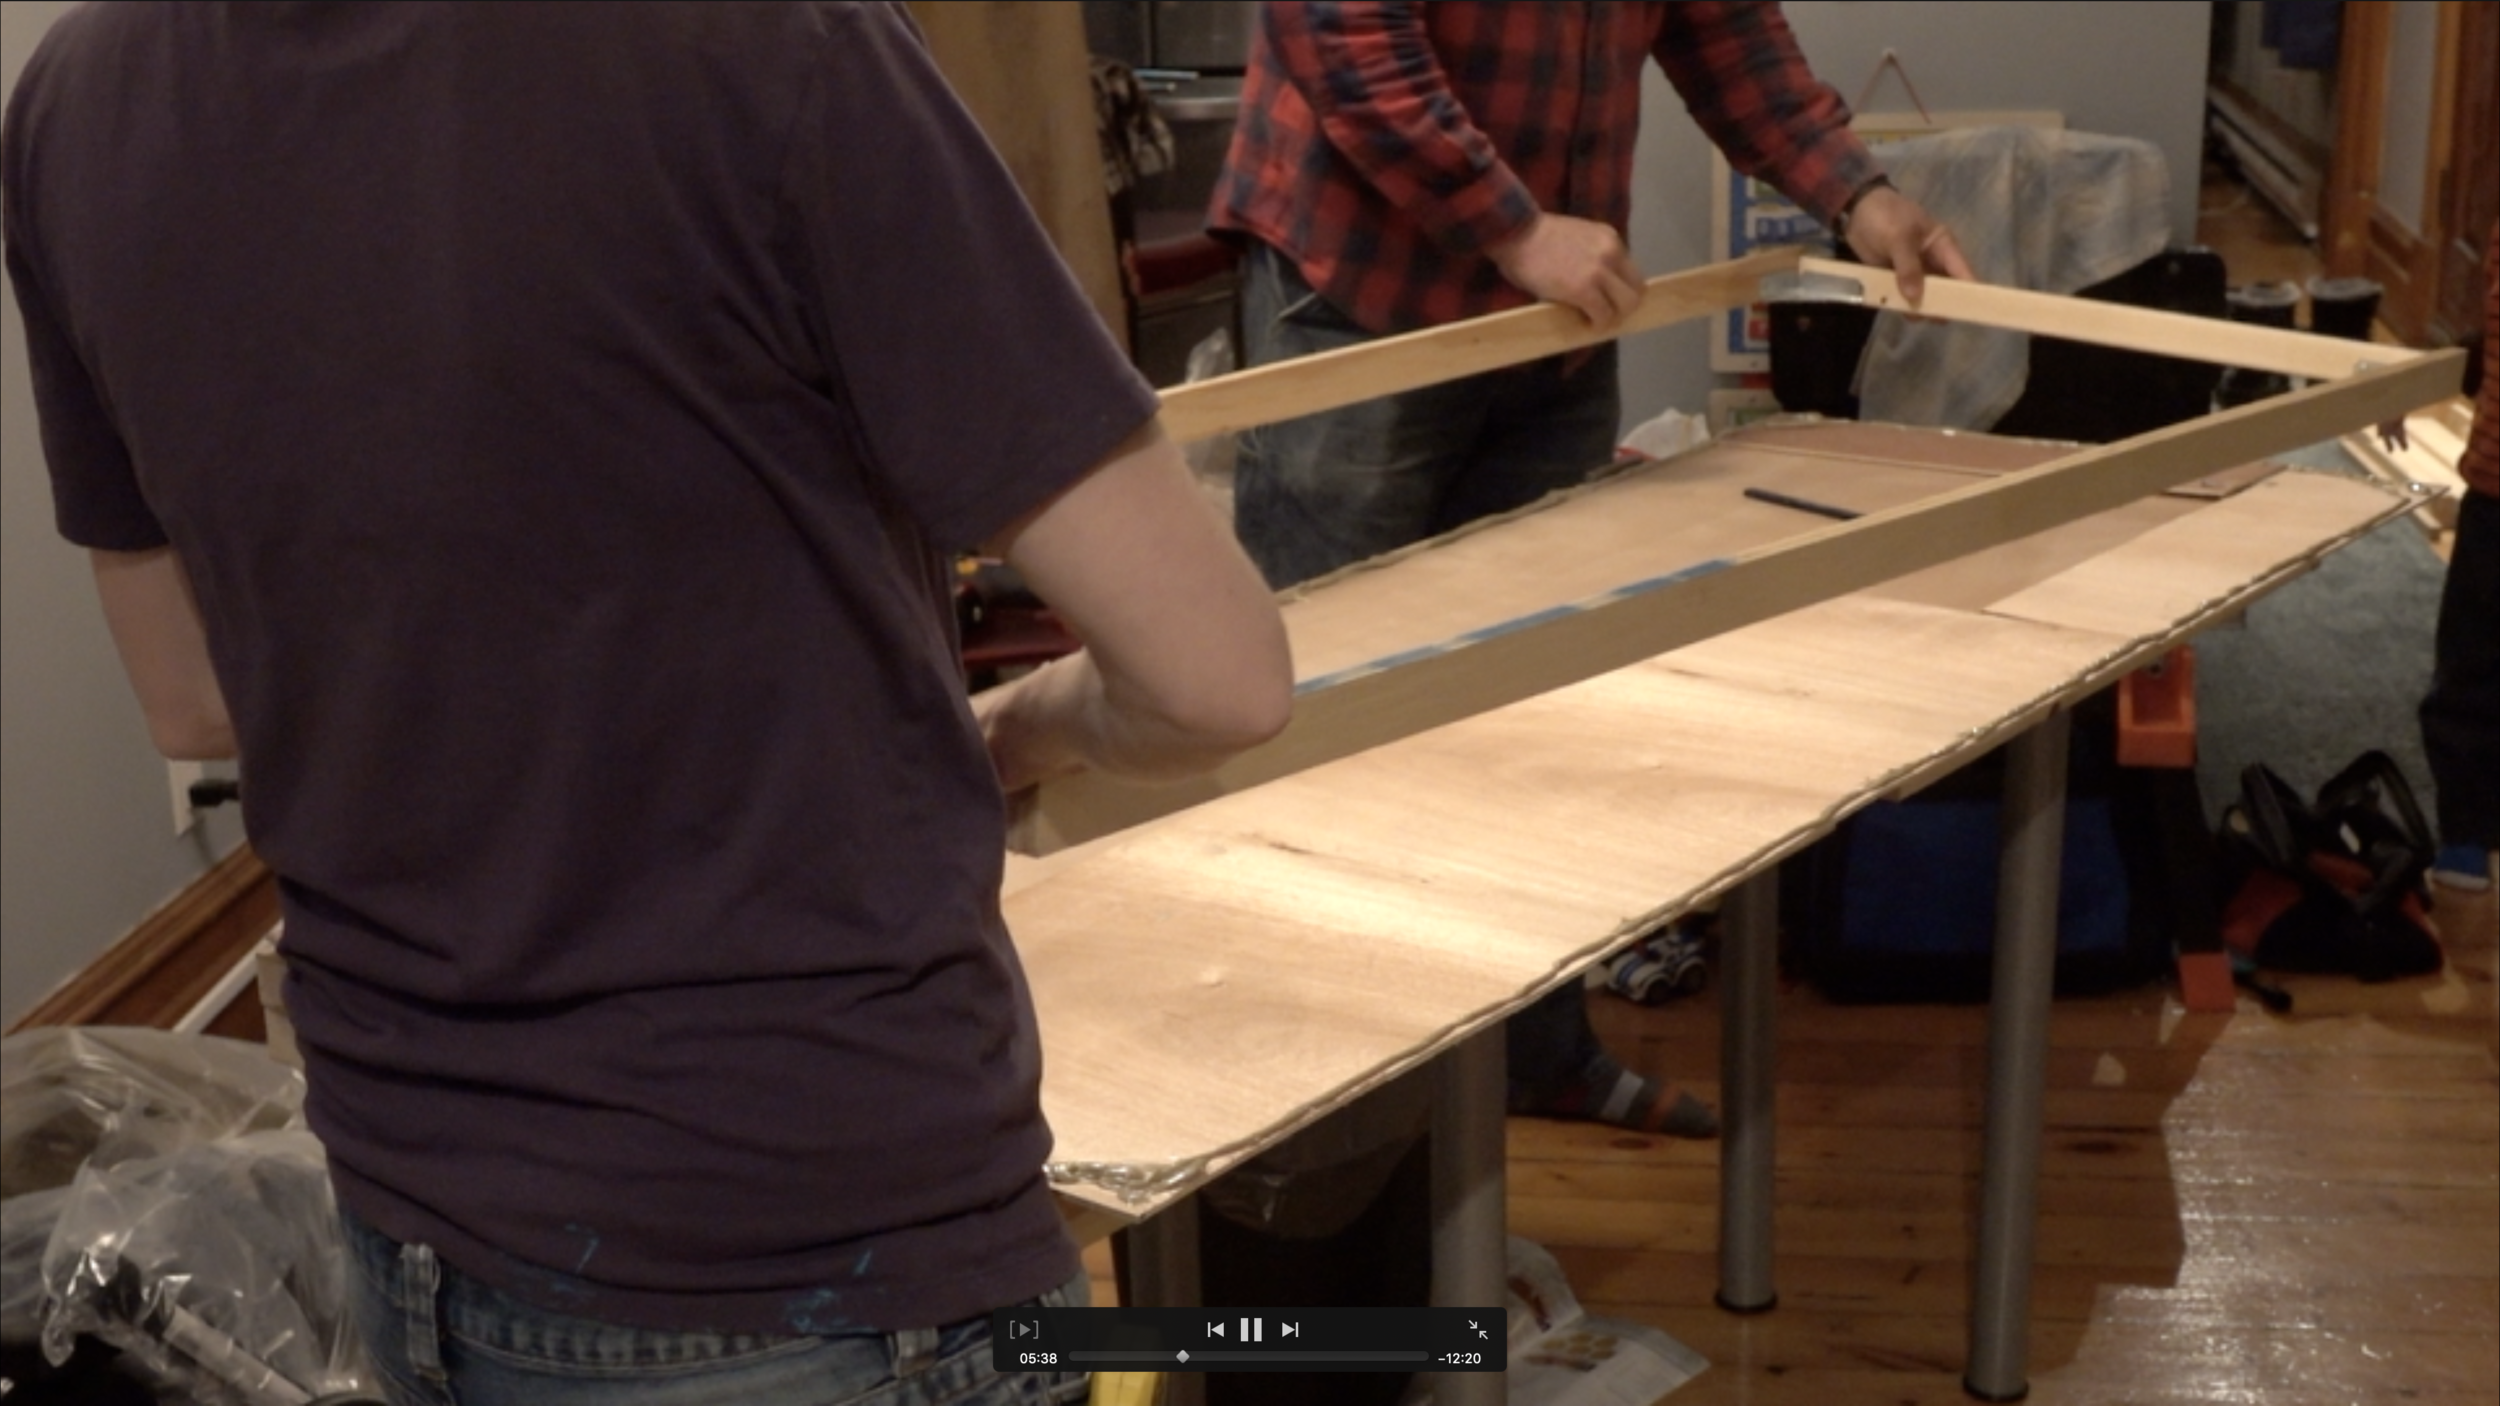
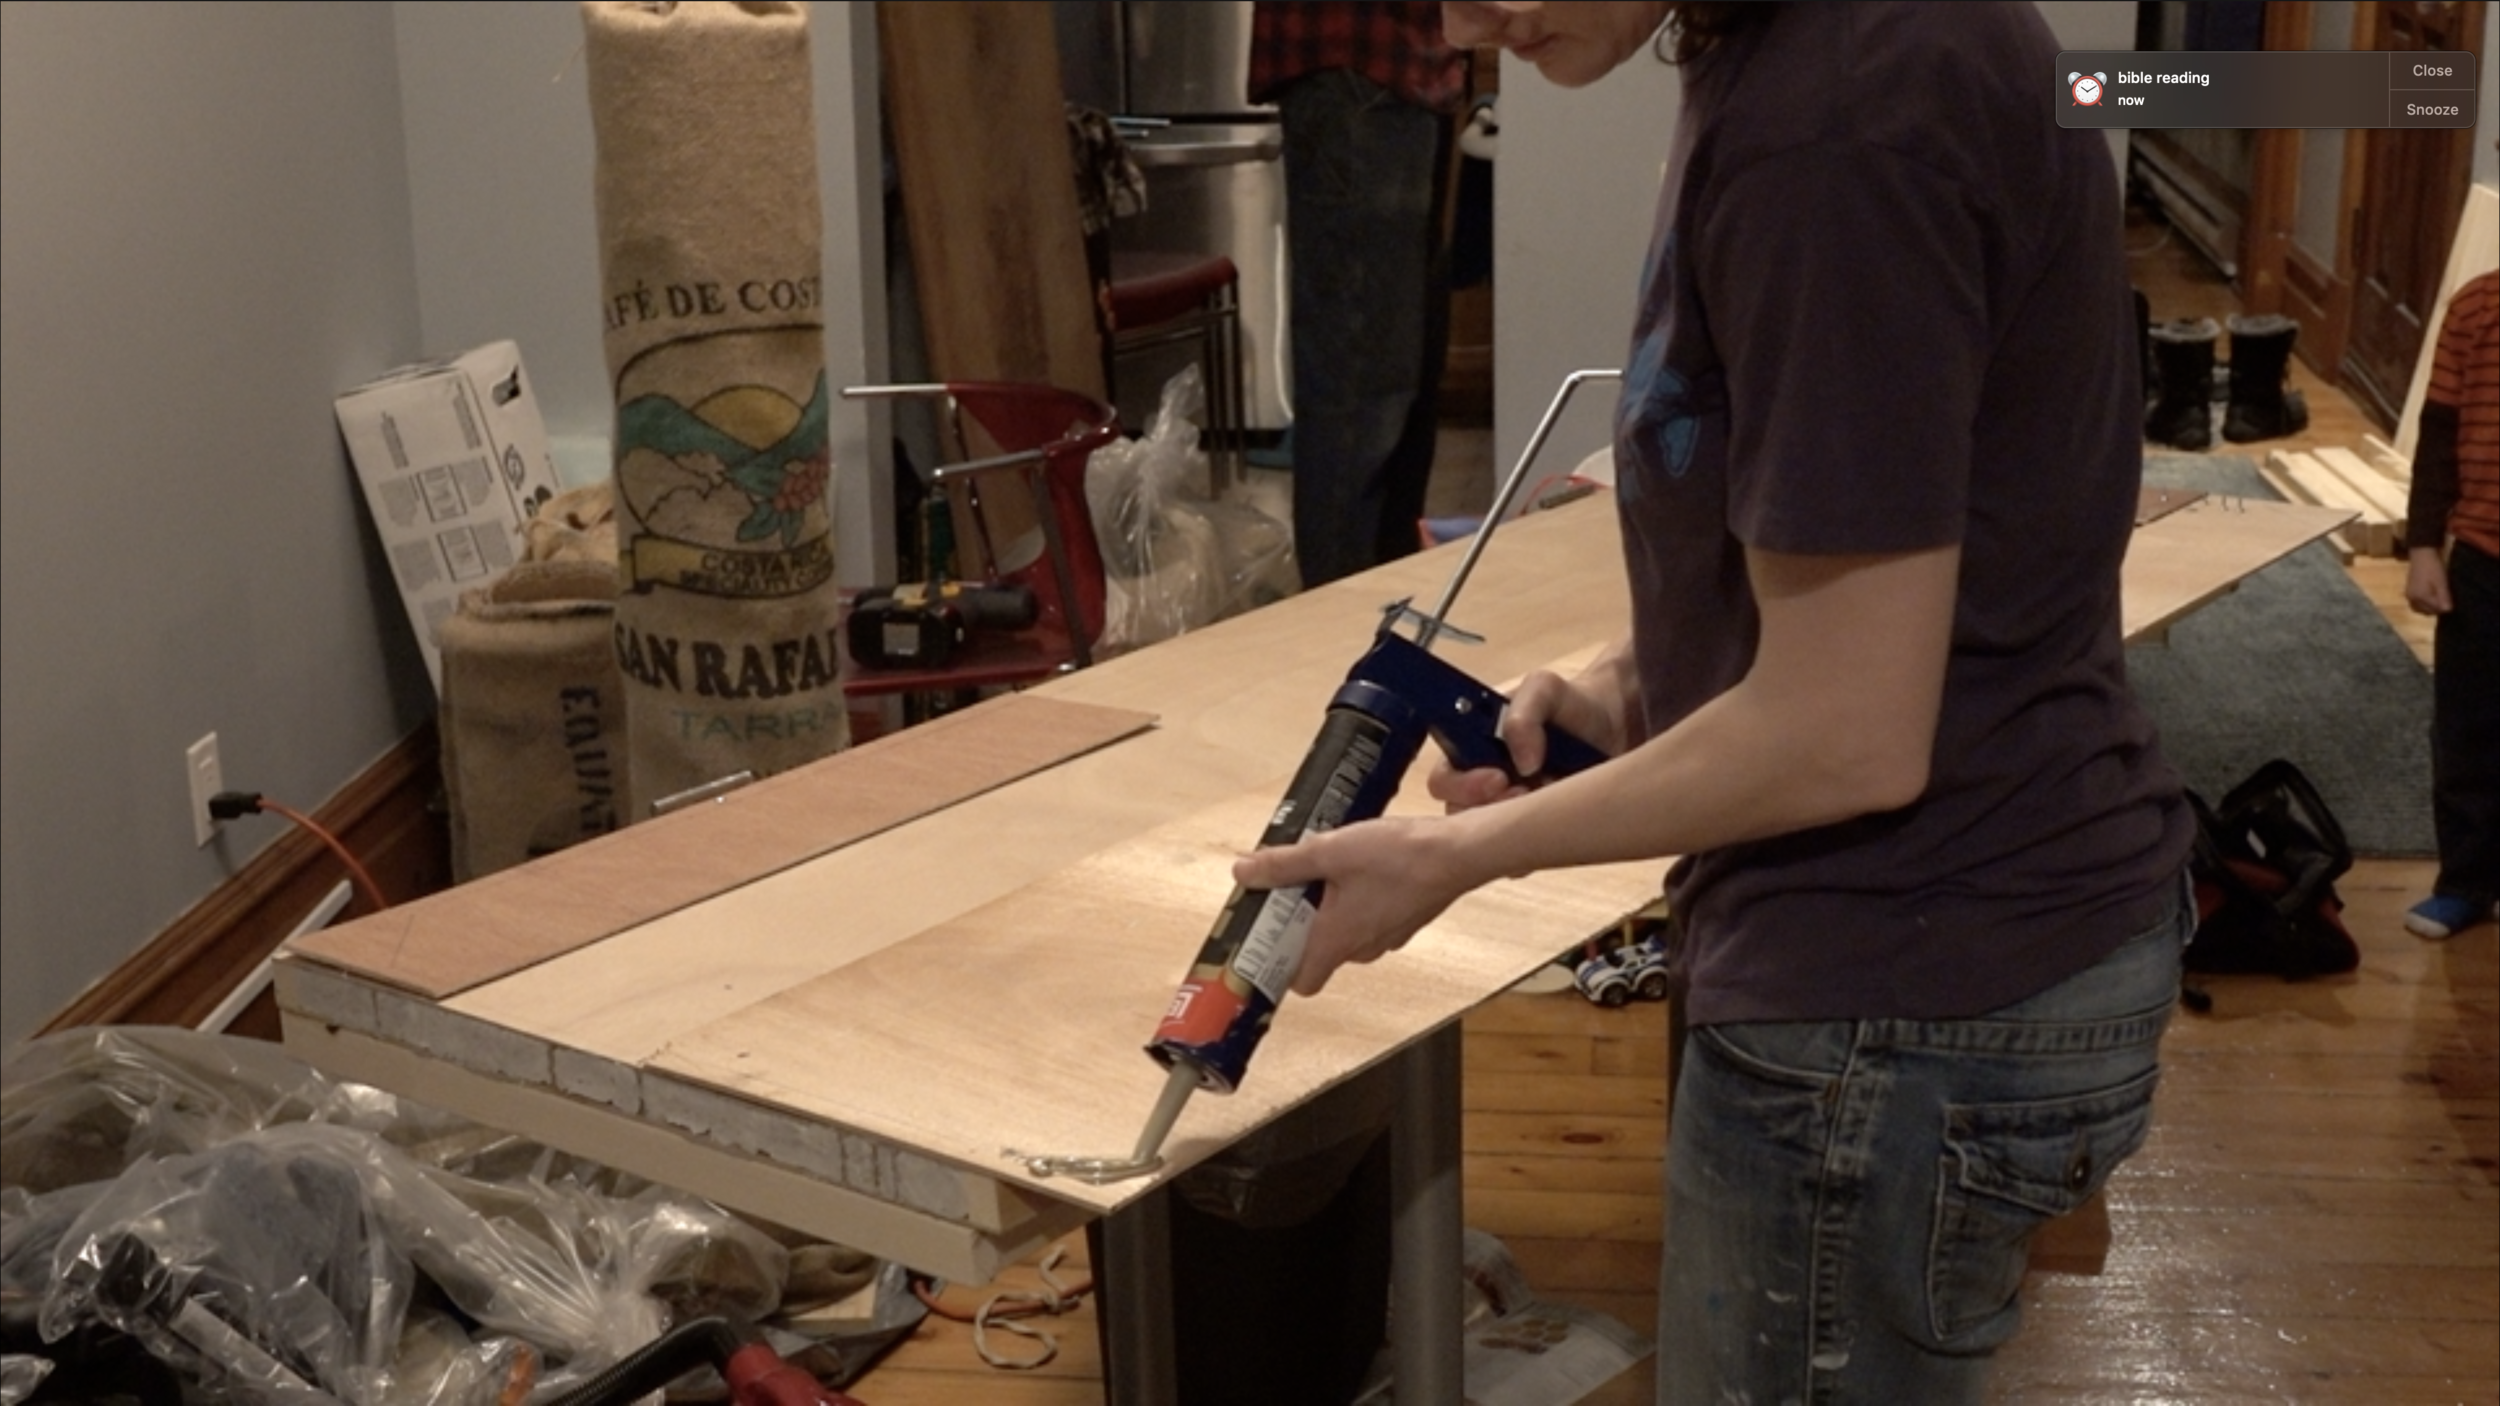
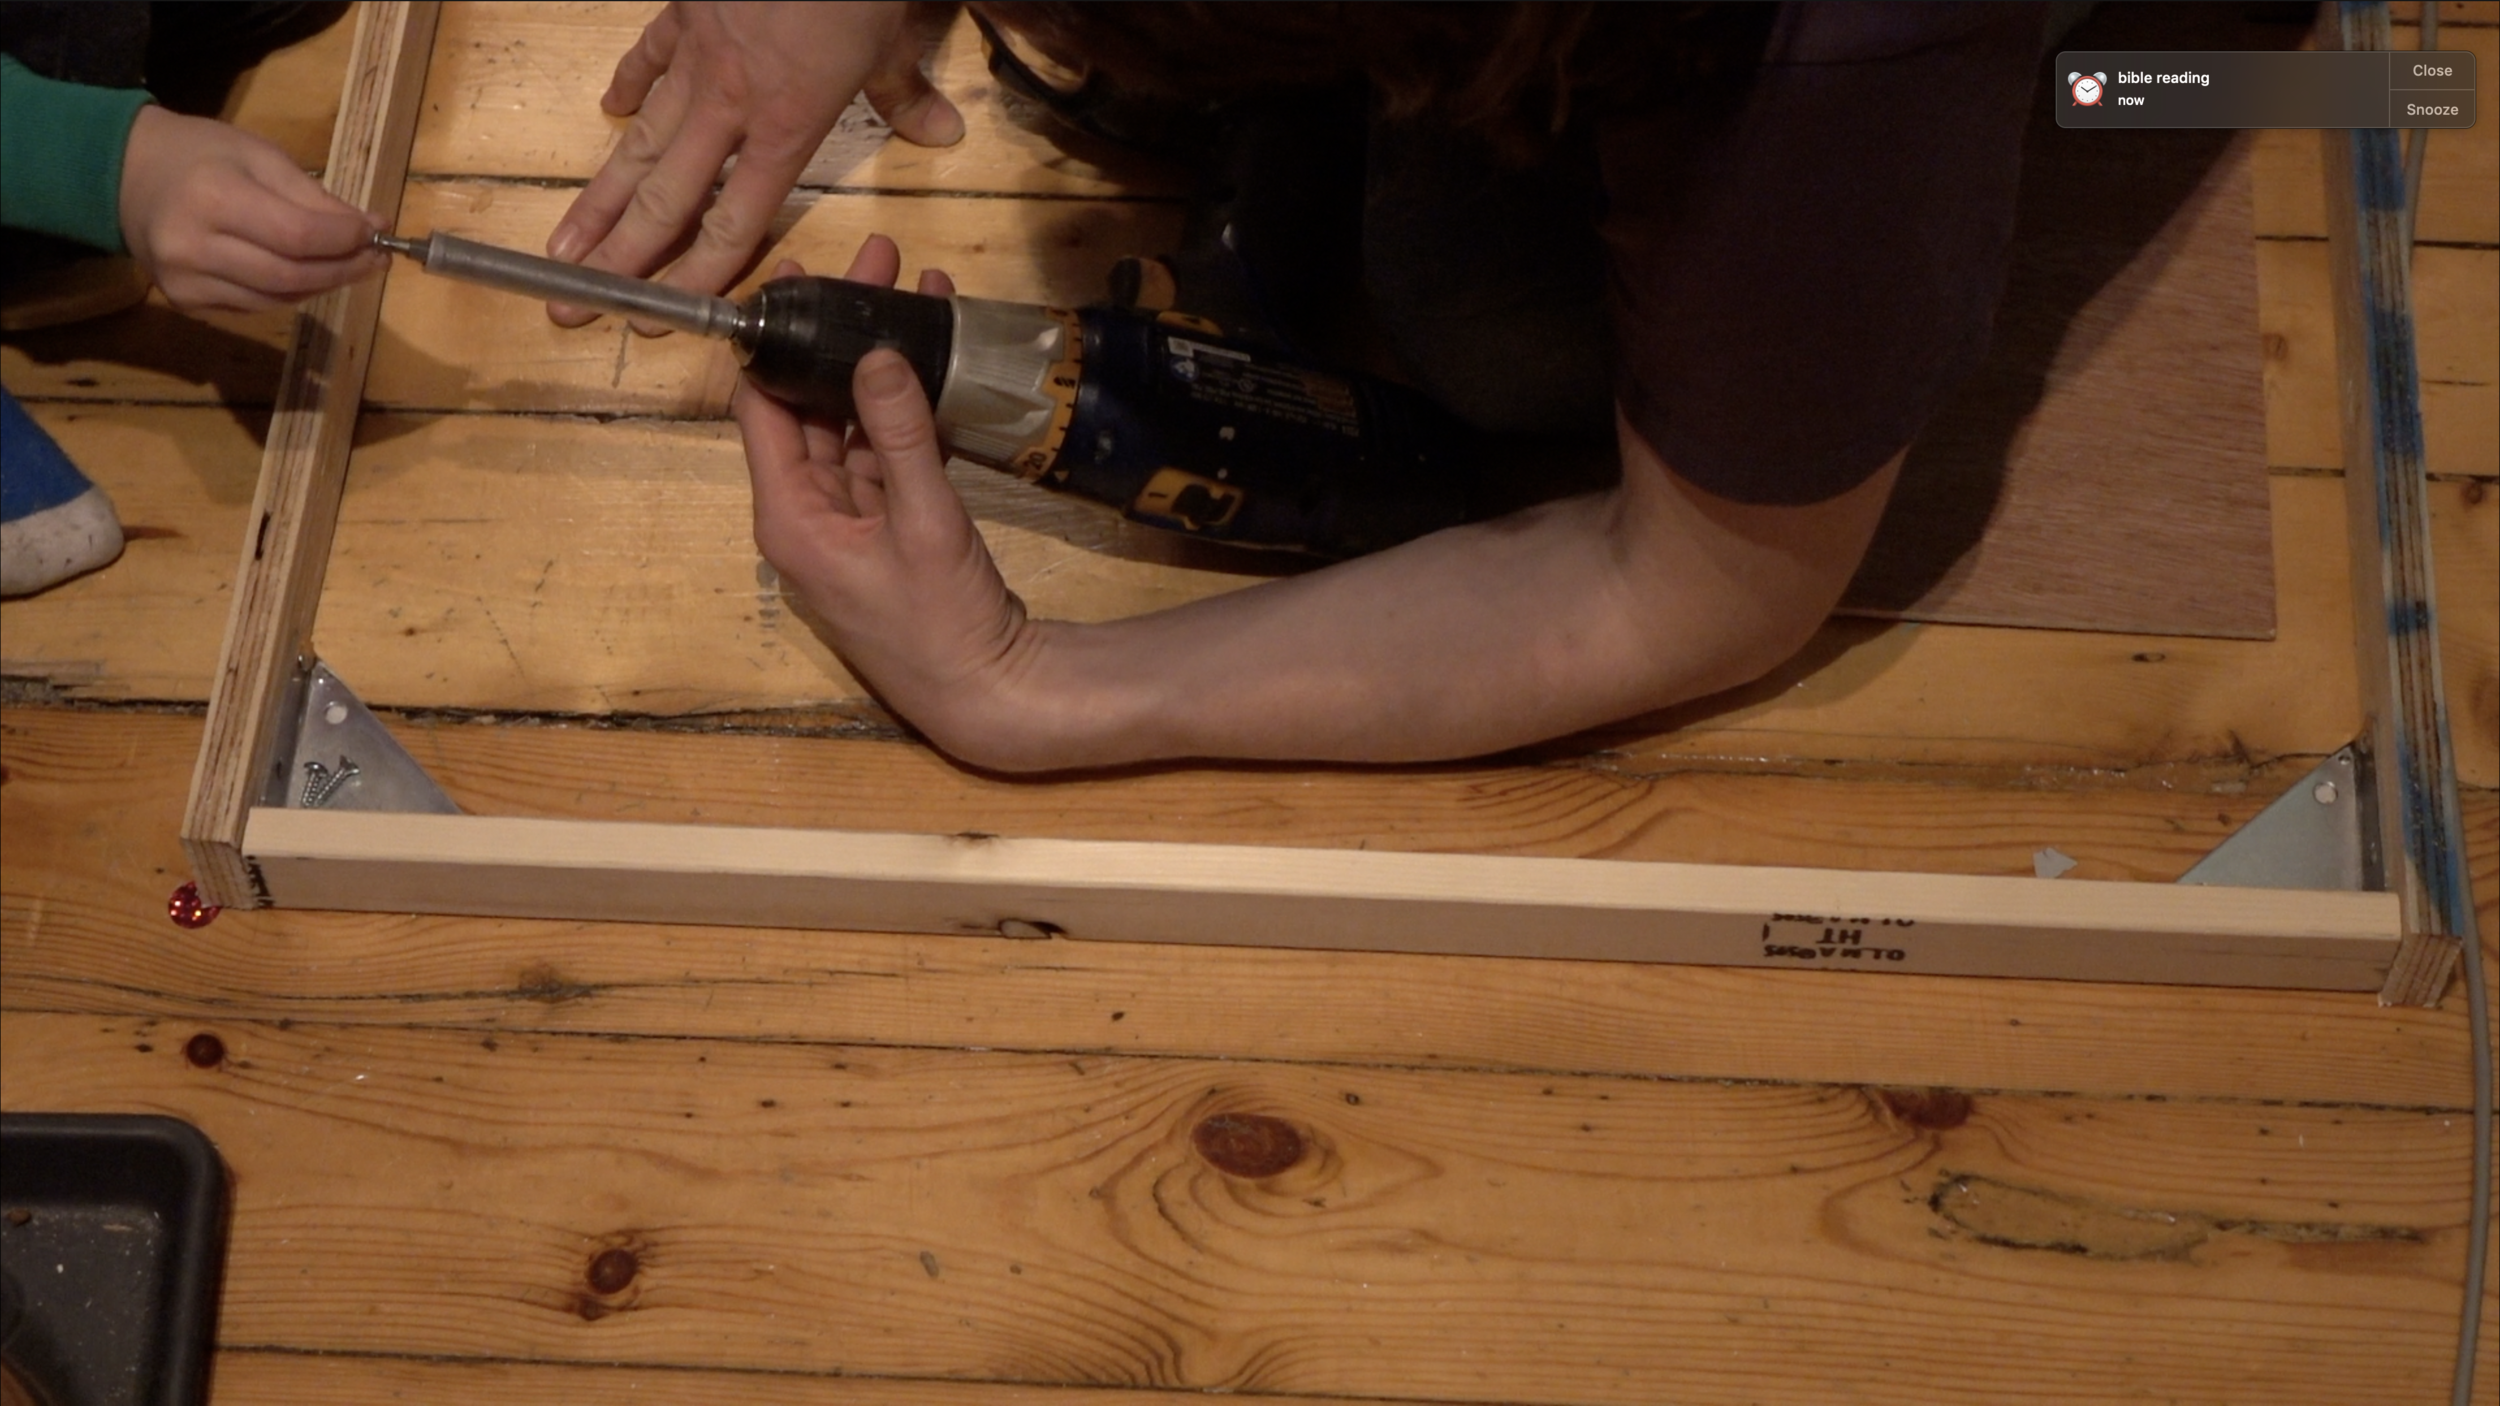
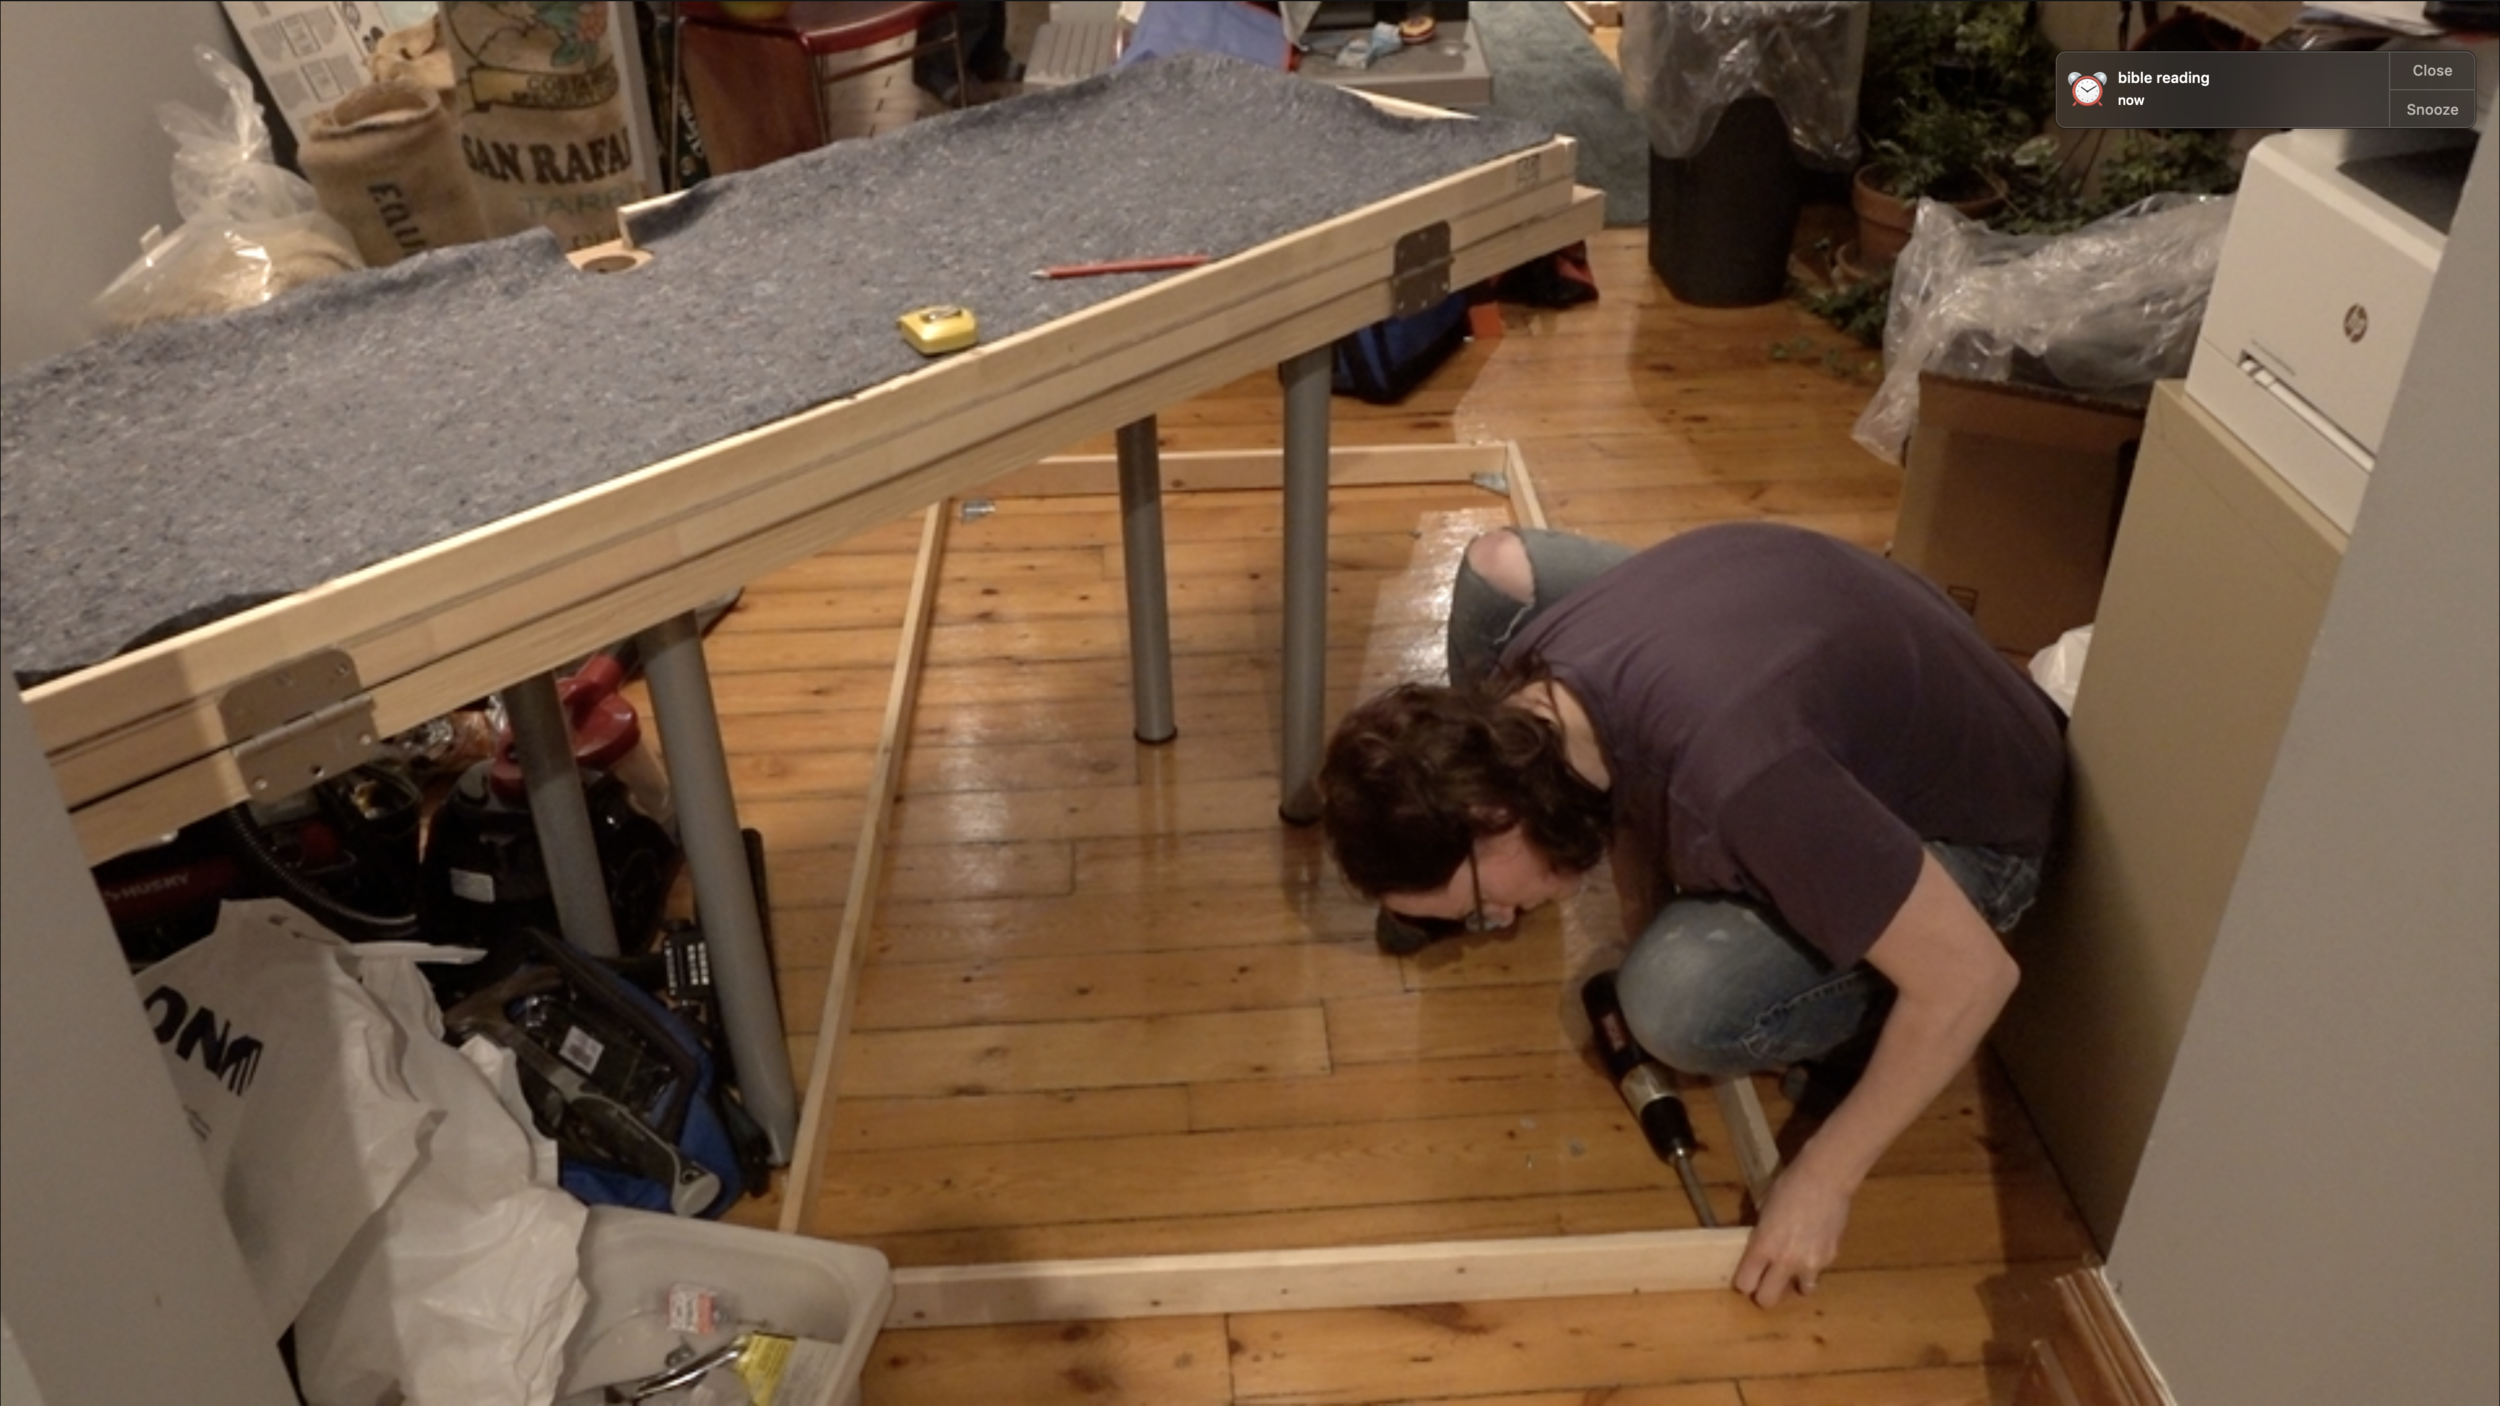
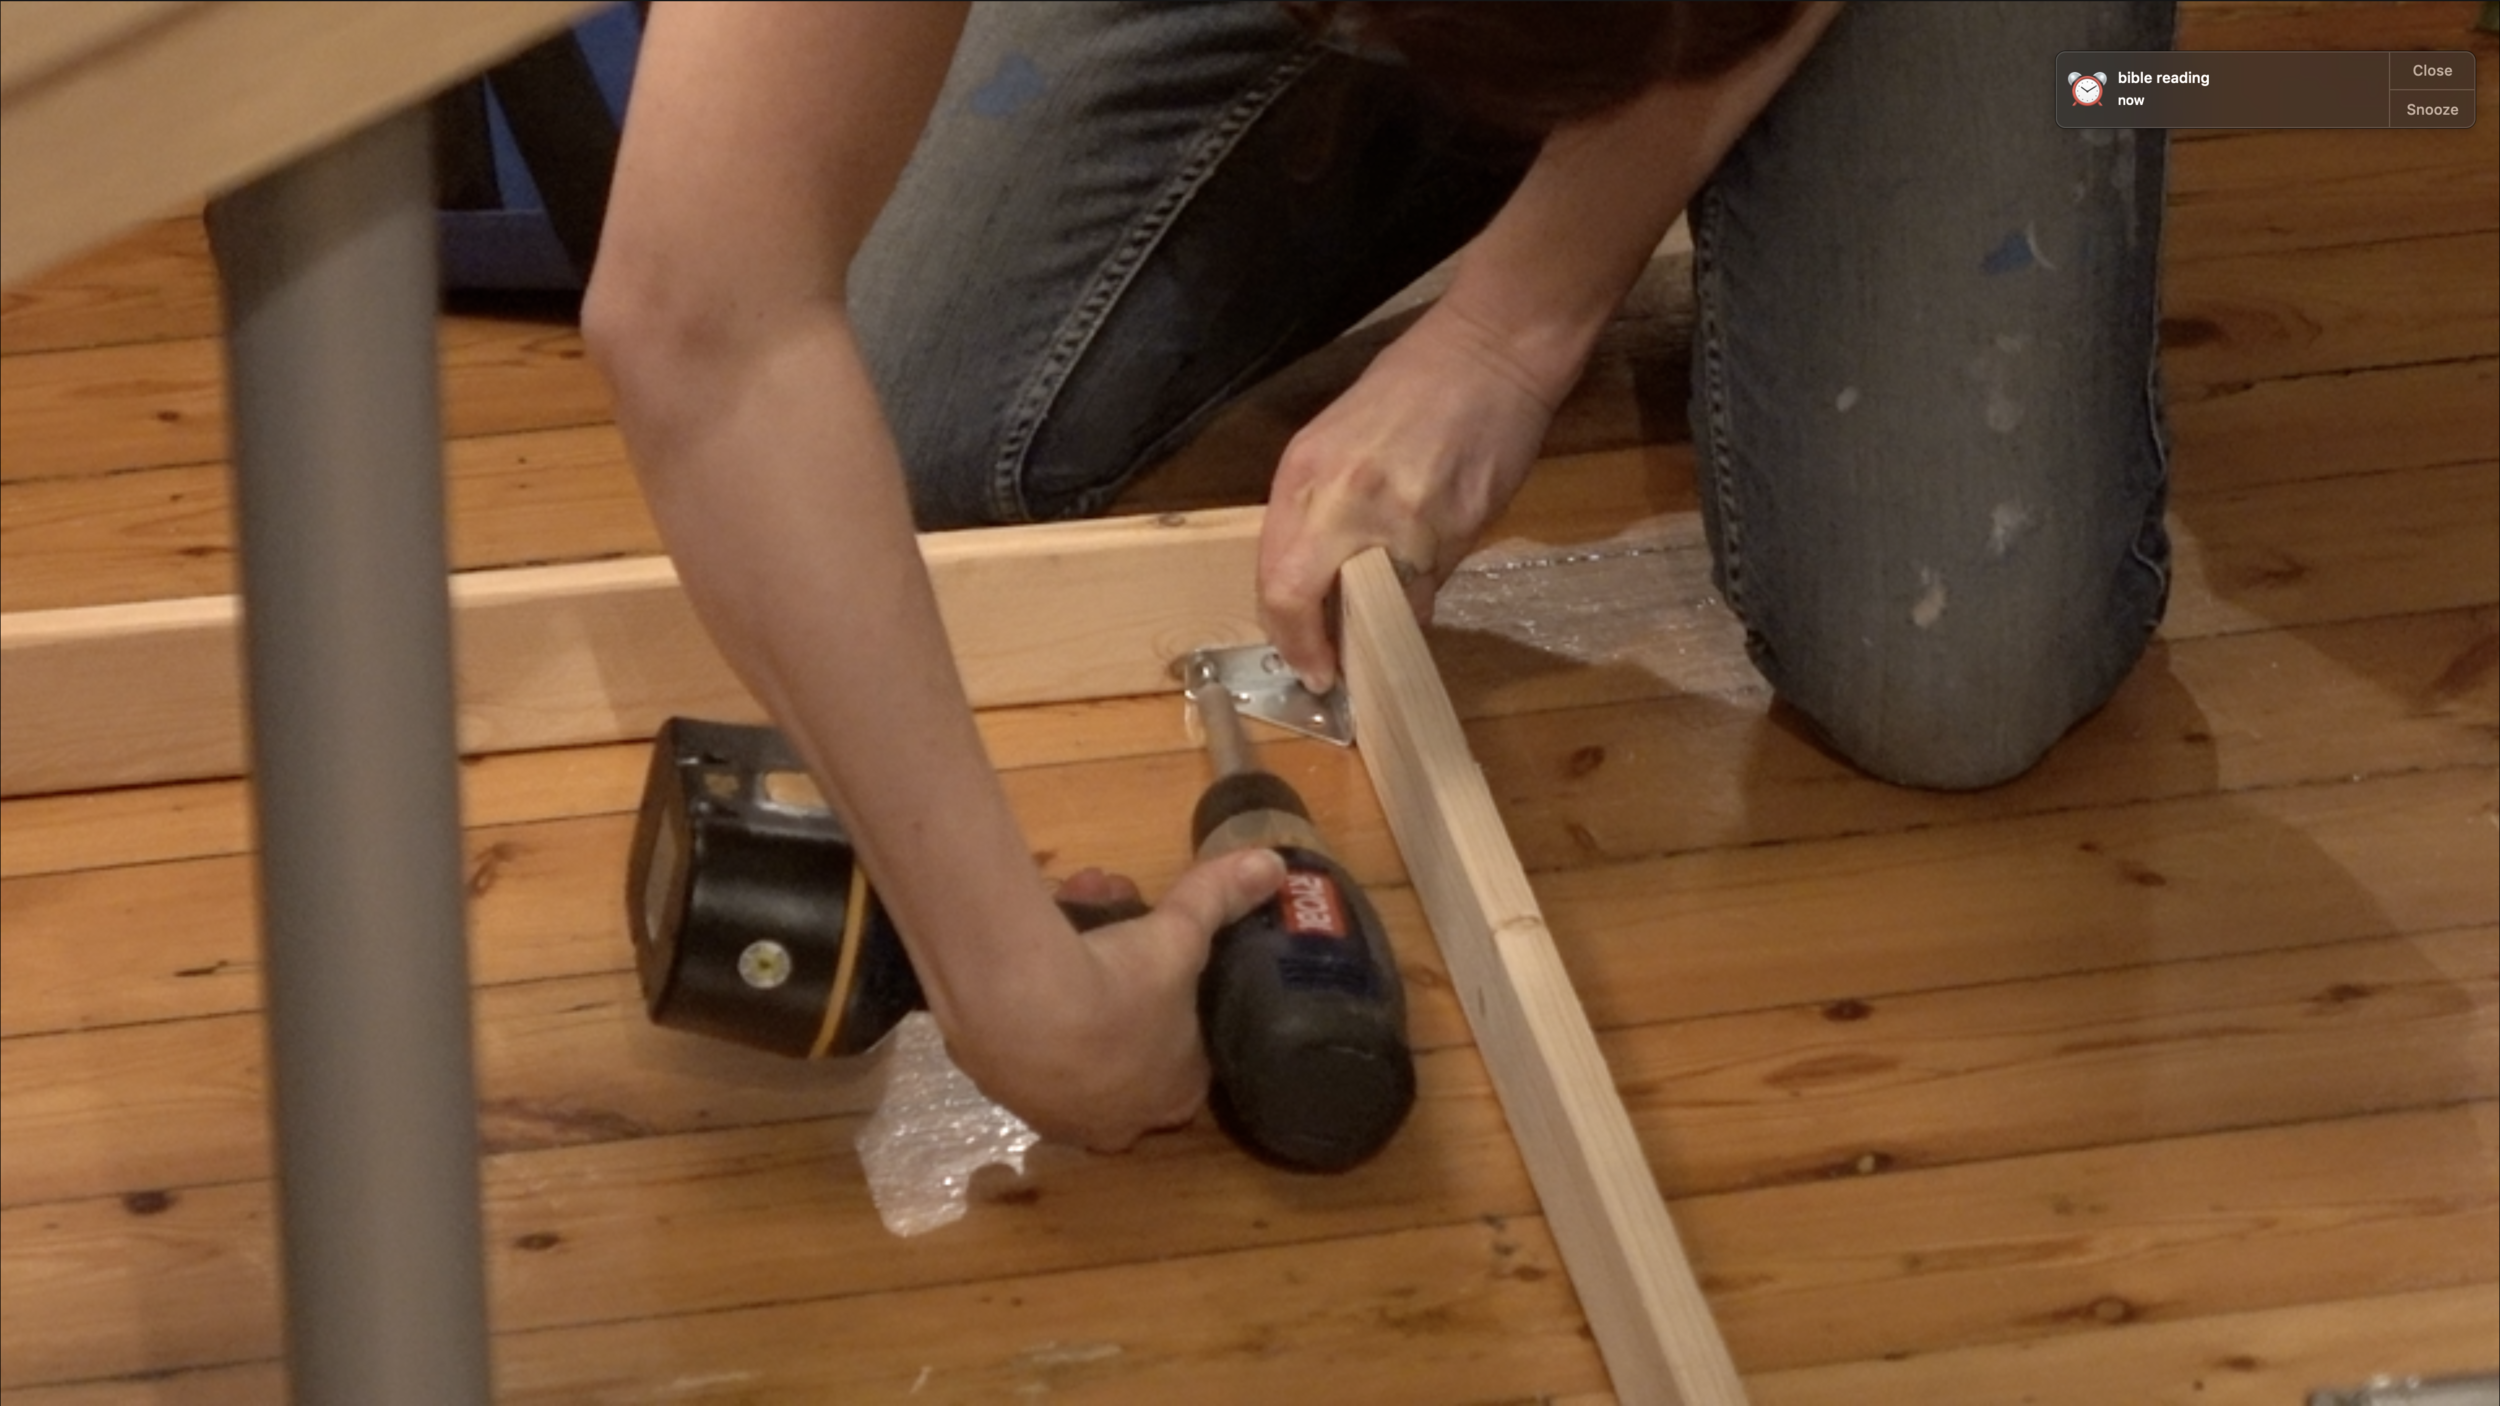
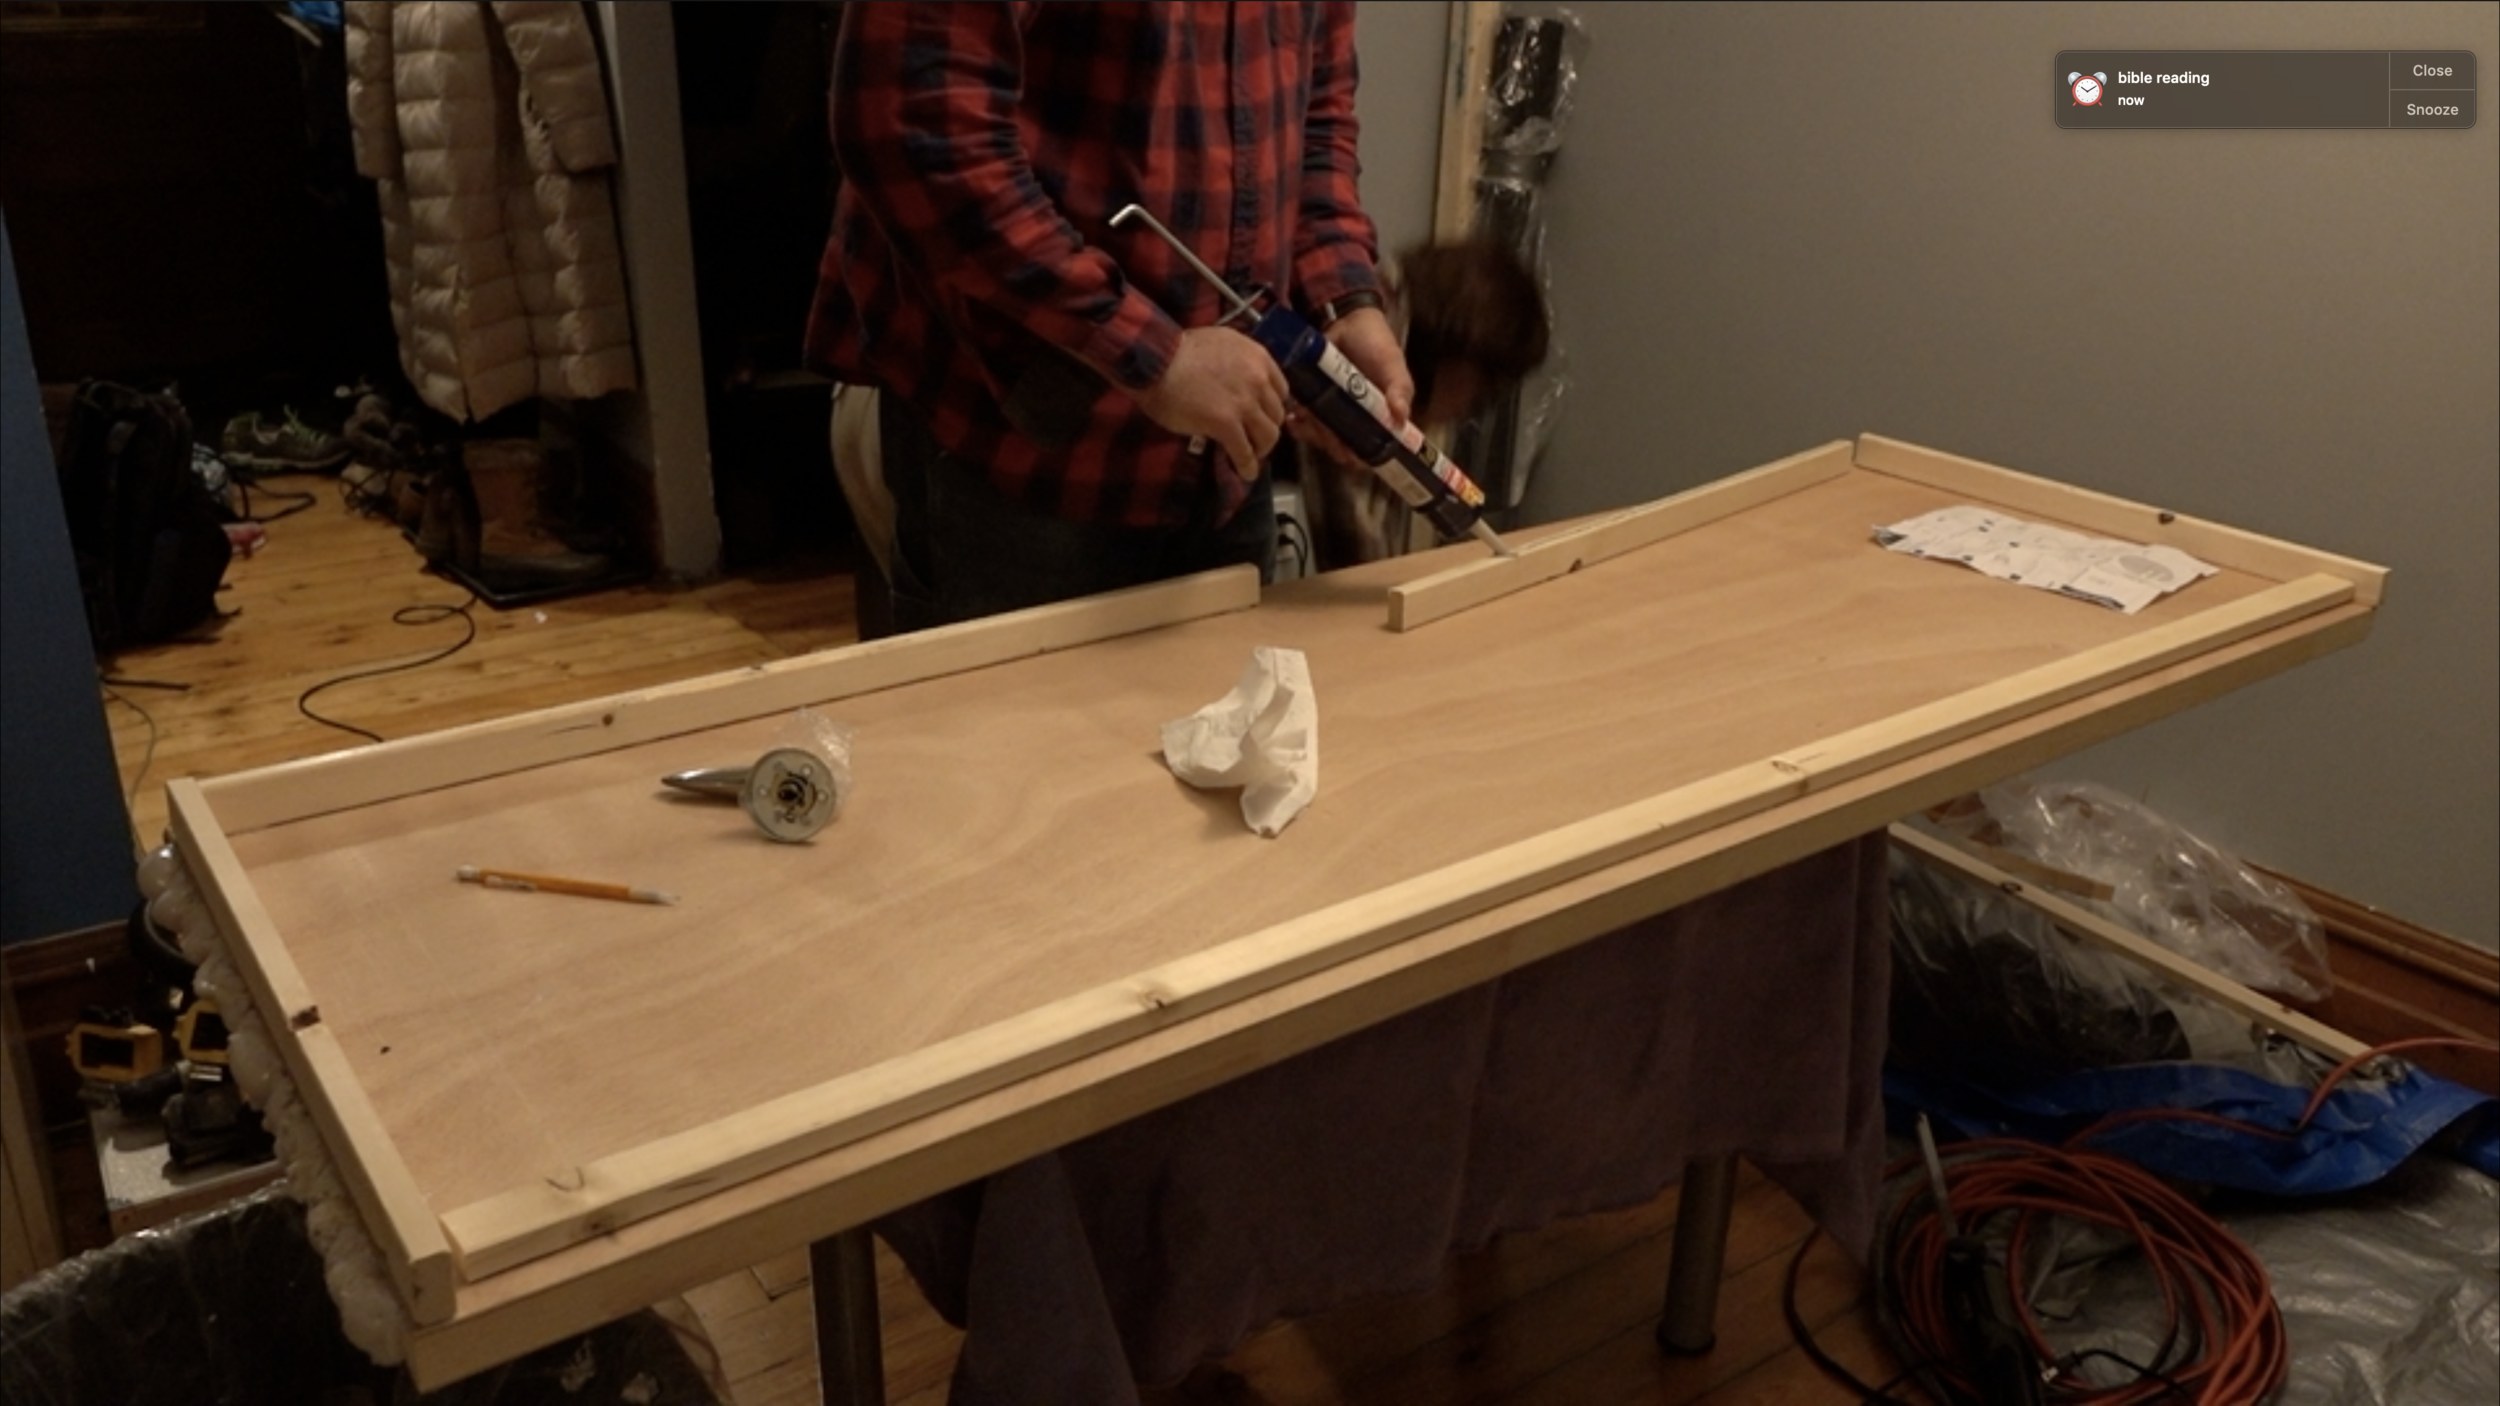
I purchased a basic hollow door, cut off the bottom so that it would fit the opening in the wall. I used acoustical foam to patch the opening left at the bottom. We used PL Premium caulk, corner brackets and “L” brackets to attach a frame to both the inside and the outside of the door. The frame on the exterior of the door overlaps the latch side of the door frame to suppress noise coming through the door frame. This couldn’t be done for the inside frame, so I built an insulating frame, filled it with insulation scraps and screwed it to the inside of the booth.
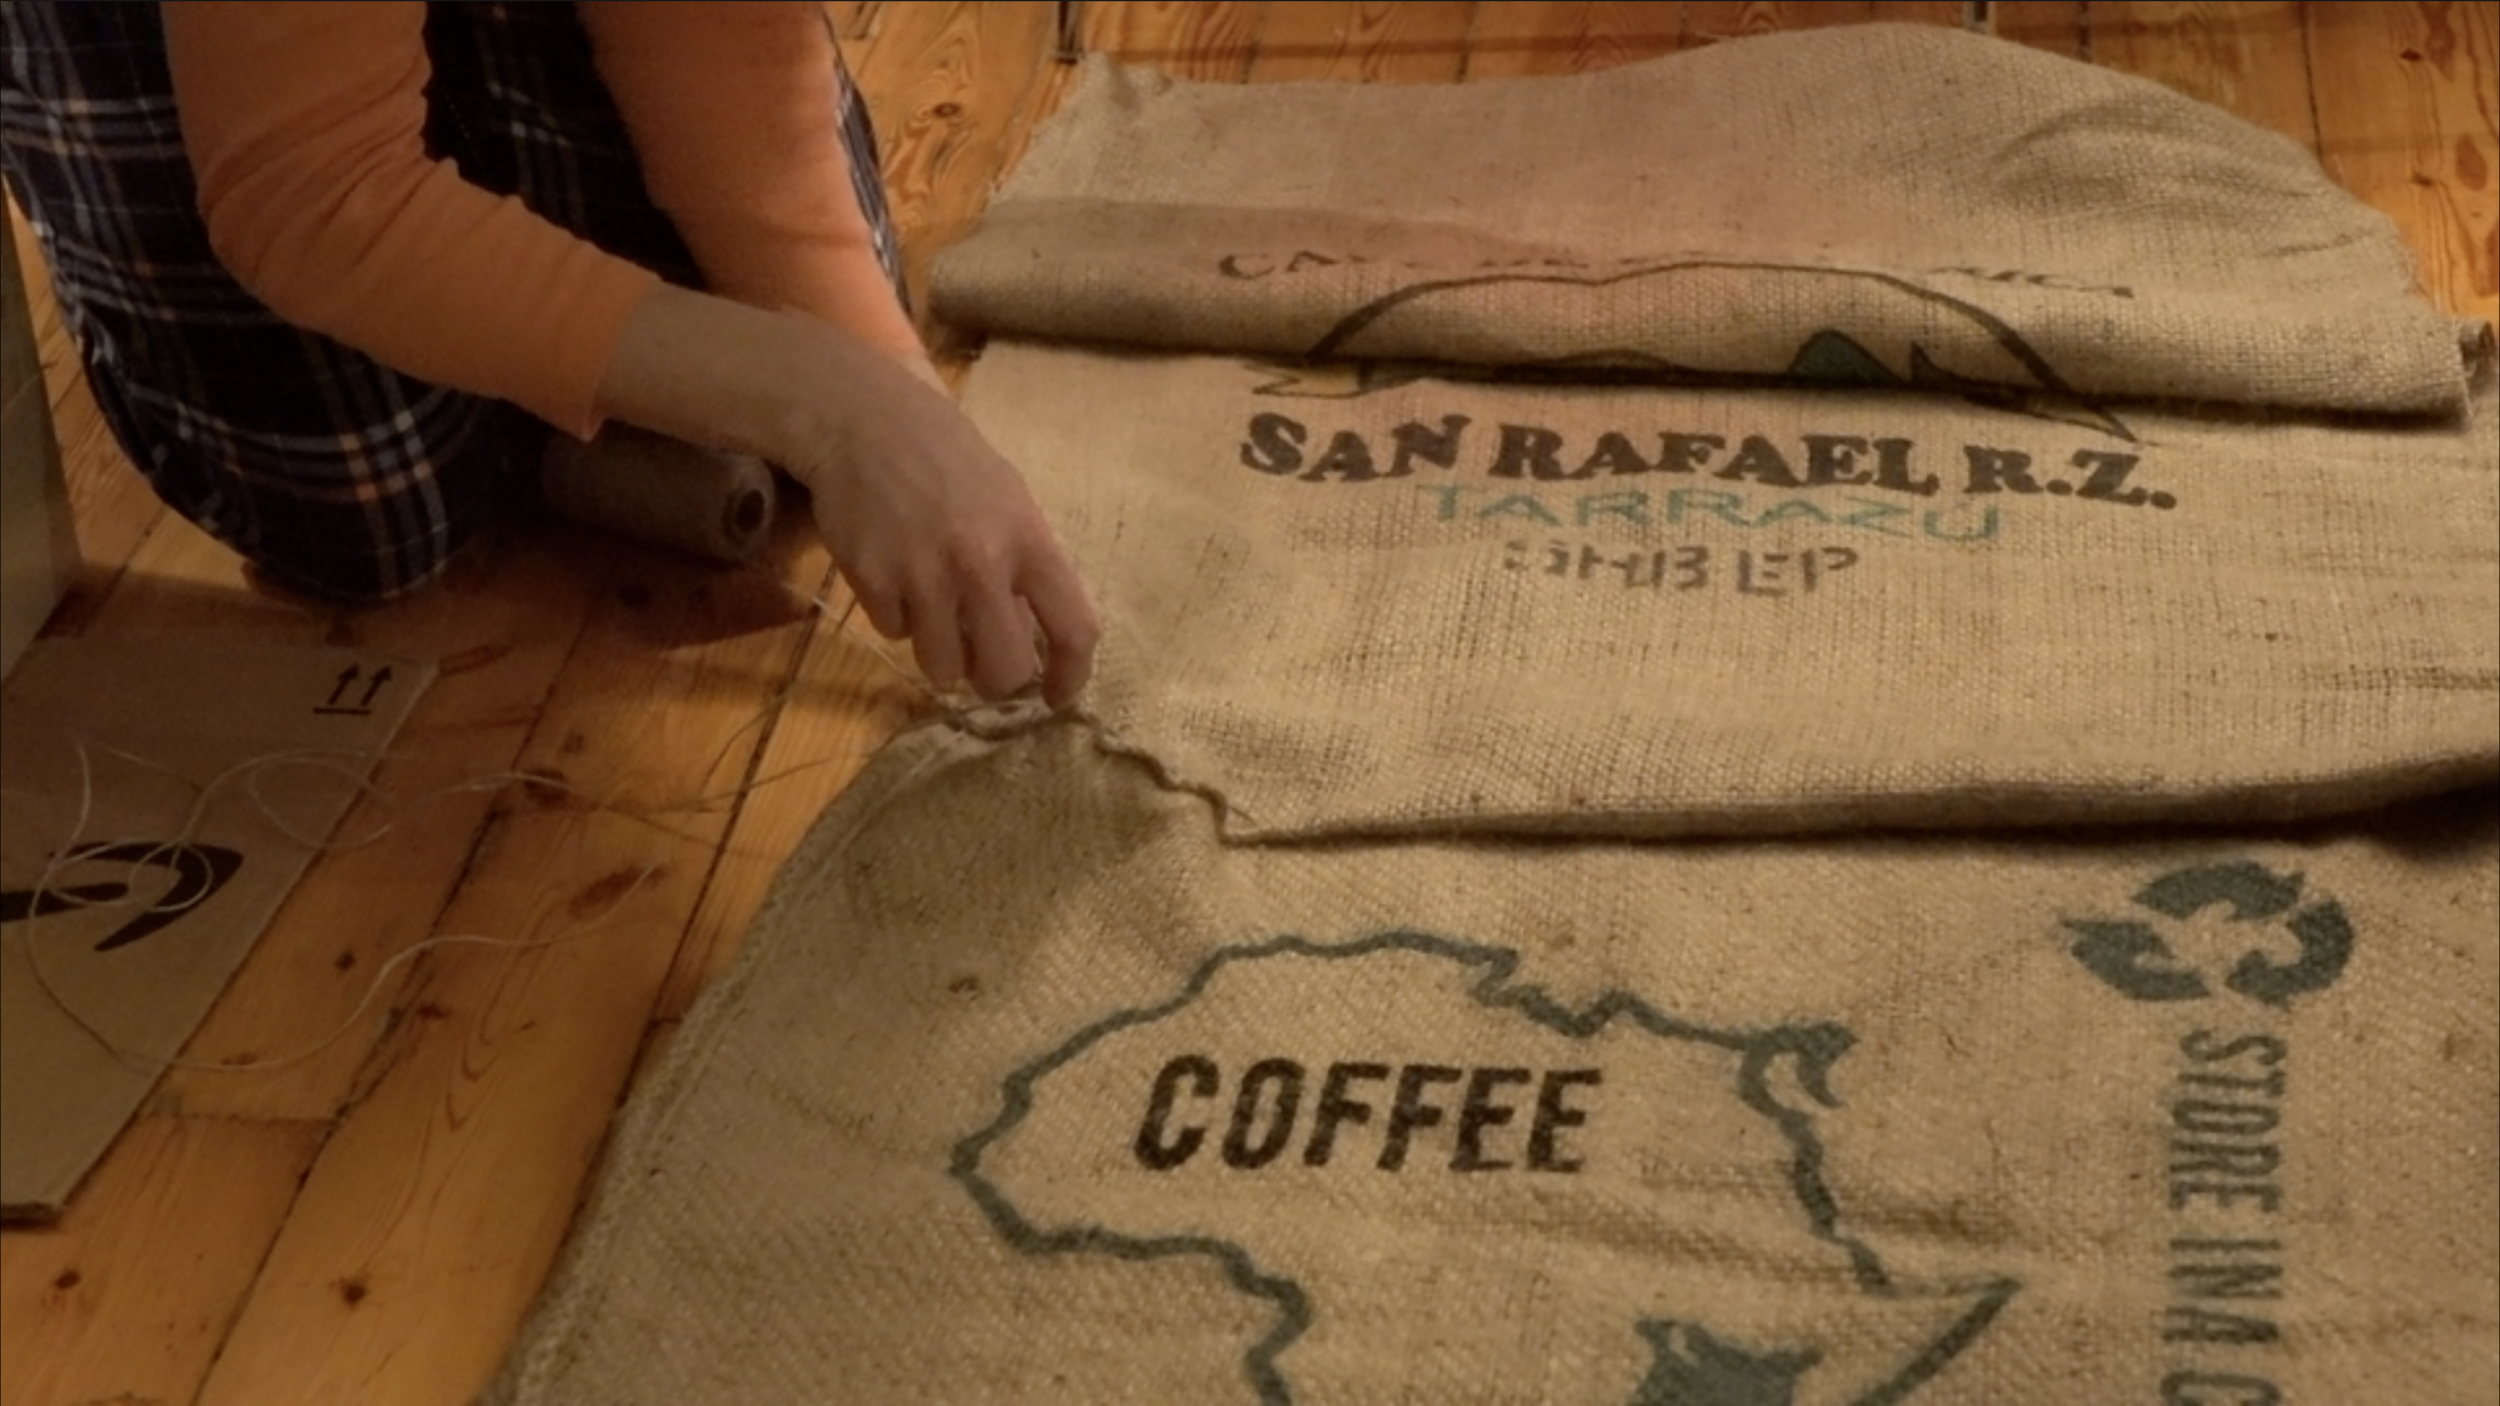
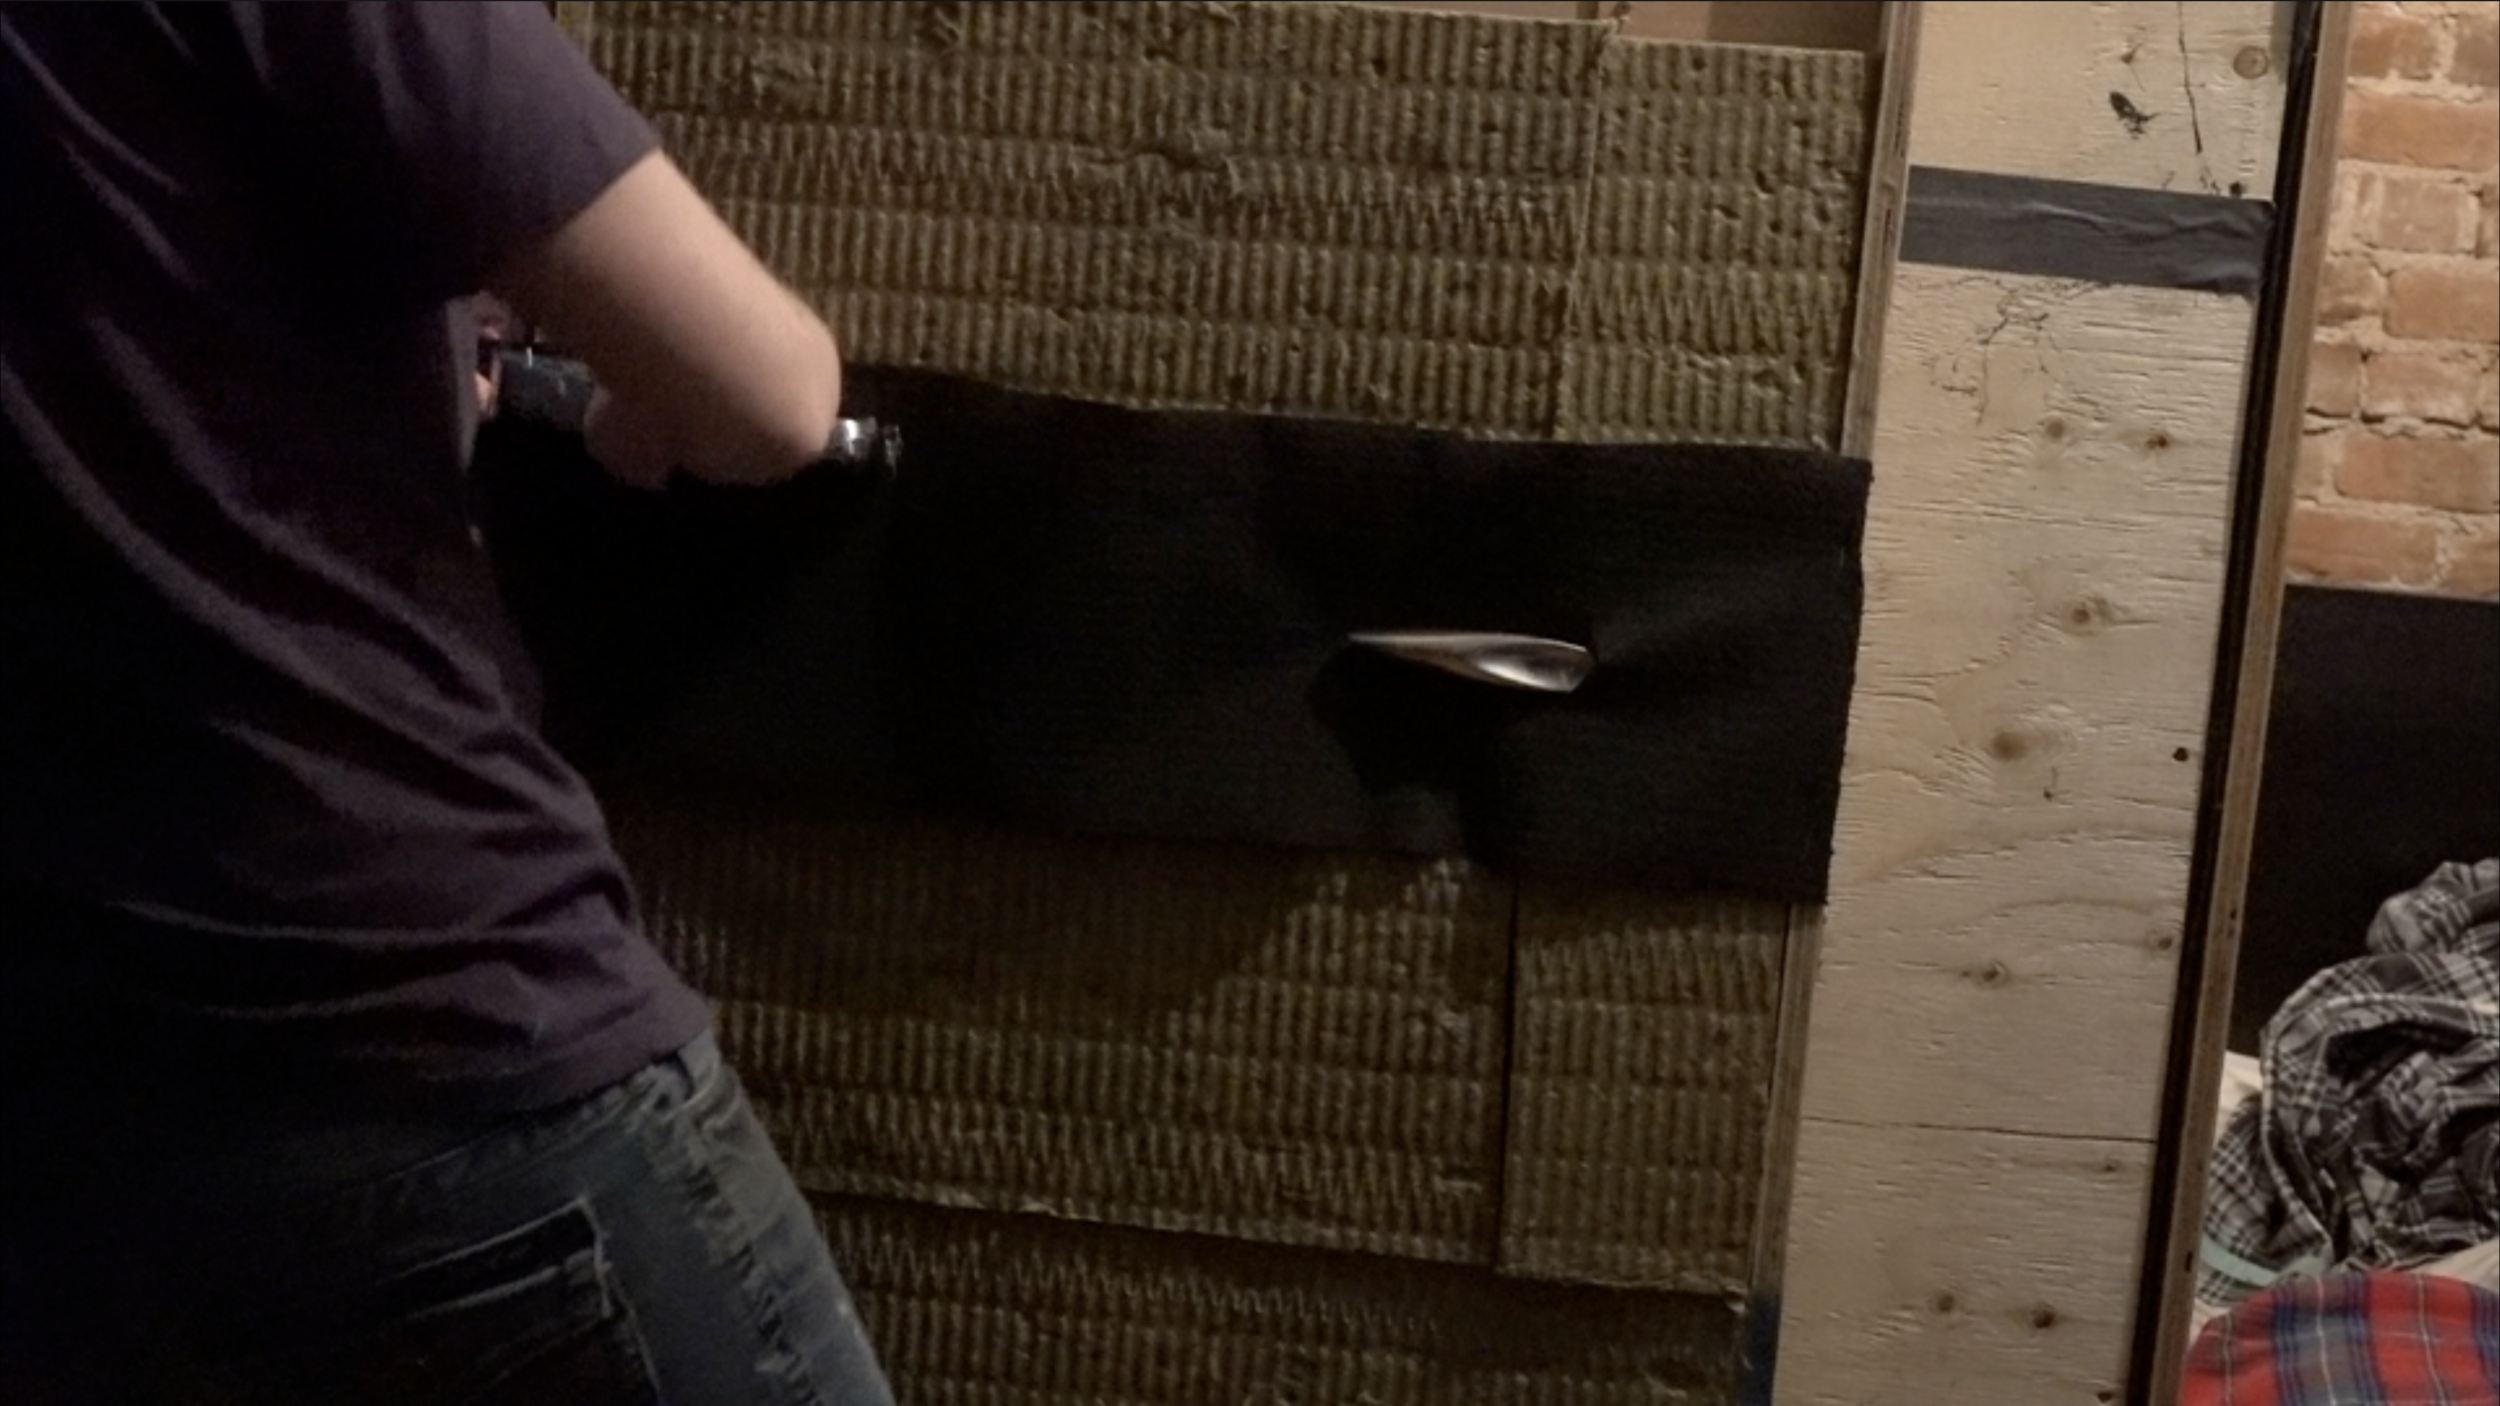
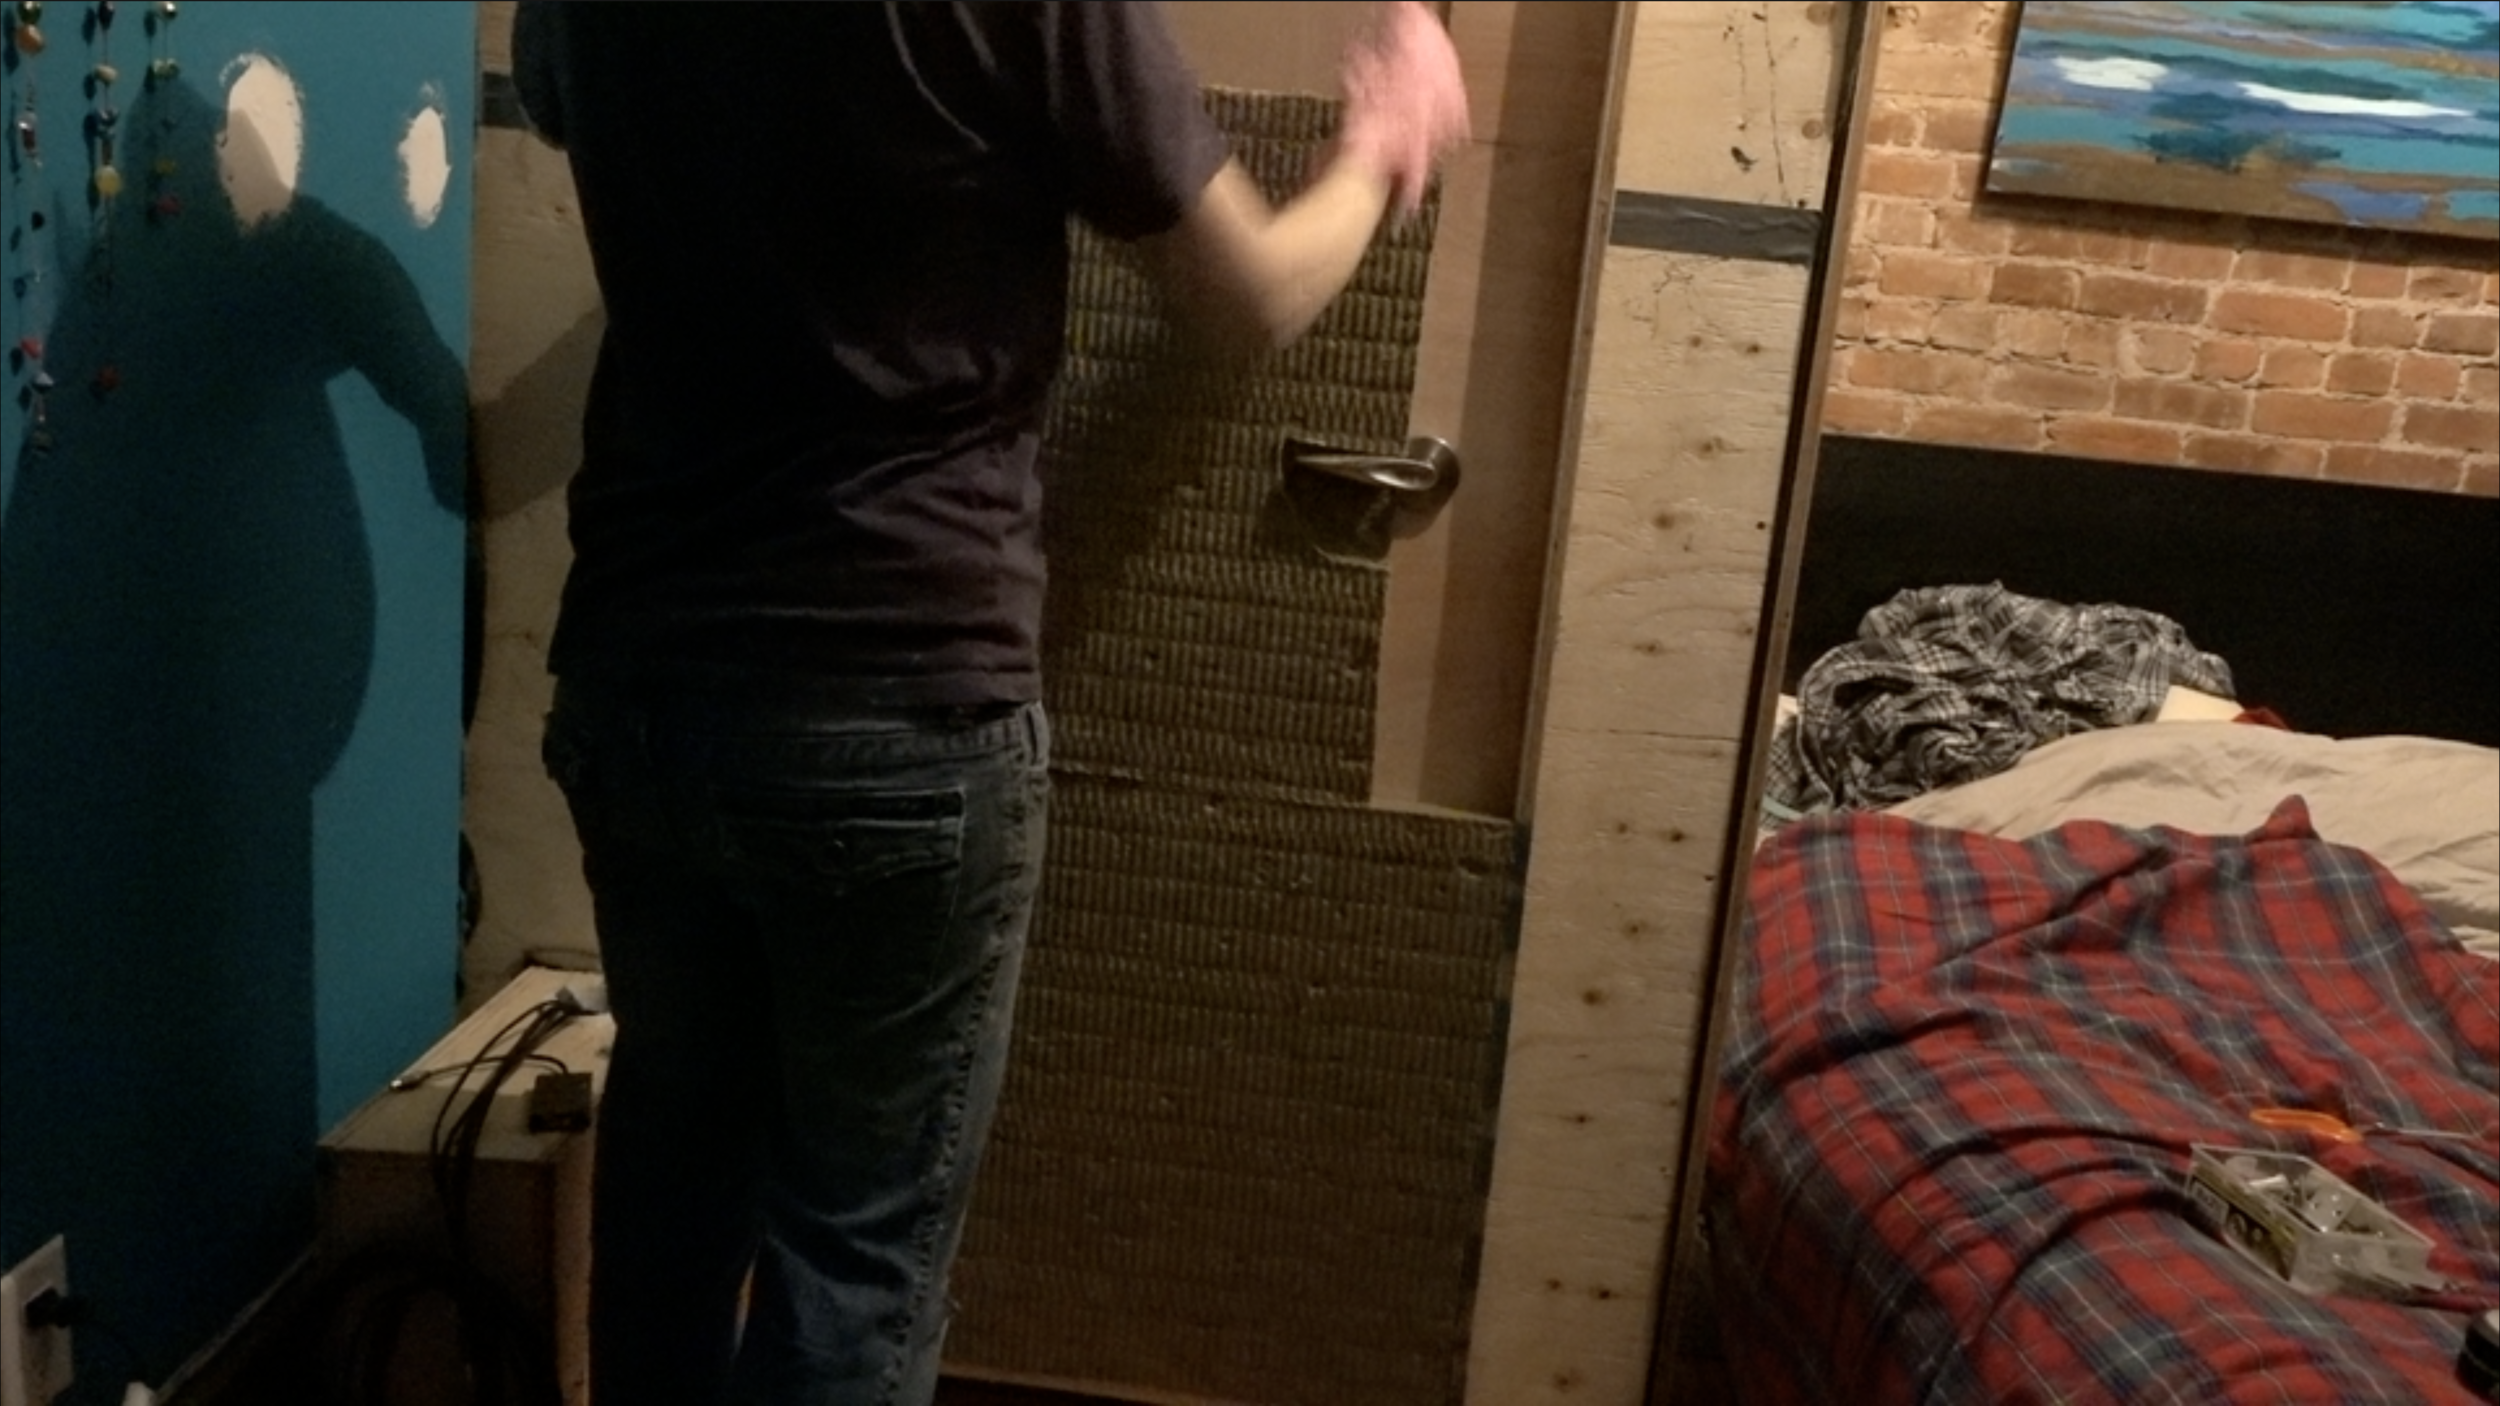
I filled the frames with insulation. I used some sound barrier material behind the door knob since that area would get bumped more than the rest of the surface. I covered the insulation with moving blanket material which is important to keep the insulation from escaping into the interior of the audiobooth. Finally, I covered the door with upcycled coffee bean burlap bags.
The door fits so tightly I wasn’t able to use acoustic foam in the door jam. My door construction is by far the weakest link in the entire booth design. Knowing this I utilize the pick up pattern of my microphone to cancel any sound coming from the door area of my booth.
Diagrams and materials list coming soon.