Home Audio Studio Build Part 1 - Voiceover Booth Design and Construction
Another Big Move
The covid pandemic has changed all of our lives and 2020 was a difficult and unpredictable year for everyone. During the lockdown the sound of cars driving in the neighborhood became rare, and the hum of traffic from the closest highway could no longer be heard. But there were new noises.

Neighbors on all sides decided to use the extra time to do construction projects that involved excavators, saws and jackhammers.
On top of that, the neighbor upstairs took to loud video games. My family was home full time and my husband needed to make his home office in my studio. This extra noise made it difficult to record voiceovers. The city wasn’t as much fun with parks, pools and recreation centers closed. We decided to move to the mountains where the air was fresh, my son could enjoy nature uninhibited and most importantly for me - I could record in quiet.
‘But wait, I thought you just moved two years ago.’ Thanks for reminding me. Yes we did. Have I mentioned I hate moving? When we moved the last time we discussed moving to the country where I could build a really quiet studio, but that would have meant a really long commute for my husband and we weren’t ready to give up the convenience and fun of the city. But COVID-19 changed all of that, so here we were packing boxes again. Turns out moving during a lockdown is a big pain. Because of the lockdown friends that would normally come over to help organize the kitchen and hang curtains couldn’t come. I was always thankful for the help from dear friends during previous moves…but I didn’t predict the exhaustion that would result from them not being able to help. Well…despite the effort we survived and wow…it was worth it.
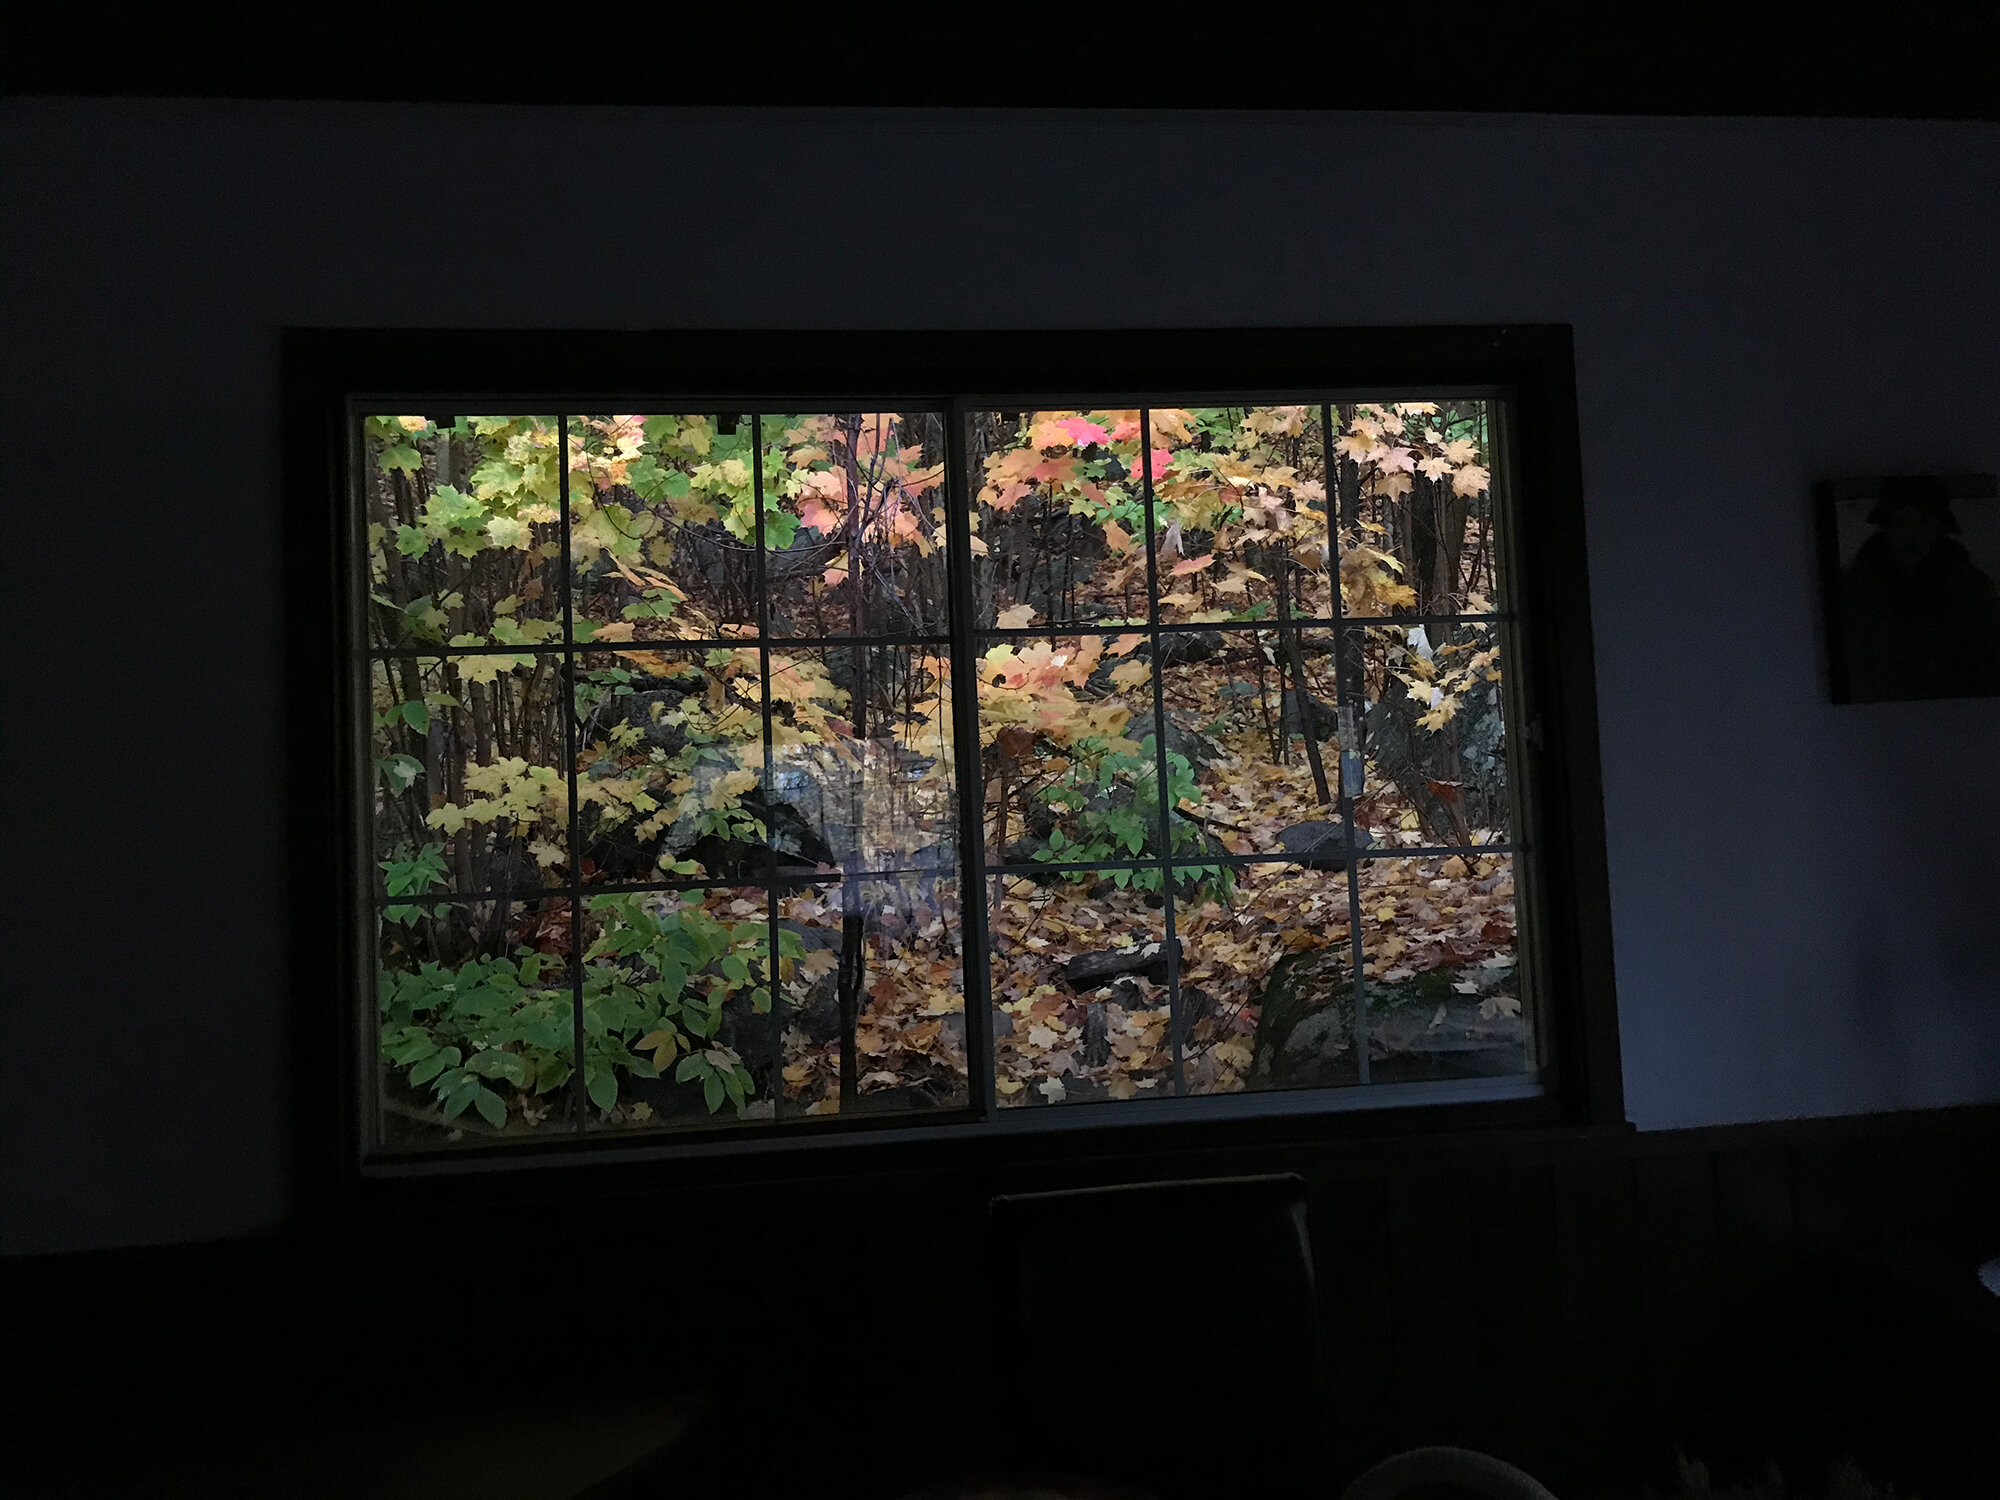
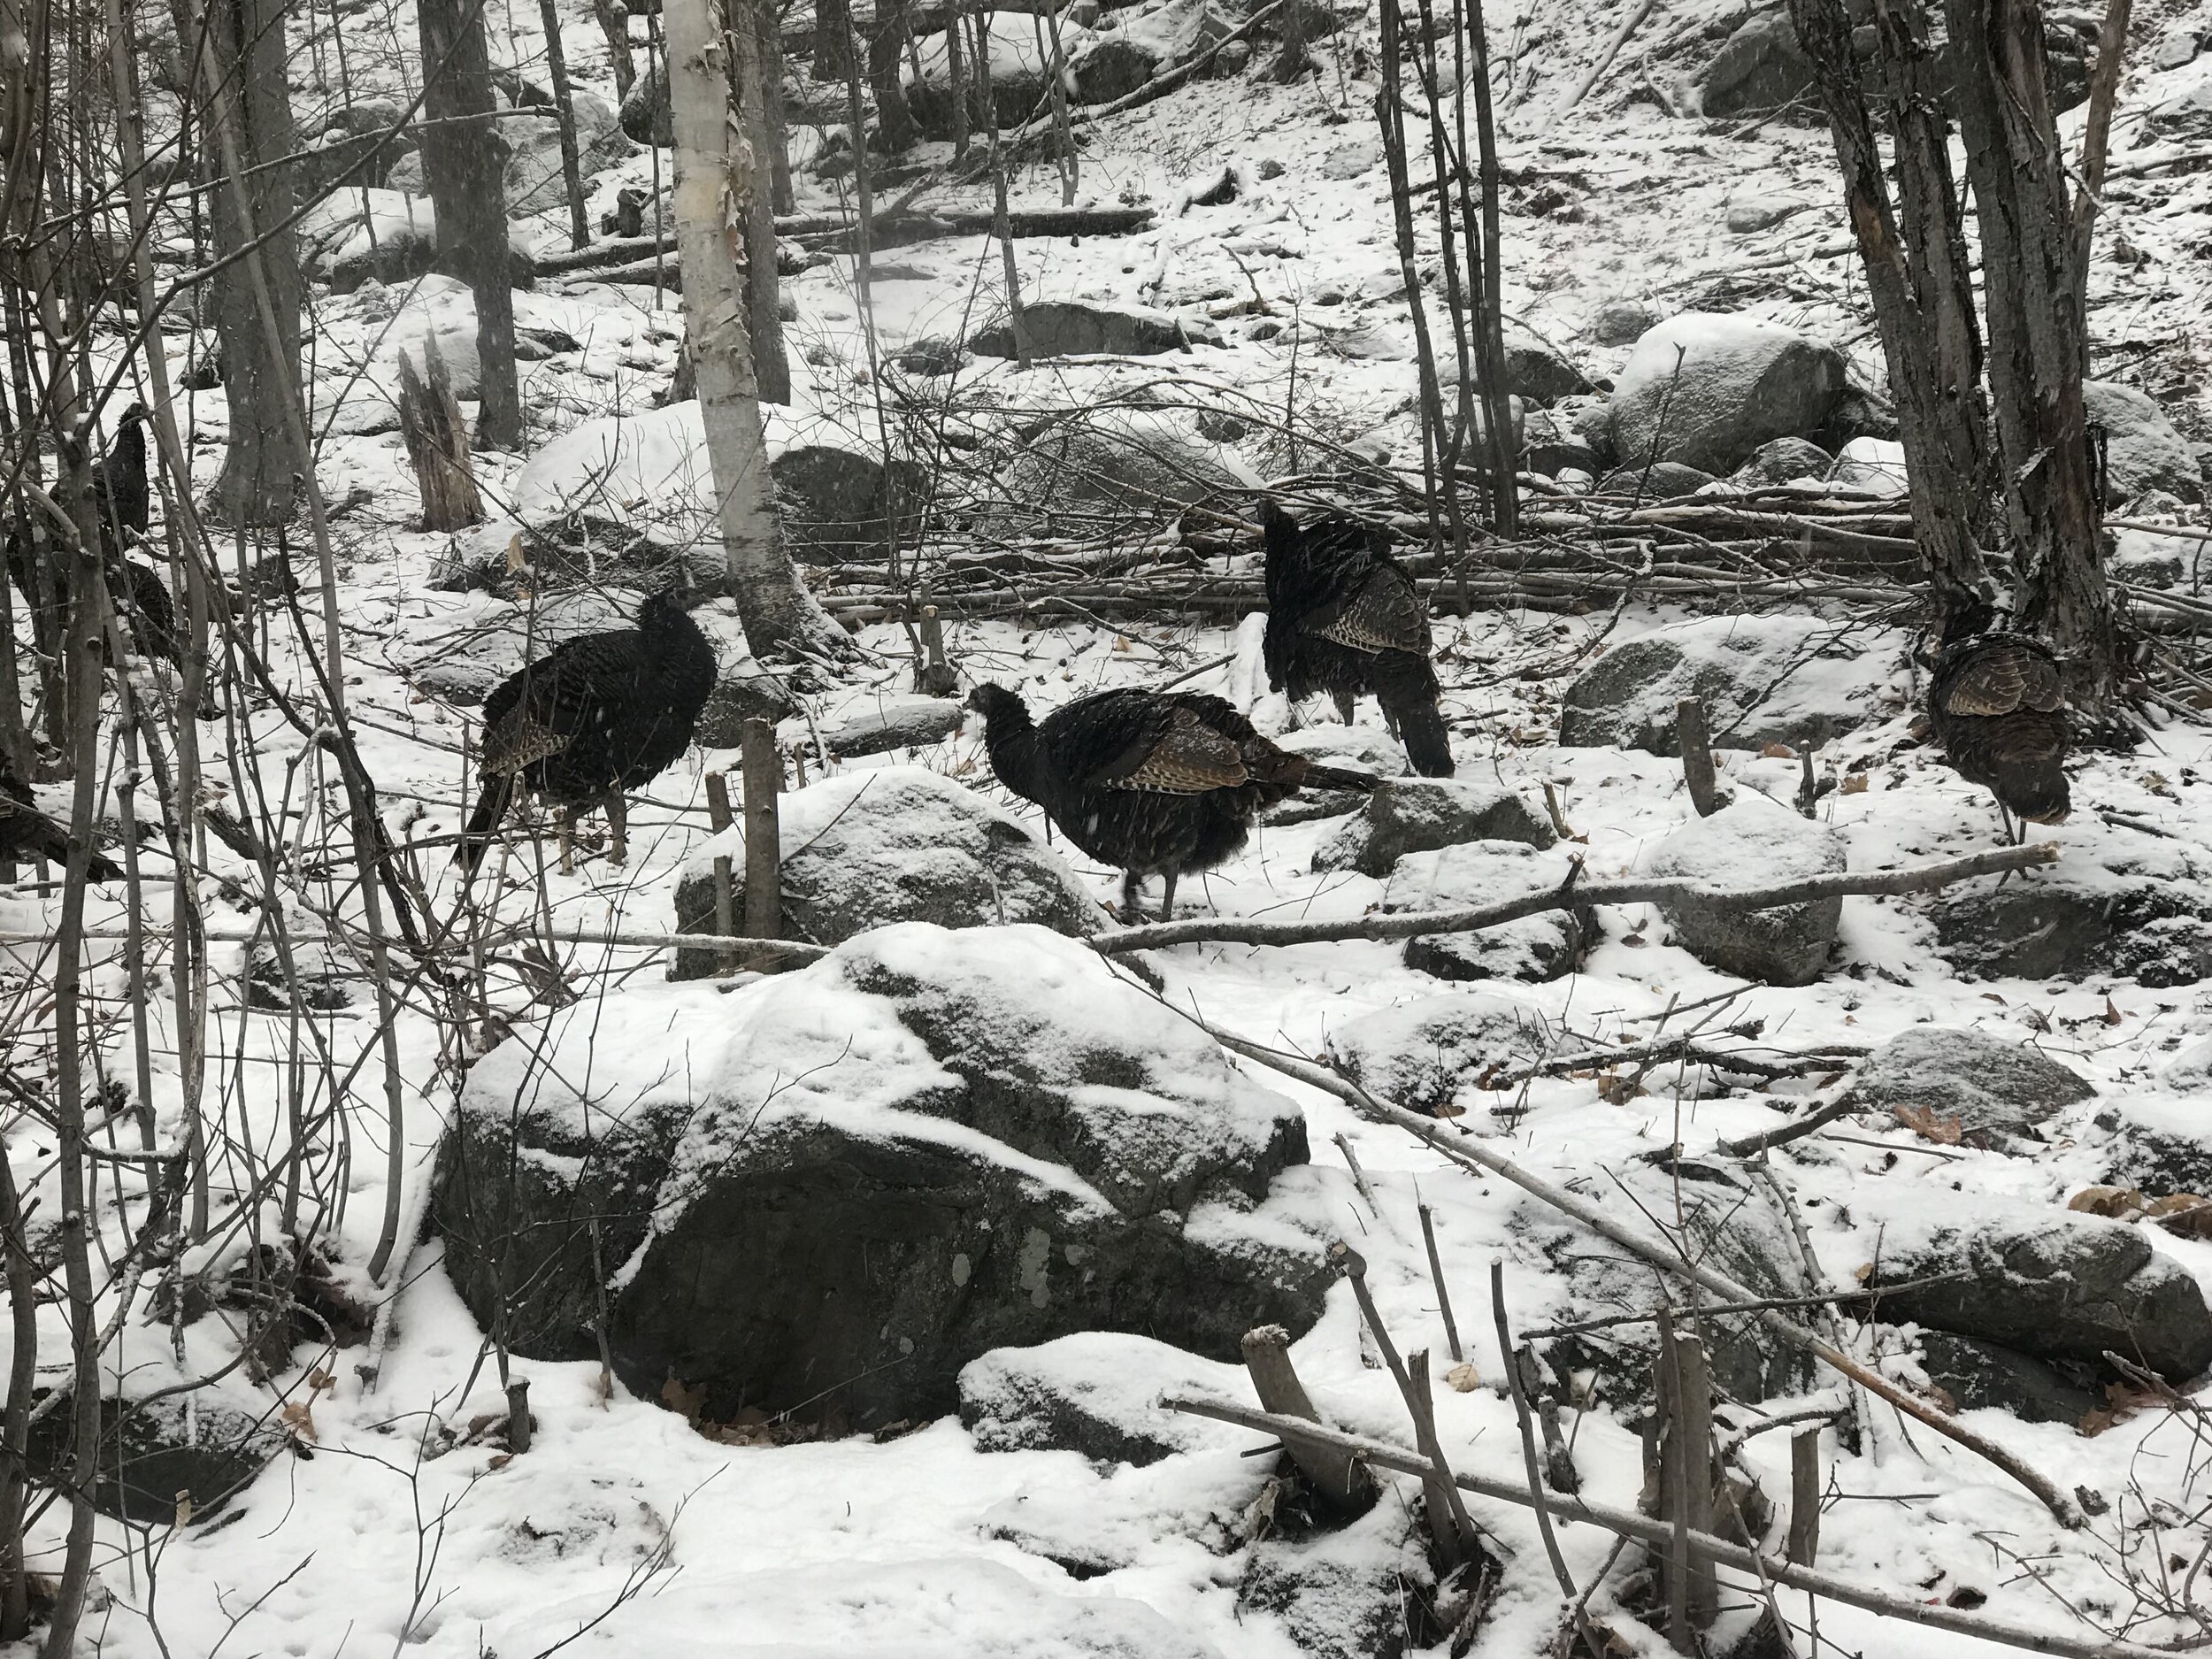
Here are some views looking out the windows of our new home. Can’t beat that!


Now that we found a nice quiet location I needed a soundproof voiceover recording booth and audio studio! I’ve been waiting and researching for this moment for years. The time has finally come when I have a home that I own and I have total freedom to build the perfect DIY voiceover booth!
There were certain parts of this voiceover booth construction that I felt comfortable doing and other parts that I knew I would botch without professional help. Honestly, I would have contracted the whole thing out if I could have found a contractor that was available! At this stage in the COVID pandemic drama it was extremely hard to find a contractor that would even return my call. All of the contractors around were 2-4 months pre-booked. In March/April when the first lockdown started none of them could work, so all of their spring work got postponed to the summer. I think this was compounded by the fact that people started spending more time at home and realized they wanted to remodel their homes to make their lockdown life more comfortable. The contractor who did this job for me came out of retirement to help me. Honestly I think the only reason he did it was because he realized I couldn’t work unless he helped me. He did me a huge favor for which I am forever grateful. Additionally, I was very happy with his efforts to understand my booth design and soundproofing needs. There were moments in the construction when I was very tired and overwhelmed with the move and he made excellent decisions that prevented us from compromising the soundproof integrity of the booth.
Behind the Scenes videos coming soon!
Double Walled Voiceover Booth Design
An approximately 9’x5’ room in our new home was the perfect size to be transformed into my new voiceover recording booth, and the best feature was a window with an amazing view. If you know much about acoustics you might be thinking “9’x5’? Those aren’t golden dimensions for acoustics.” And you are so right! If you are reading this blog post to get ideas for sound booth design please take some time to research optimal room dimensions for audio recording. But don’t worry I have a reason for selecting this space for my audio recording.
In addition to voiceovers, I also do sign language interpreting via video conferencing. I need a confidential office space to do this work. A webcam with a 70 degree angle lens placed 3.5’ from the signer requires at least a 7’ wide backdrop. Therefore, 4’ x 7’ is the minium space required for an interpreters work space. Unfortunately, I can’t make the space any wider because of the layout of the house. So I created some awesome movable bass traps that can be placed in such a way as to deaden any room dynamics that would affect the audio quality of voiceover recordings. More on those in a later post.

Prep Work
We started by removing the drywall so that our contractor could add a second wall inside the existing wall.
Not so conveniently, the electrical panel is located at the complete opposite side of the house. I had to cut open more holes than I wanted to run 14-3 wire to the booth for 2 dedicated circuits. Those will be a pain to patch later.

2 Dedicated Circuits
I ran a 14/3 wire from the panel to the booth, and had a licensed electrician install new breakers in the panel.
Voiceover Booth in Progress
After adding a second wall to the room the final interior dimensions for the recording booth are 8’4” deep by 4’10” wide by 7’ inches tall.
From my research I saw the benefit of using various densities and thicknesses in the layering of the sound booth shell. Therefore, we mixed up the products and insulated the interior wall with Roxul Comfortboard(much more expensive) and the exterior wall with Roxul Safe n’ Sound. Additionally, we incorporated air space between layers since this makes a measurable impact on sound insulating.

Plug All Gaps
At each stage we were careful to packed every nook and cranny of the corners and edges with Roxul Safe n’ Sound, Greenglue Sealant and or soundproofing foam.
Soundproof an Audio Booth by Decoupling the Inner Wall
This is a super important concept. The final design of my voiceover booth uses 5 decoupling techniques to ensure that no sound vibration will enter from the outside environment. First we have 2 independent walls. The actual house exterior walls are the home’s ground floor/basement cement walls. Directly attached to these are 2x4 walls sprayed with soundproofing foam. The opposite 2x4 walls are attached directly to the foundation. Just inside these walls we floated a raised floor using 2x6’s.

We needed to create a vapor barrier, so we used a Foam Pack and sprayed insulation all over the floor.

Then we put Roxul Safe n’ Sound between the 2x6 floor joists.

We put joist tape from Trademark Soundproofing on the joists and then tongue and groove 1/2” plywood.

Insulating the Ceiling
Because of the existing furring strips it was impossible to get anything in the ceiling except Roxul Safe n’ Sound. We put two layers.
Decoupling and Soundproofing Techniques
Leaving a 1” air space between the exterior walls we built interior walls on top of the floating floor. Between the floating floor plywood and the sole plate of the interior stud wall we put rubber underlayment called GenieMat. The room will be decoupled further when we use decoupling brackets to attach the resilient channel before we put on the drywall.
Next, the contractor installed Sonopan as the first layer over the stud wall. He was pleasantly surprised and super happy with how easy it was to install. This is an awesome product produced right here in Quebec, Canada. It’s similar to other recycled wood sound insulating panels, but it features surface dents that help with sound dissipation.

The Sonopan is screwed into the stud wall.

Contractor’s Band-aid
Pliteq GenieClip RST brackets for resilient channel decouple the drywall from the structure of the house.
Next we used Pliteq GenieClip RST’s to attach the resilient channel. These are awesome. They have rubber gaskets that decouple a metal bracket that receives the resilient channel. The resilient channel itself is a decoupling product. If the building is transmitting sound vibrations these will be dissipated by the rubber gasket in the GenieClip and the flexibility of the resilient channel.

The GenieClips screw into the ceiling joists. The resilient channel clips into the GenieClips.
Other sources have noted that using different thicknesses of drywall made a measurable difference. My contractor wasn’t thrilled when I told him I got 5/8” drywall for the first layer. There was a lot of grunting when it was installed on the ceiling in that tight space.
The last thing you want to do is negate the decoupling effect of the resilient channel by putting a screw through it all the way to the Sonopan or stud. Using short screws, he screwed the drywall just into the resilient channel.

5/8” Drywall - So Heavy!
He was careful to use the appropriate length screws.

Sealing Gaps and Seams
After the first layer of drywall was up, I applied Greenglue Sealant in all the corners and edges.
The final layer was 1/2” drywall. The Greenglue compound between layers of drywall has decoupling properties and helps dissipate sound vibrations. Despite the price don’t skimp on the Greenglue compound.

After I applied a generous coating of Greenglue Compound to the back of the 1/2” drywall, he screwed it onto the 5/8”.

He staggered the second layer of drywall in order to overlap the seams.

This design incorporates at least 5 decoupling techniques, 2 different insulation densities, 2 different drywall thicknesses and air space.
Soundproofing Caulk Compound Sealant Review
A note on Greenglue sealant and compound: I can’t rave about this product enough. When building my last voiceover booth I used Lapage soundproofing caulk because it was cheaper than Greenglue Compound. Booooo! I’m sure the Lepage stuff was just as capable in terms of sound proofing characteristics but that stuff is terrible to work with. I hated it and will never buy it again. The Lepage stuff is a horrible tar-like gunk that sticks to everything waiting slyly for you to stick your hand or tool into later. I highly recommend using Greenglue Compound even though it’s triple the price. It goes on smooth and is easy to clean up.
Subscribe for more about my DIY basement audio recording studio in these upcoming blog posts:
Soundproof Door Solution and Soundproof Window Solution
Electrical and Low Voltage Wiring
Air Intake and Exhaust
Here’s a great resource for your audio booth design:
https://medium.com/@alexander_jenkins/cutting-a-big-hole-in-my-house-for-fresh-air-ventilation-into-the-studio-59f00598b037