Upgraded DIY Voiceover Booth Design - Learning from my Mistakes!

Cozy Digs
Upgraded audio studio - just in time for COVID-19 lock down
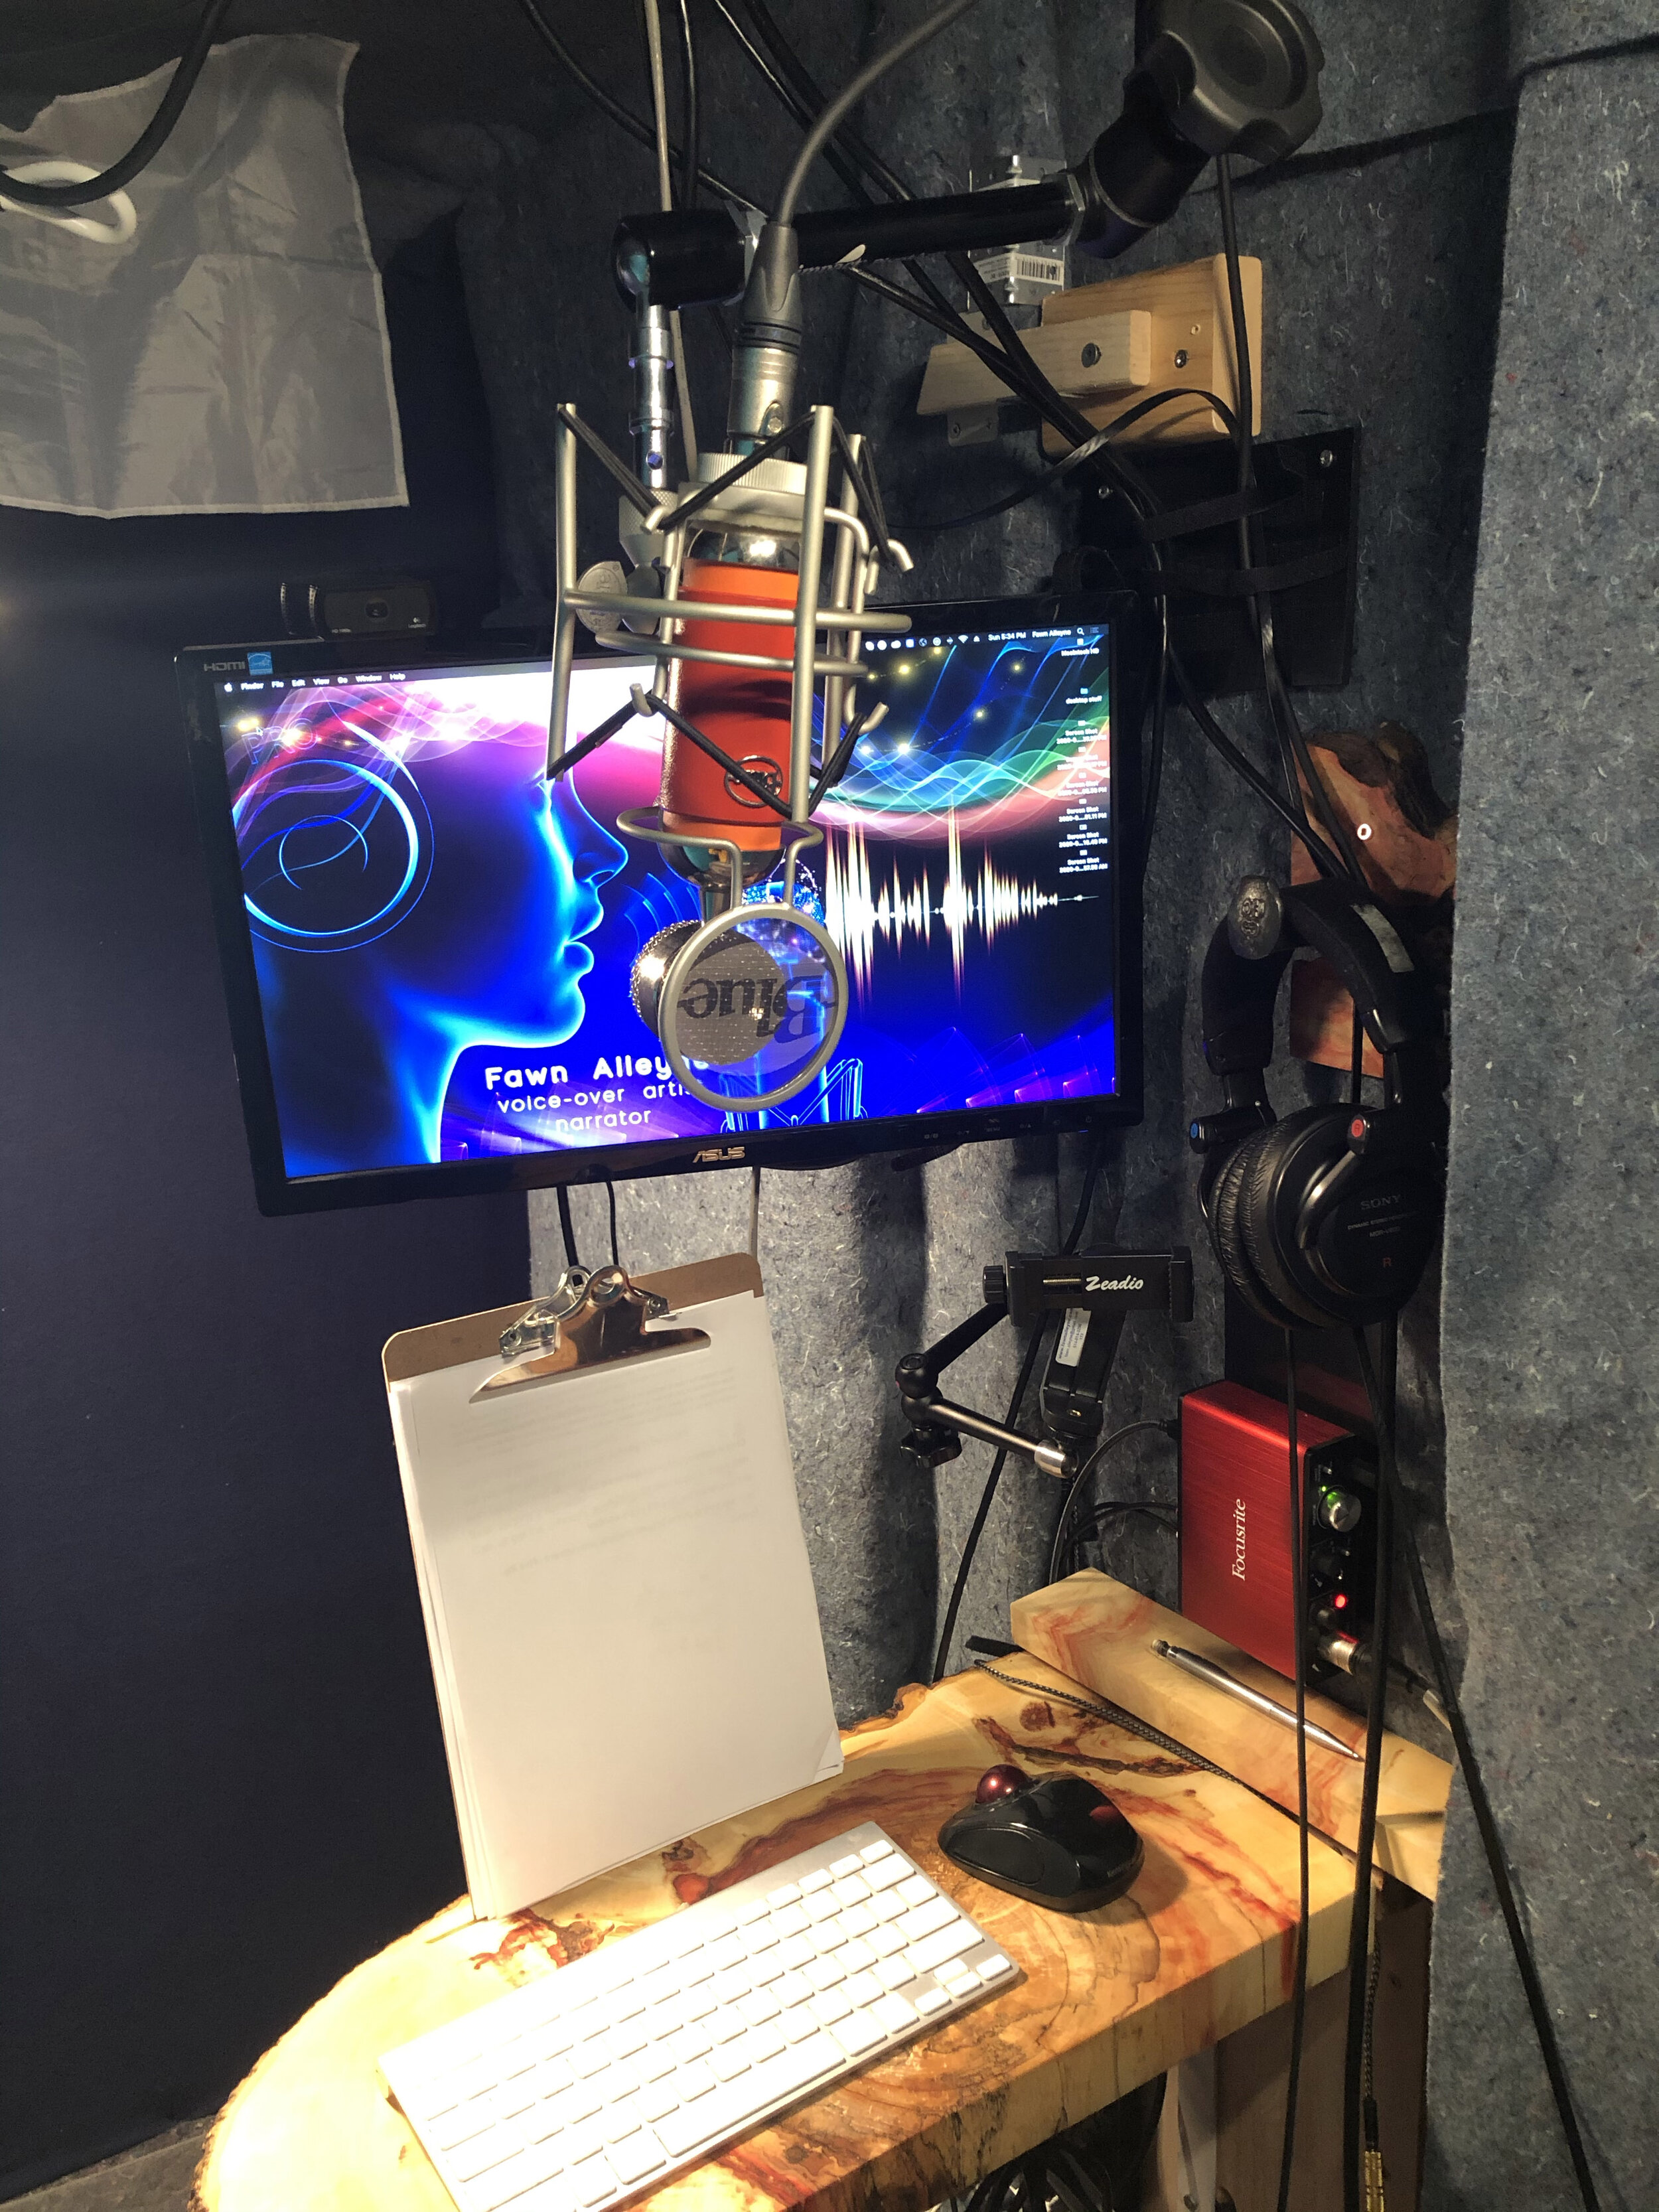
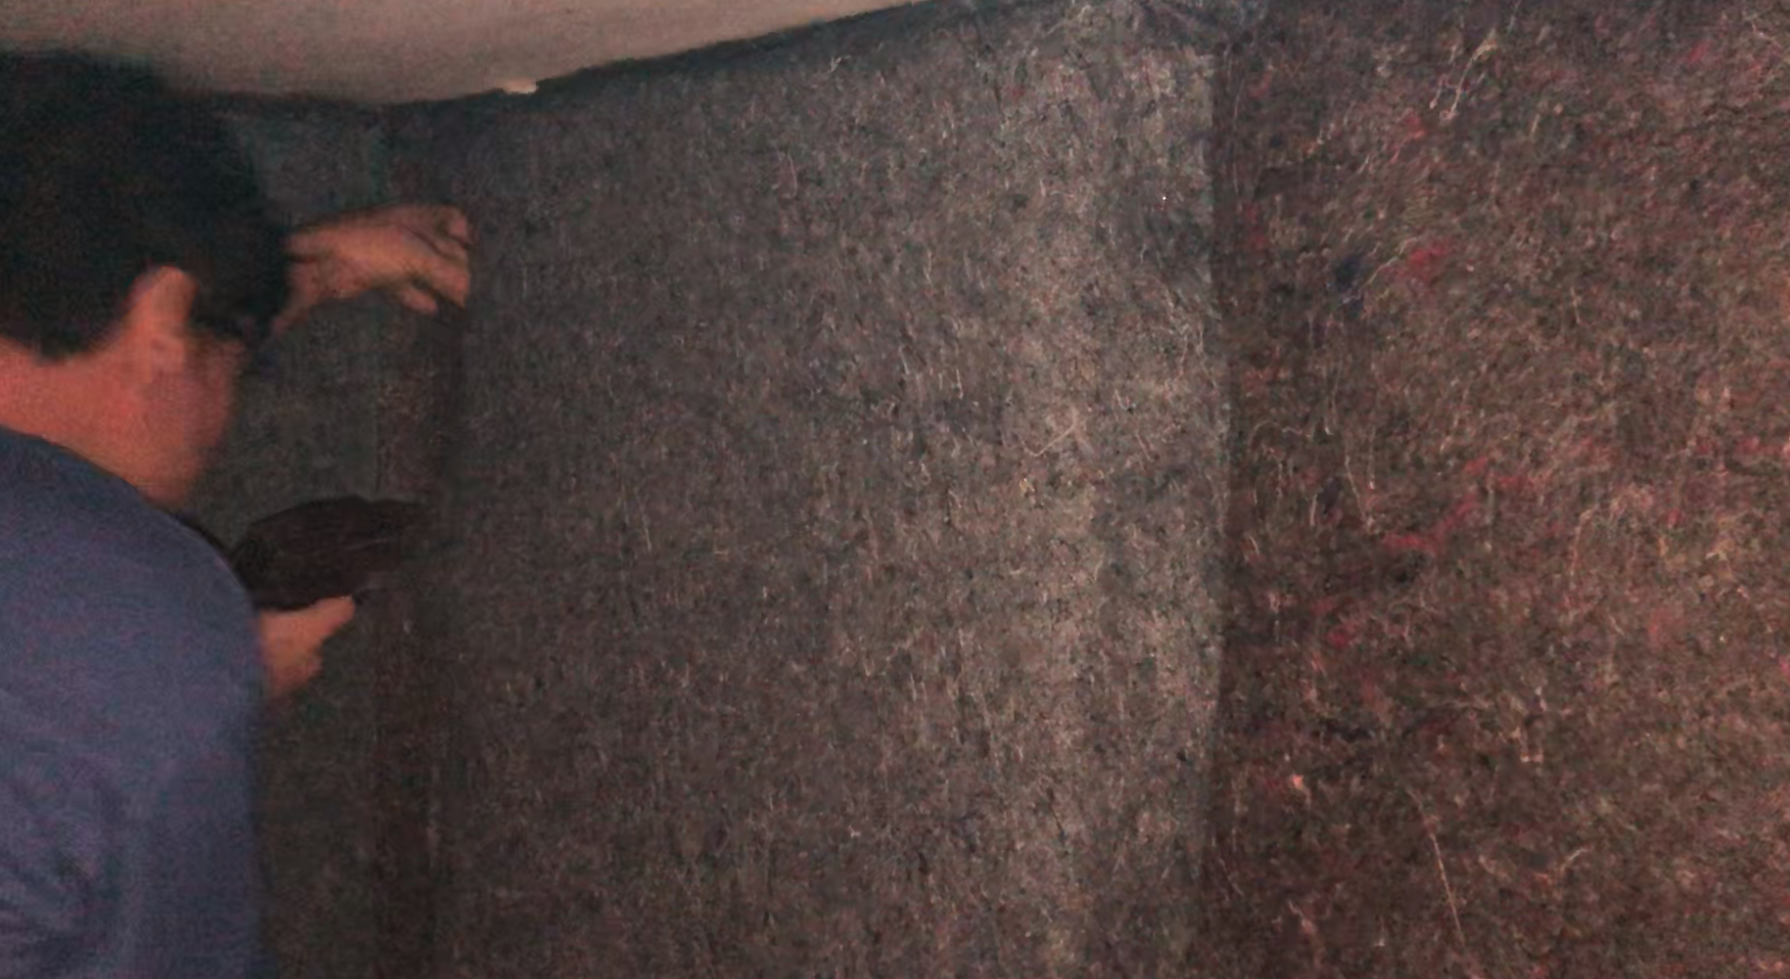
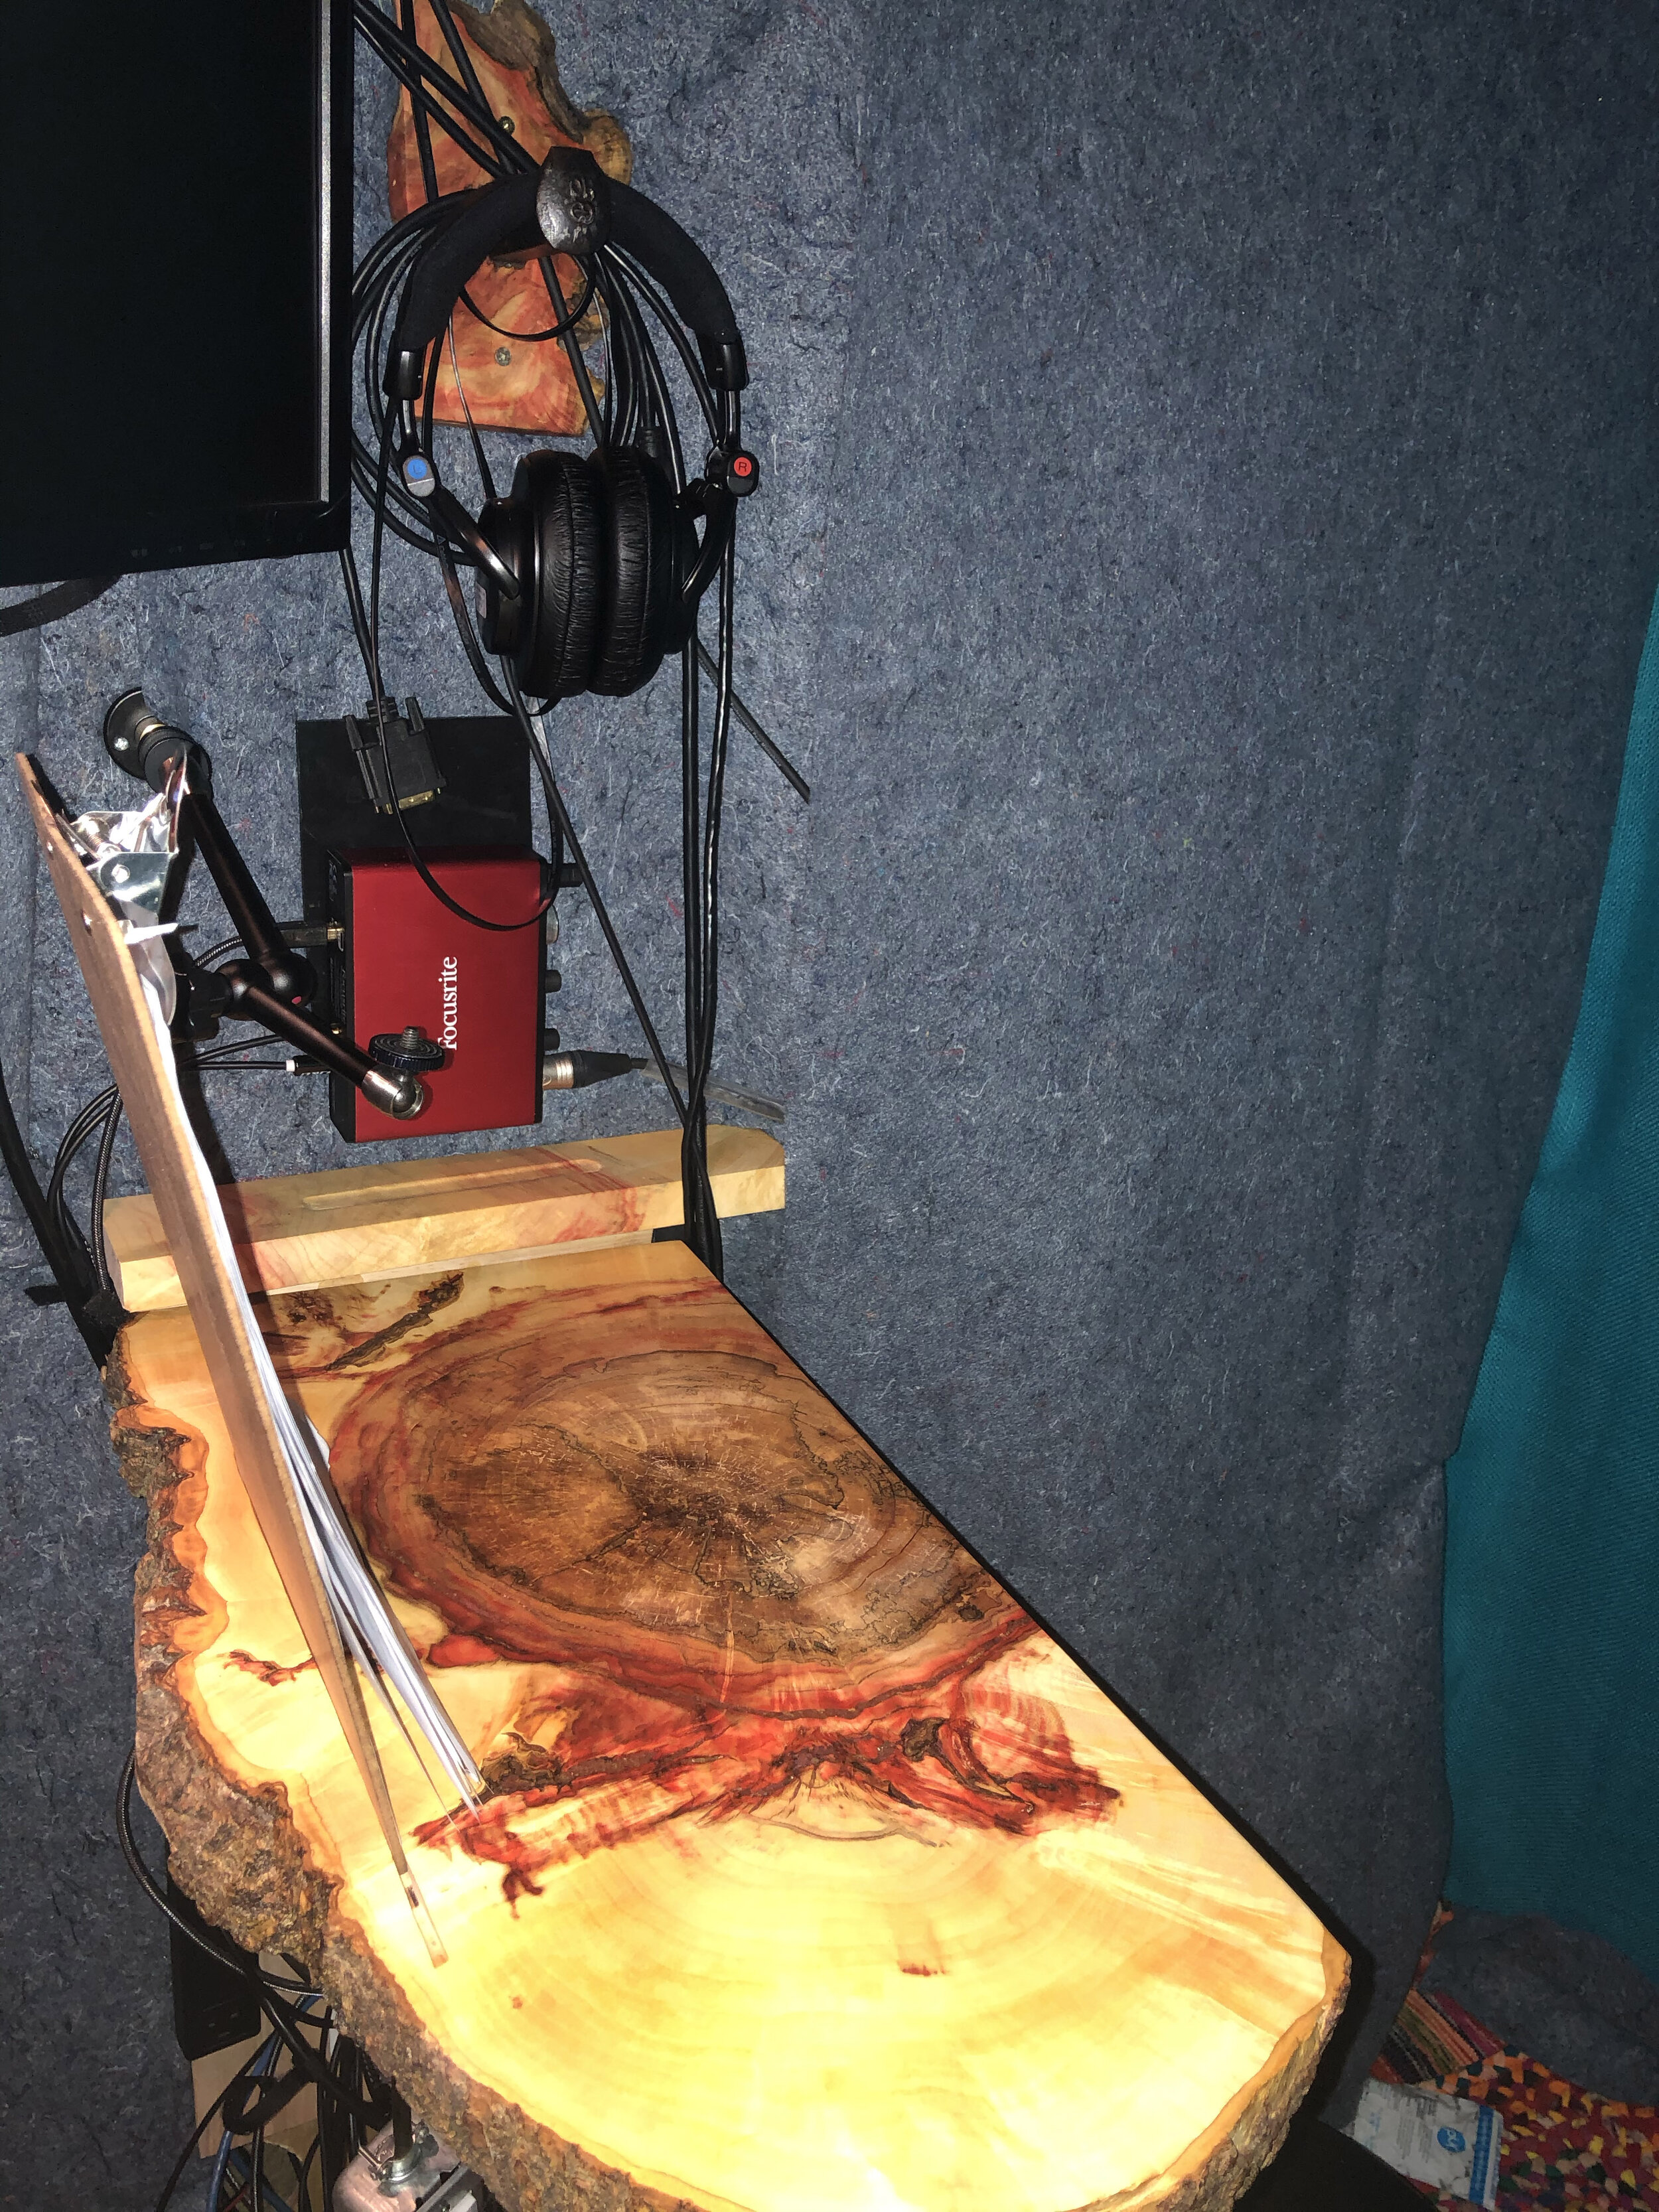
Interior of my Upgraded Voiceover Booth
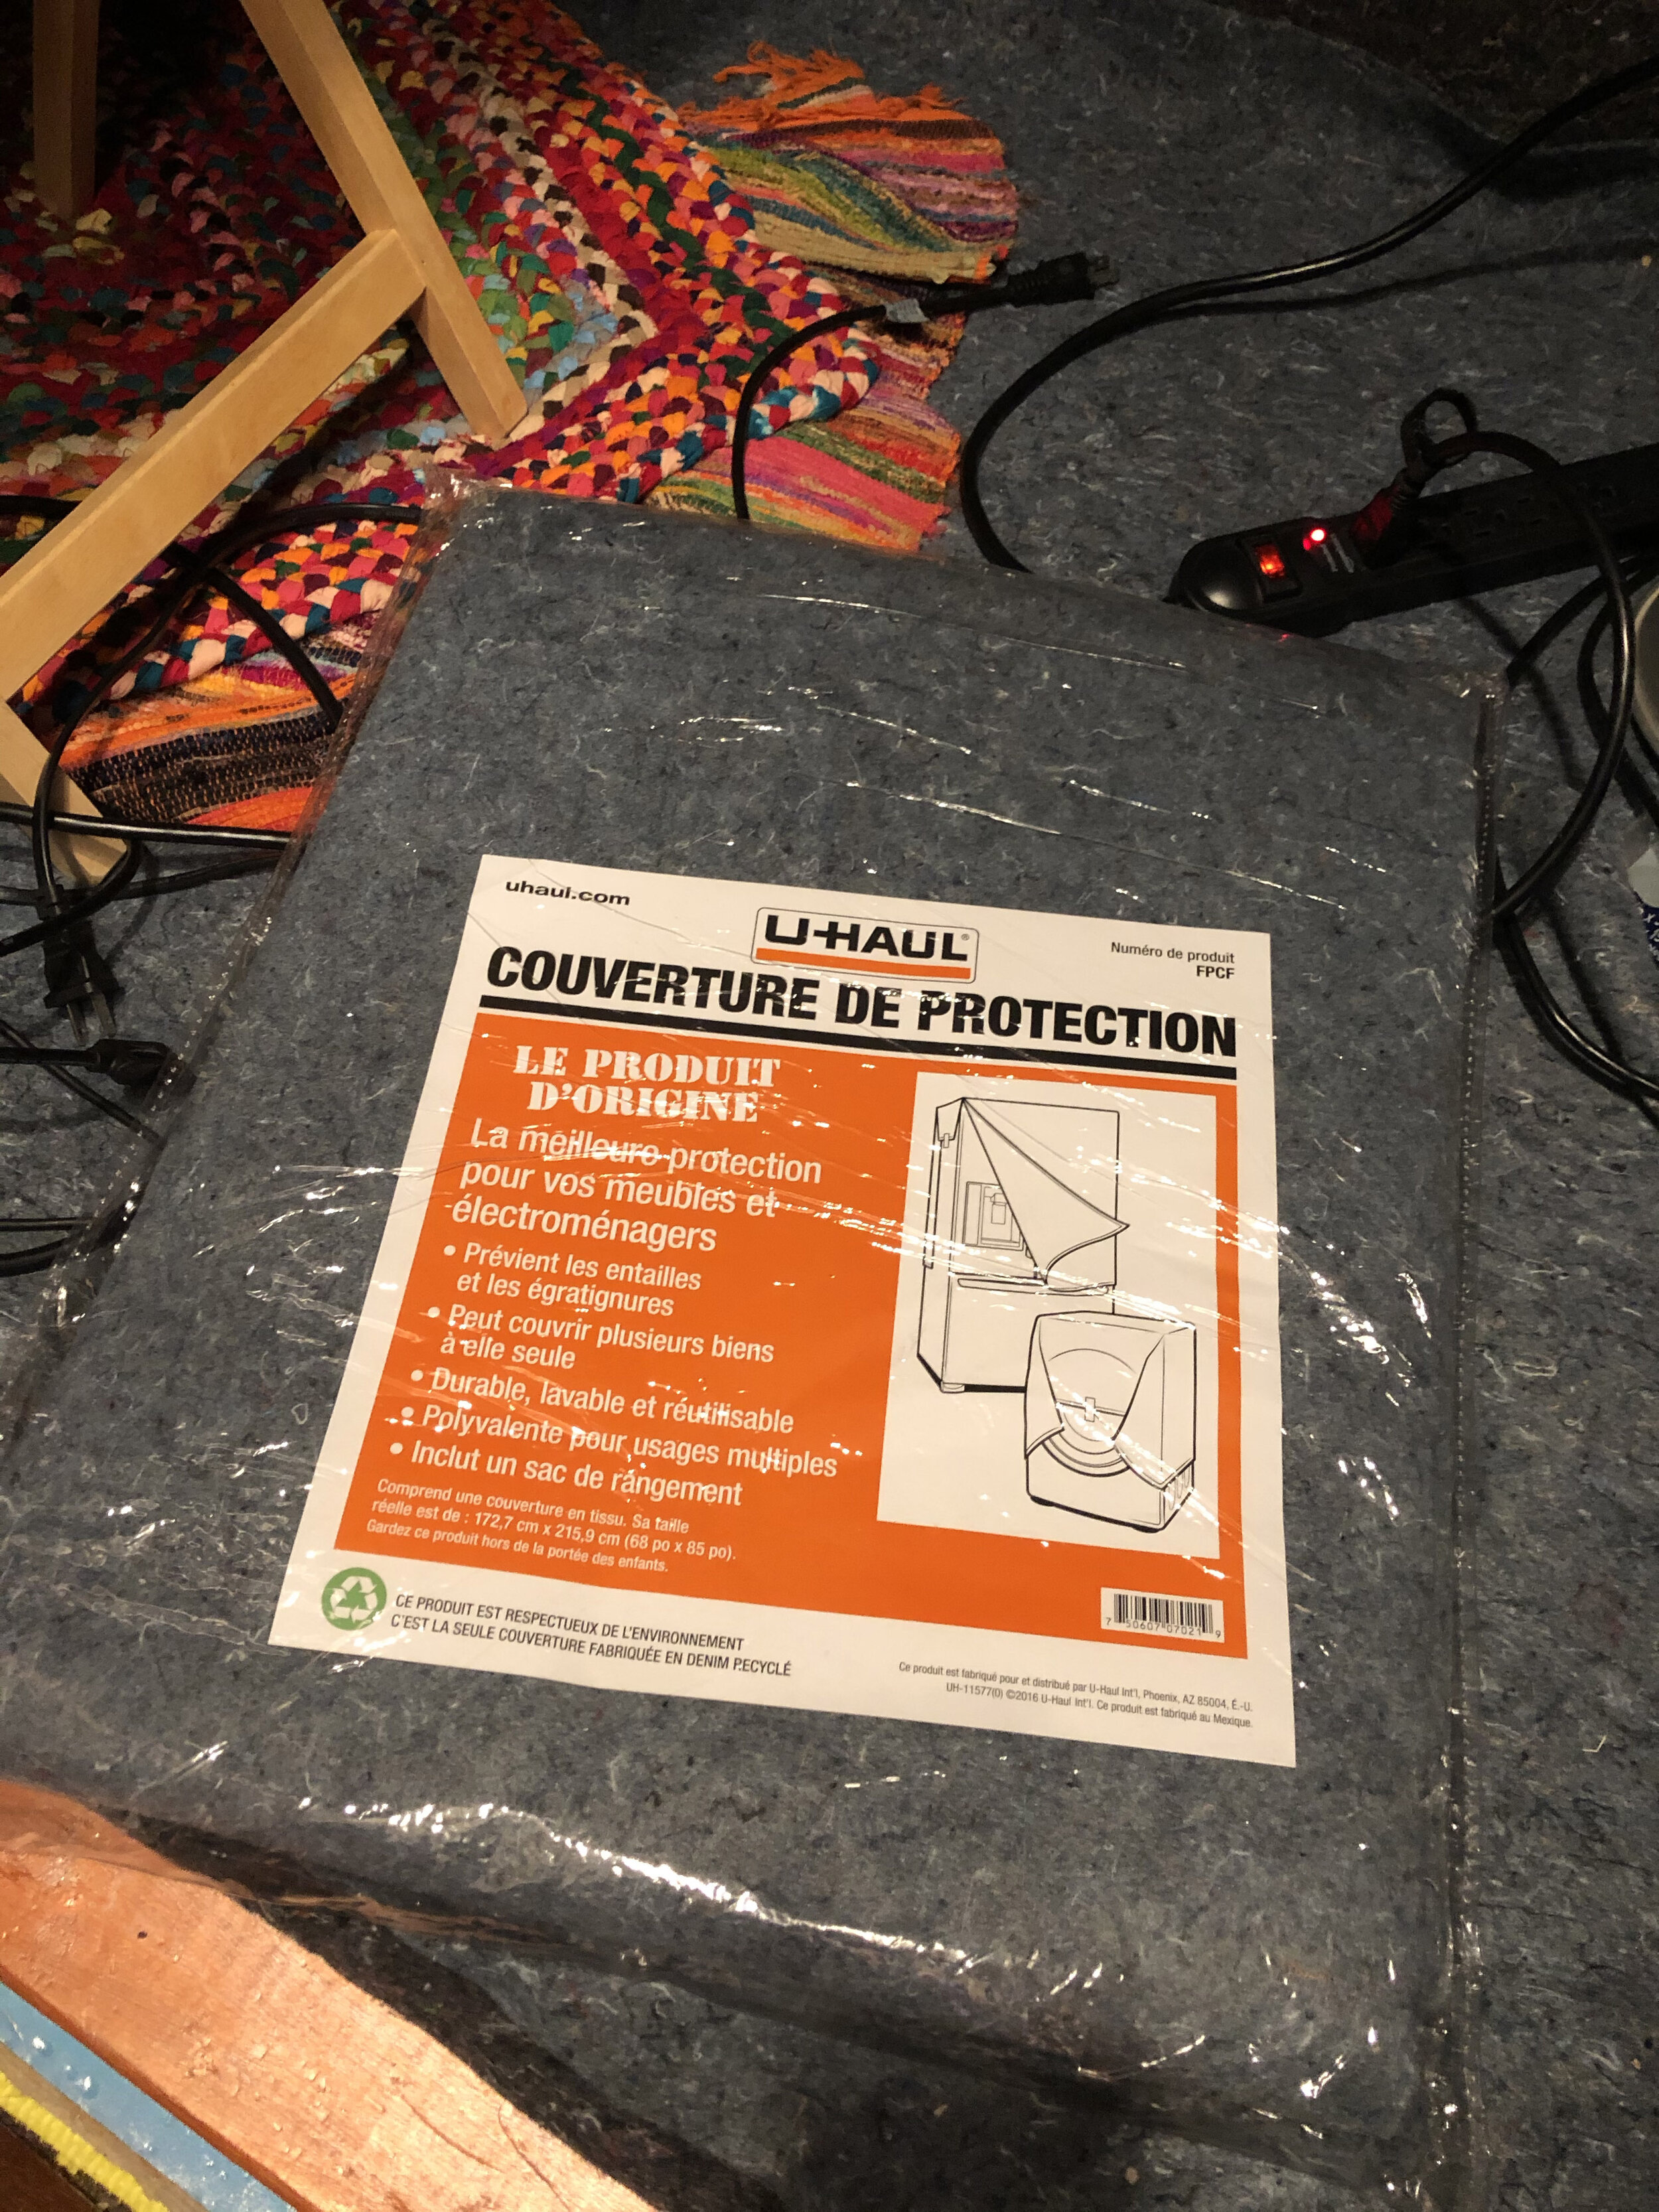
Uhaul’s 100% Cotton Denim Felt Furniture pads(moving blankets) provide excellent sound diffusion at a bargain price!
As news of the COVID-19 virus outbreak overseas started hitting the USA and Canada, a member of my household returned from a trip to Florida. Out of what we thought was the ‘abundance of caution’ we decided to self isolate for 14 days even though she wasn’t coming from a hard hit area. Little did we know that a few days later cities all over North America would start to see upsurges in the number of cases and slowly progress from voluntary self isolation to total lock down.
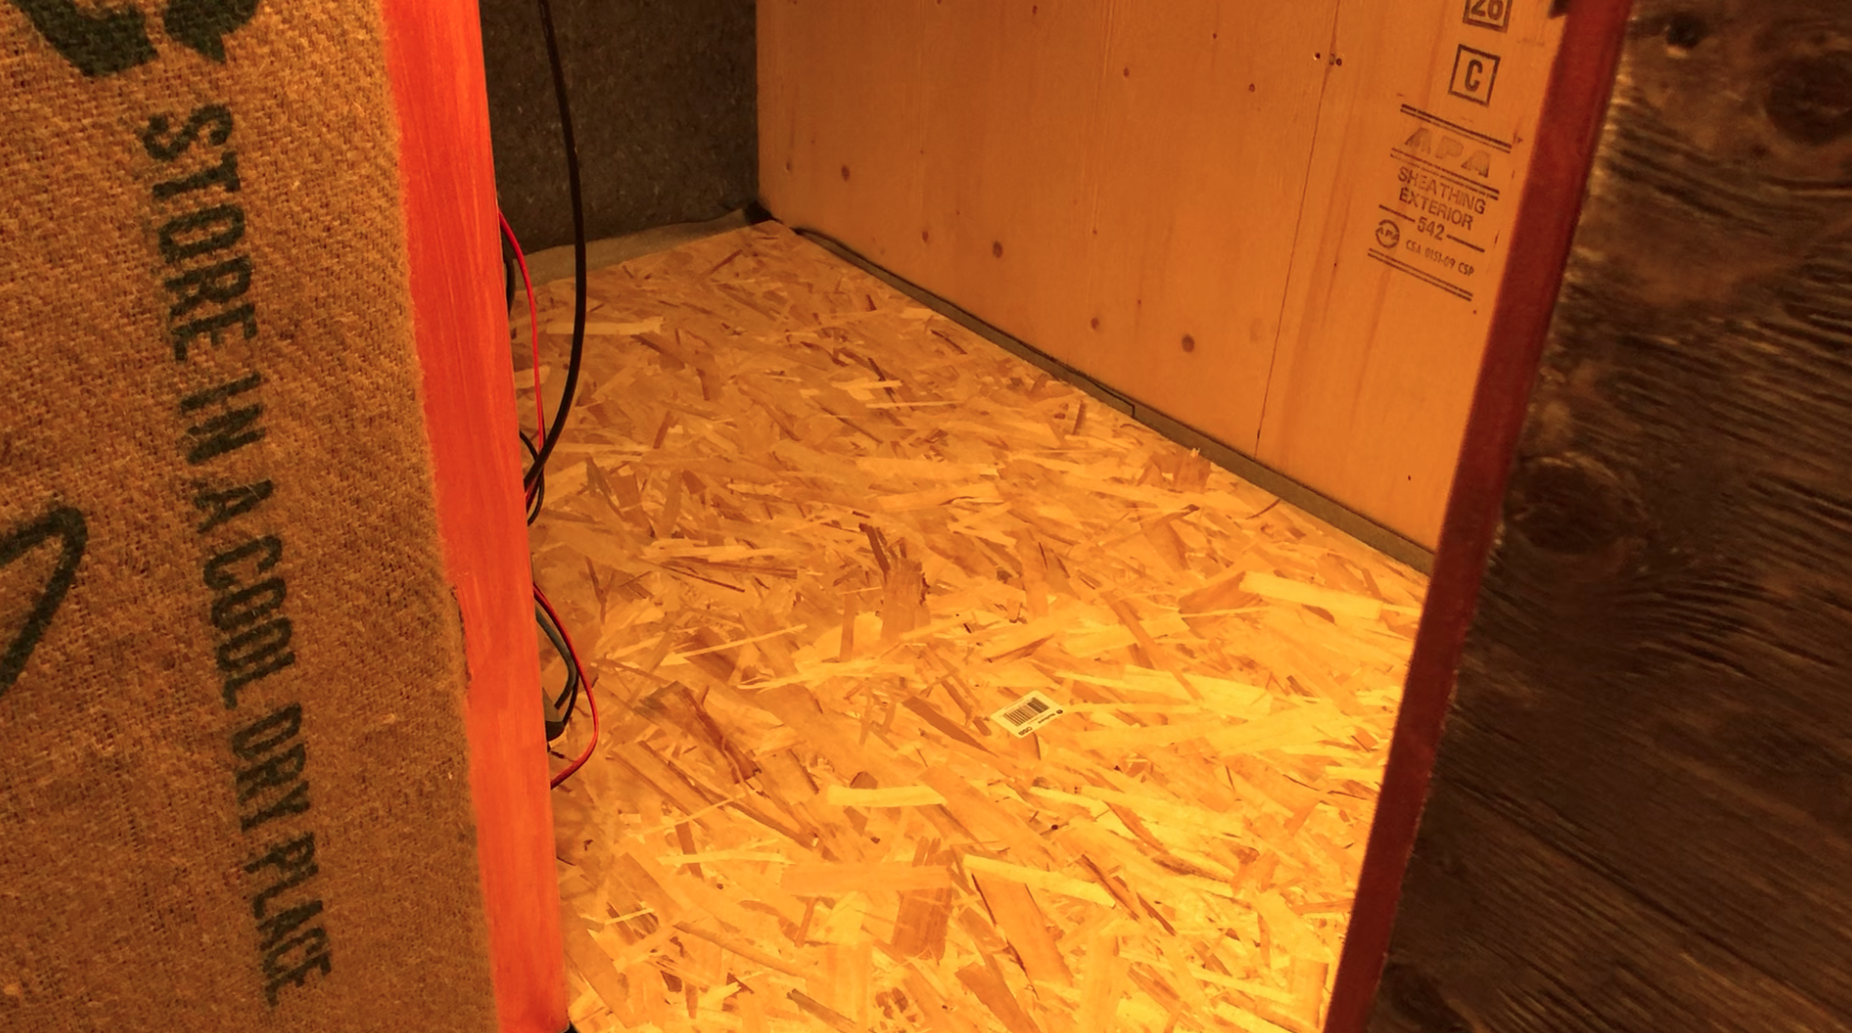
Since we’d be stuck at home I decided to seize the moment and upgrade my booth. The first problem was that it lacked a floor. I know it seems obvious, but in my previous apartment I didn’t need a floor. I didn’t hear anything from the apartment below. I mostly needed to block sound that snuck in through the nearby windows and my 86 year old neighbor’s full blast television. Despite what the landlord said when I toured the new apartment, it is not quiet and isolated! There is absolutely no insulation between our apartment and the one above us. It’s basically drywall, joists, plywood underlayment and hardwood floors. I hear feet, I hear bass from my upstairs neighbor’s video games, and recently I hear construction noises from next door. My next door neighbor has been installing electrical wires and drywall for the past few weeks. This means hammer drills on the adjacent walls.
The breaking point for me was one day when I was recording some samples to send to Chuck Duran. Chuck’s producing my commercial demo and wanted to hear what my booth sounds like. I had to pause a few times to wait for the noise to stop. Check out the levels I’m getting inside my booth from his hammer drill.
For sure I would need a floor. I know, I know. I should have thought of that from the very start. I could just save myself the embarrassment of such an obvious oversight…. but showing you the pain of fixing this mistake might help some of you avoid it.
In addition to a floor, I’ll make a second door that opens from the inside, and create a barrier where the walls come together. The first step was to get the barber chair out. I love that barber chair. It’s super comfy. But honestly it’s a bit big for the booth. I’m doing less audiobooks these days and more commercial reads so I want the option to stand more often. I’ll put that in my editing studio for visiting clients and collaborators.
Next I’m removing the Coffee Bean Burlap Bags. I know. I know. The booth will never be the same. It’s loosing the cool factor, but it’s also getting those dust bombs out. Every time I bump those dumb things dust and fibers get loose in my booth. I don’t need that in my lungs. I’ll put the coolest looking ones in the studio where they won’t get bumped and donate the rest to my favorite garage band.
I can’t even estimate how heavy my booth is, but I can tell you that it took three strong men to lift each wall panel when we moved to this apartment. It seemed more advisable to lift the booth than to take it apart and reassemble it. In hind sight, I should have taken the thing apart, but that video would have been much less interesting!
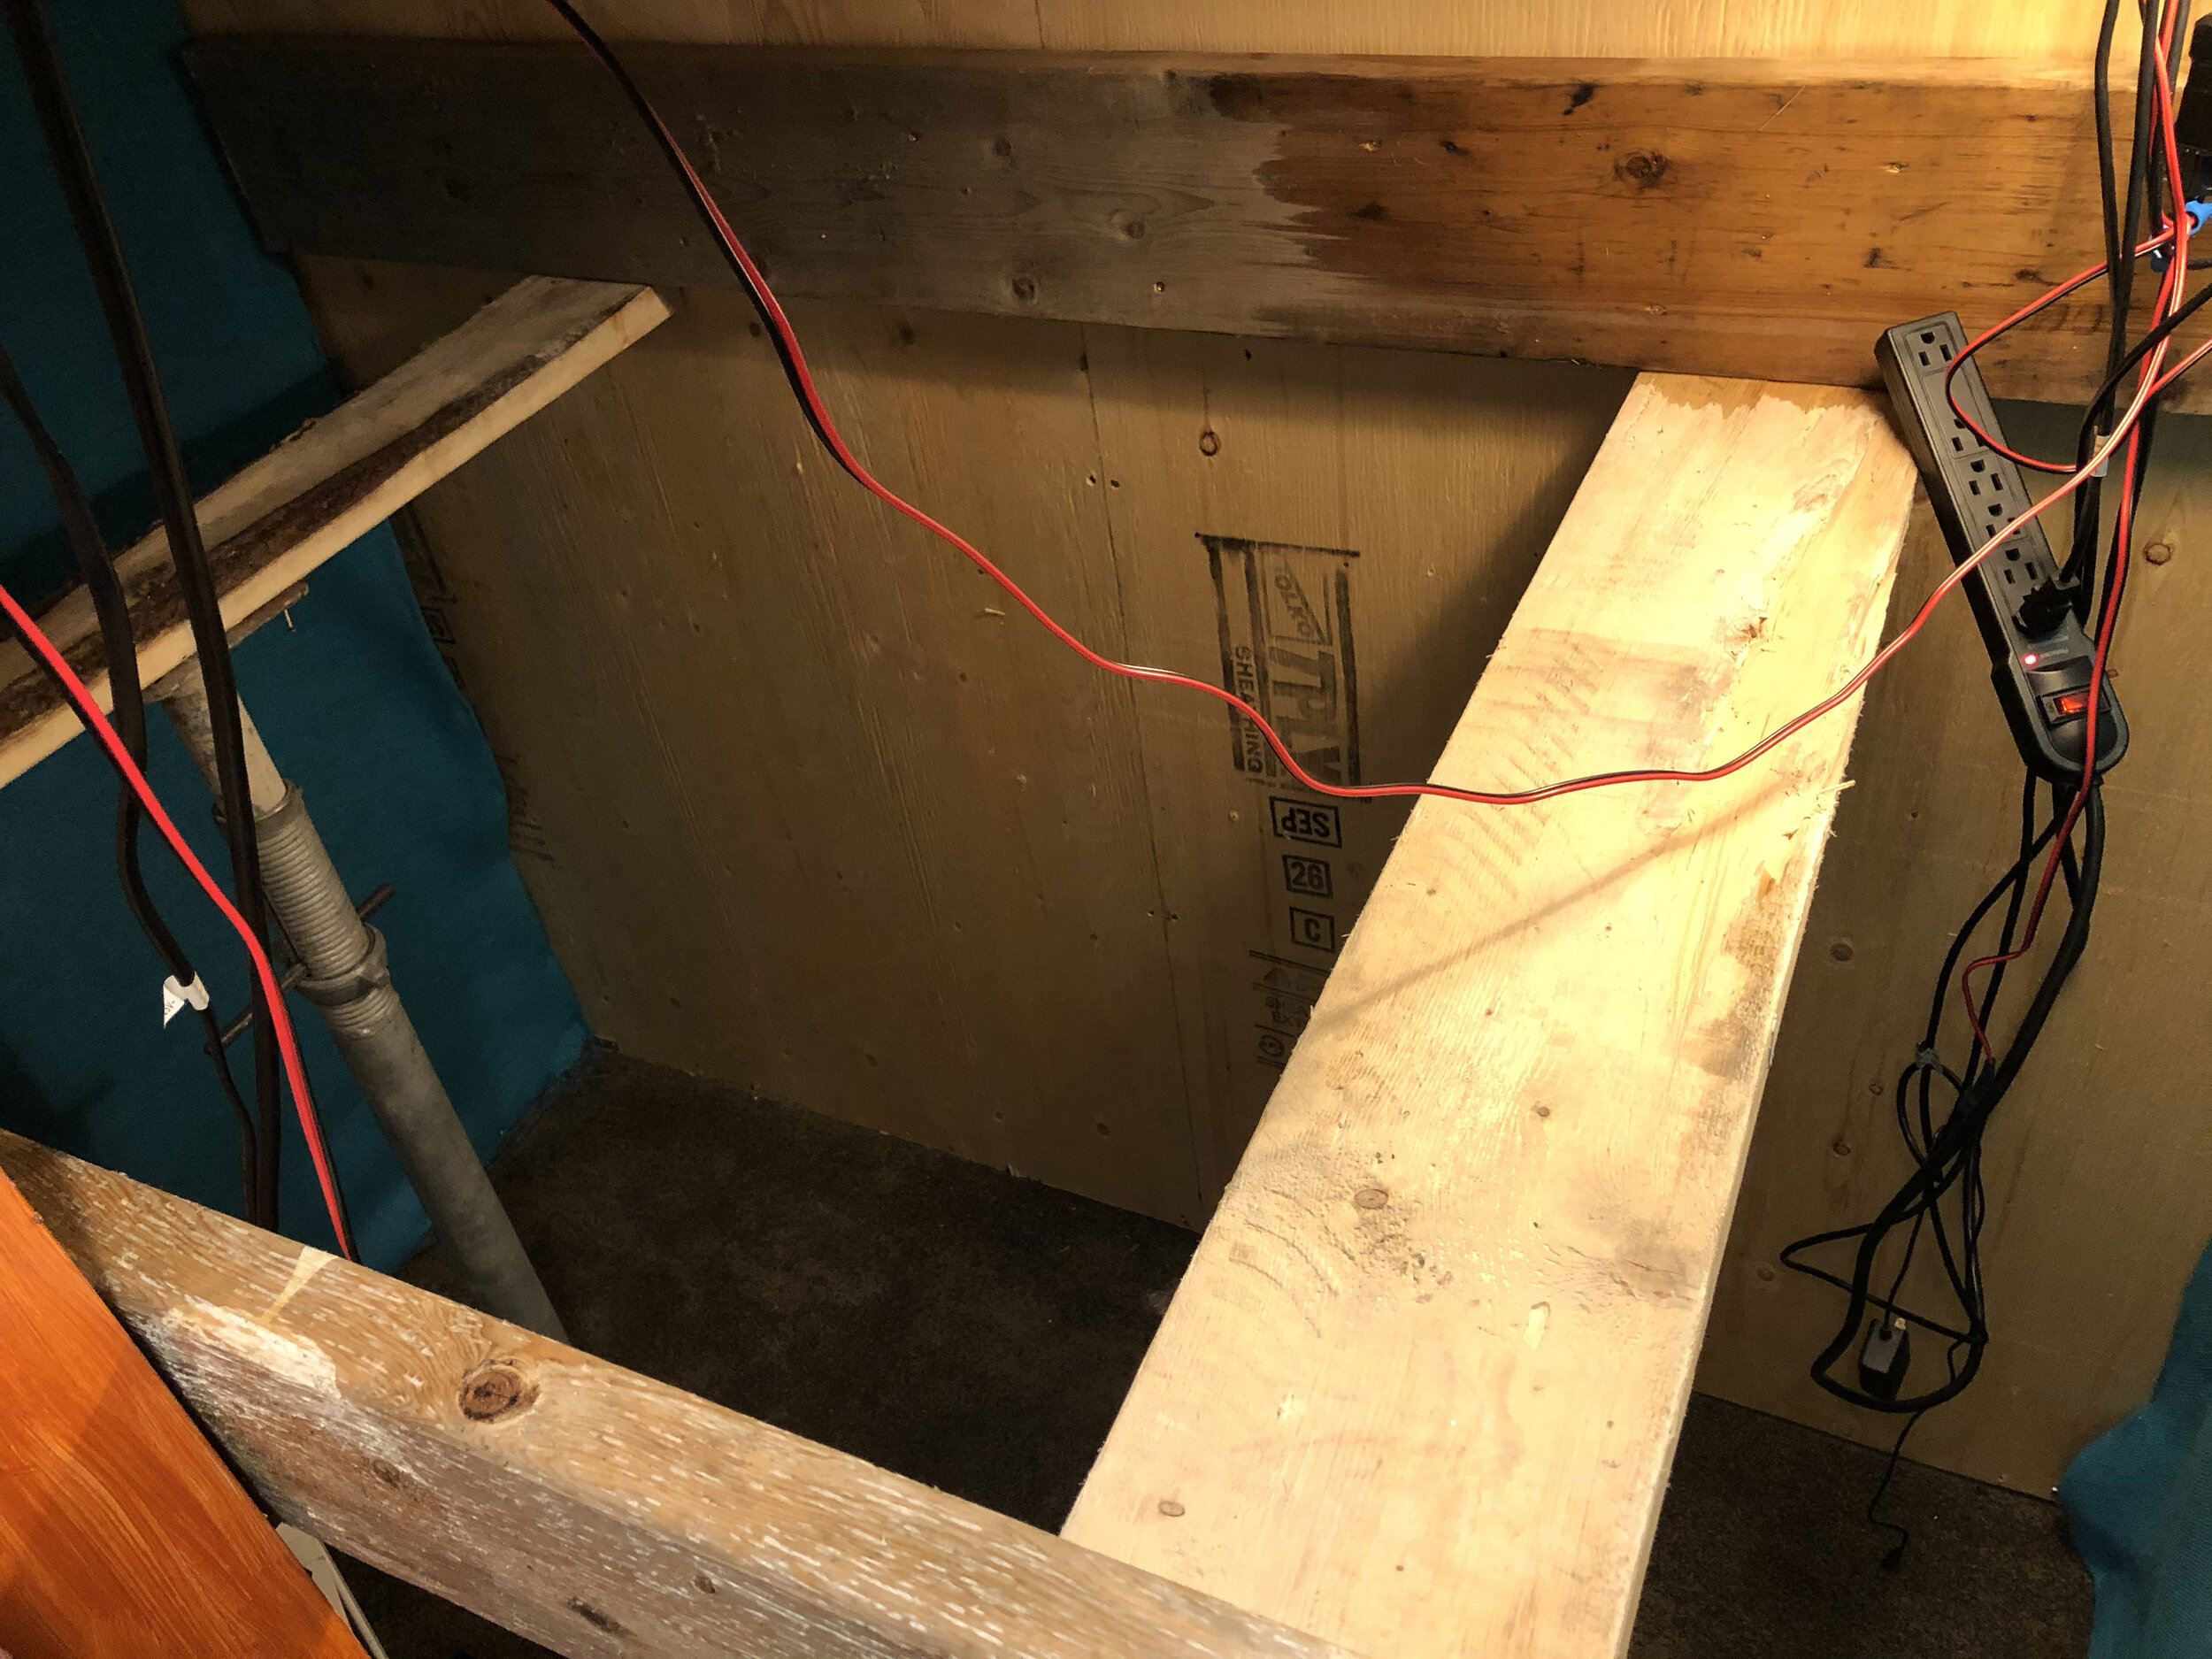
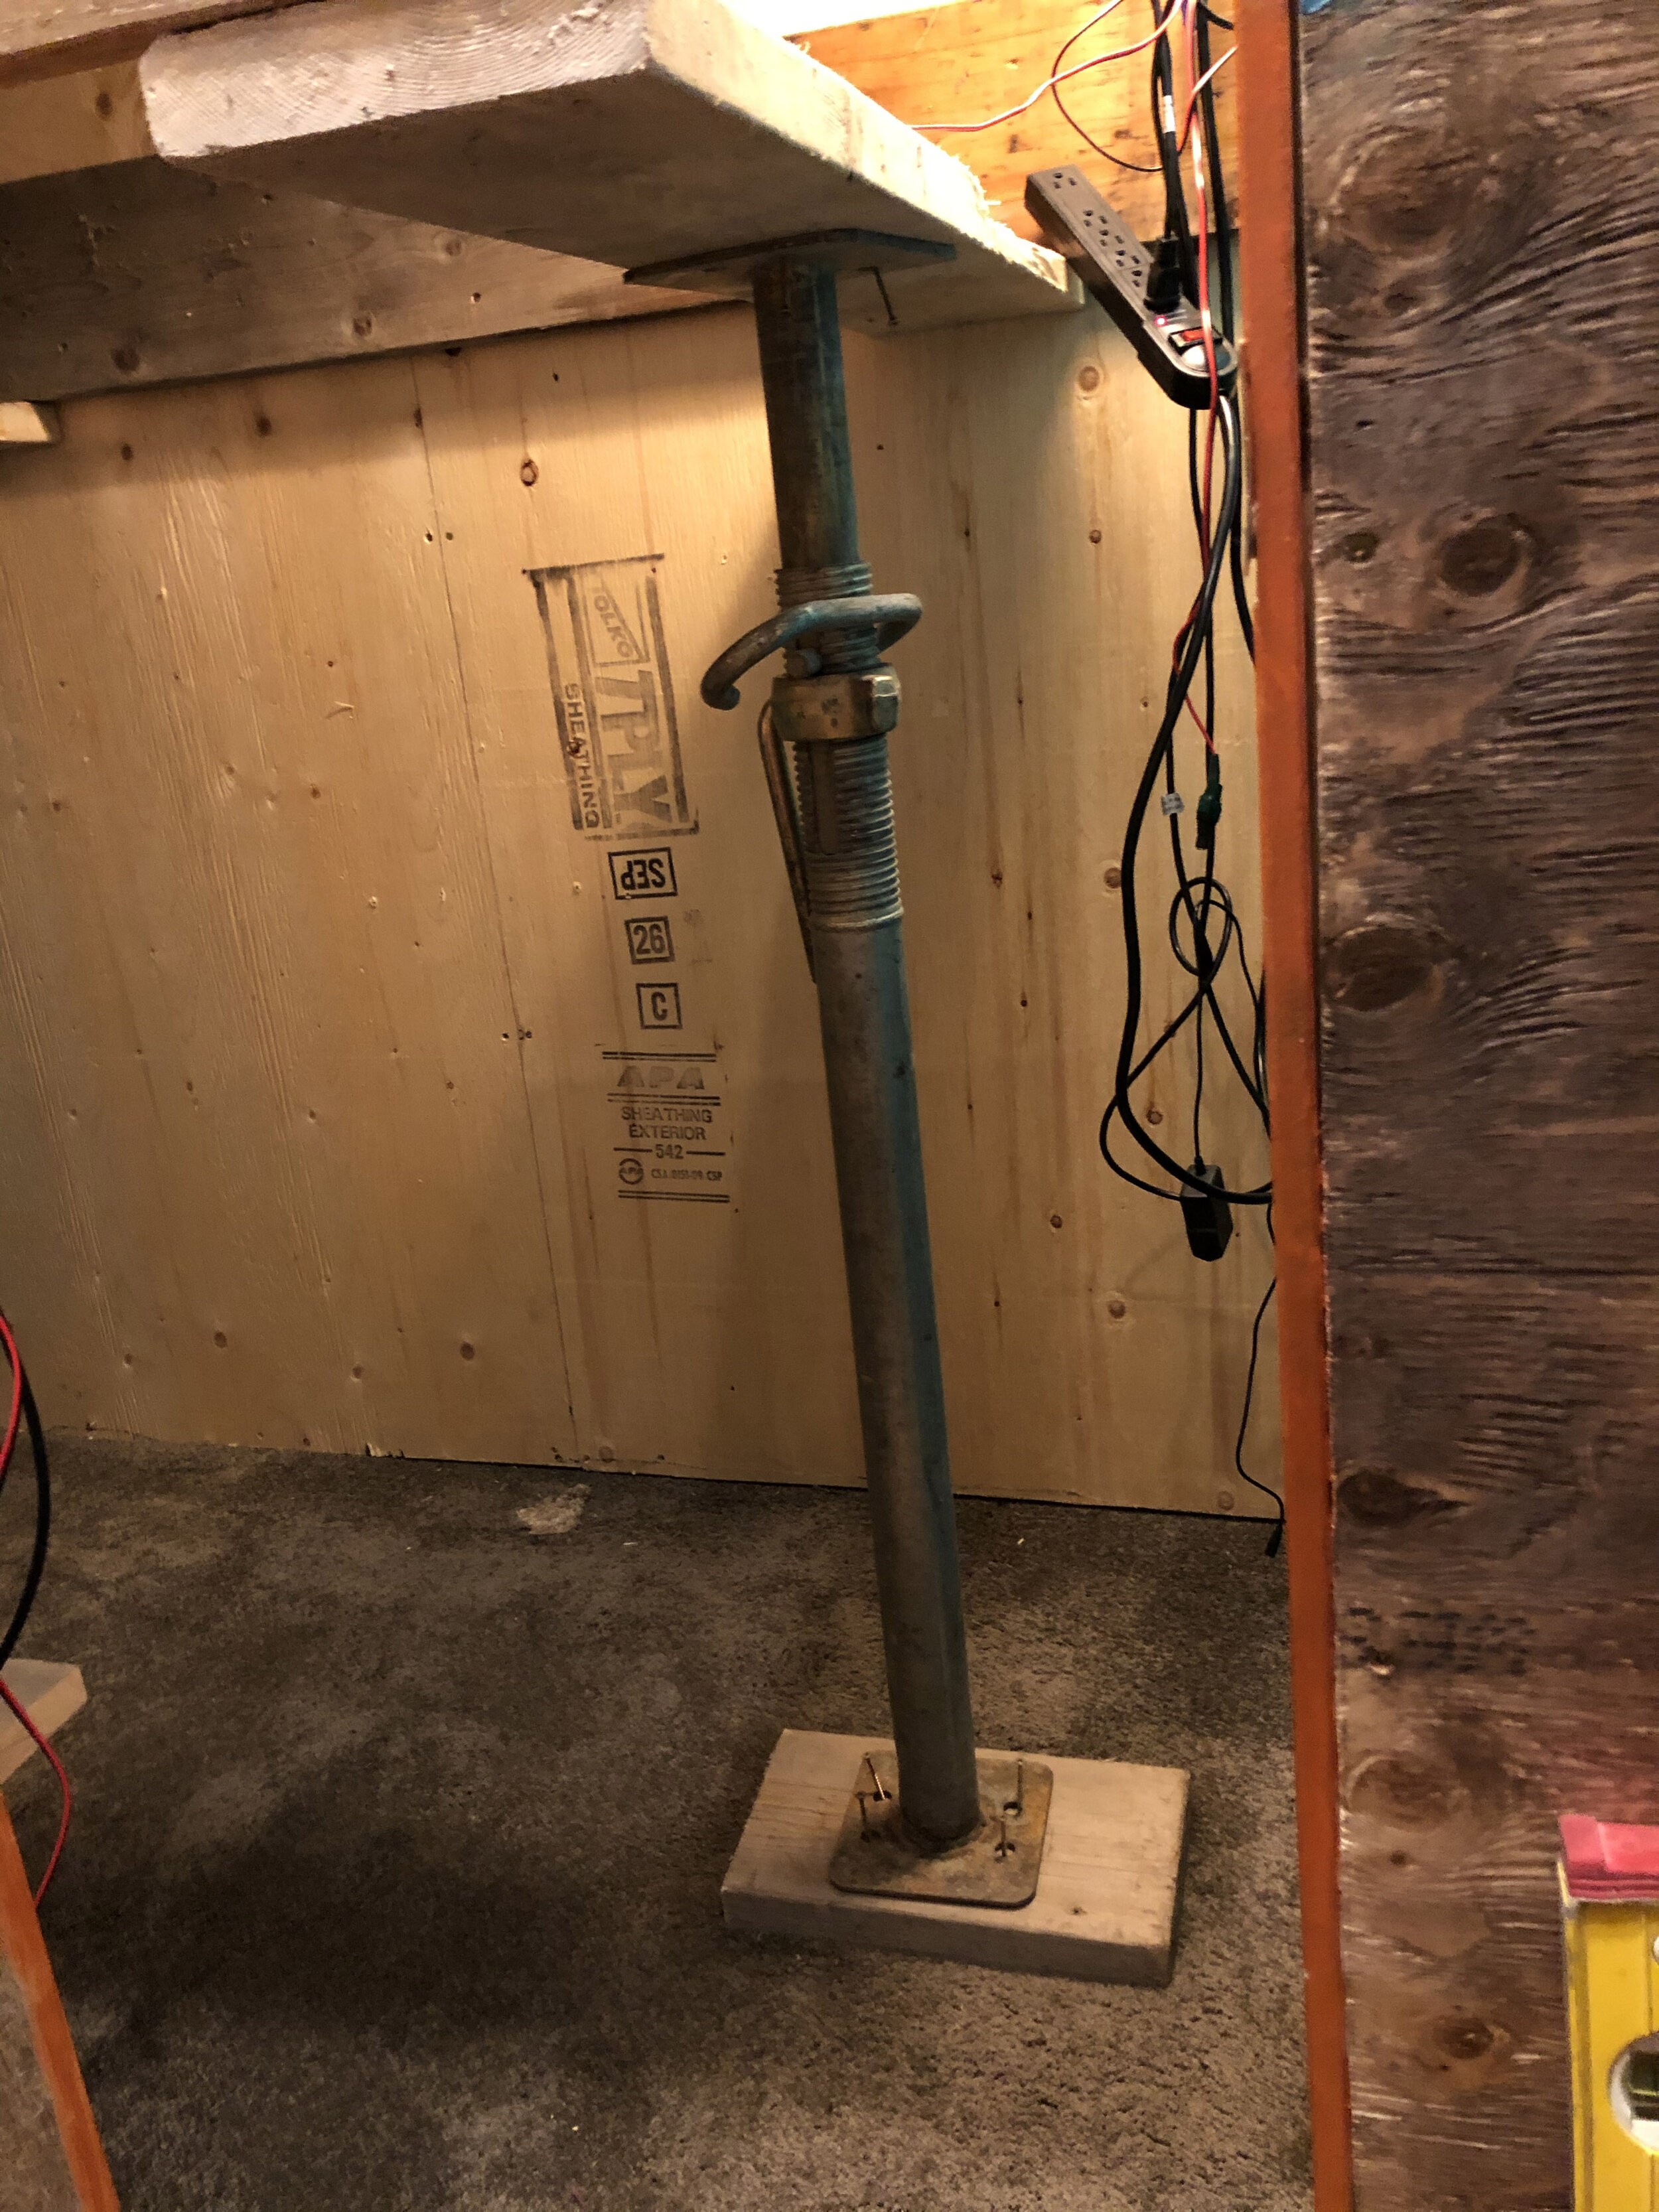
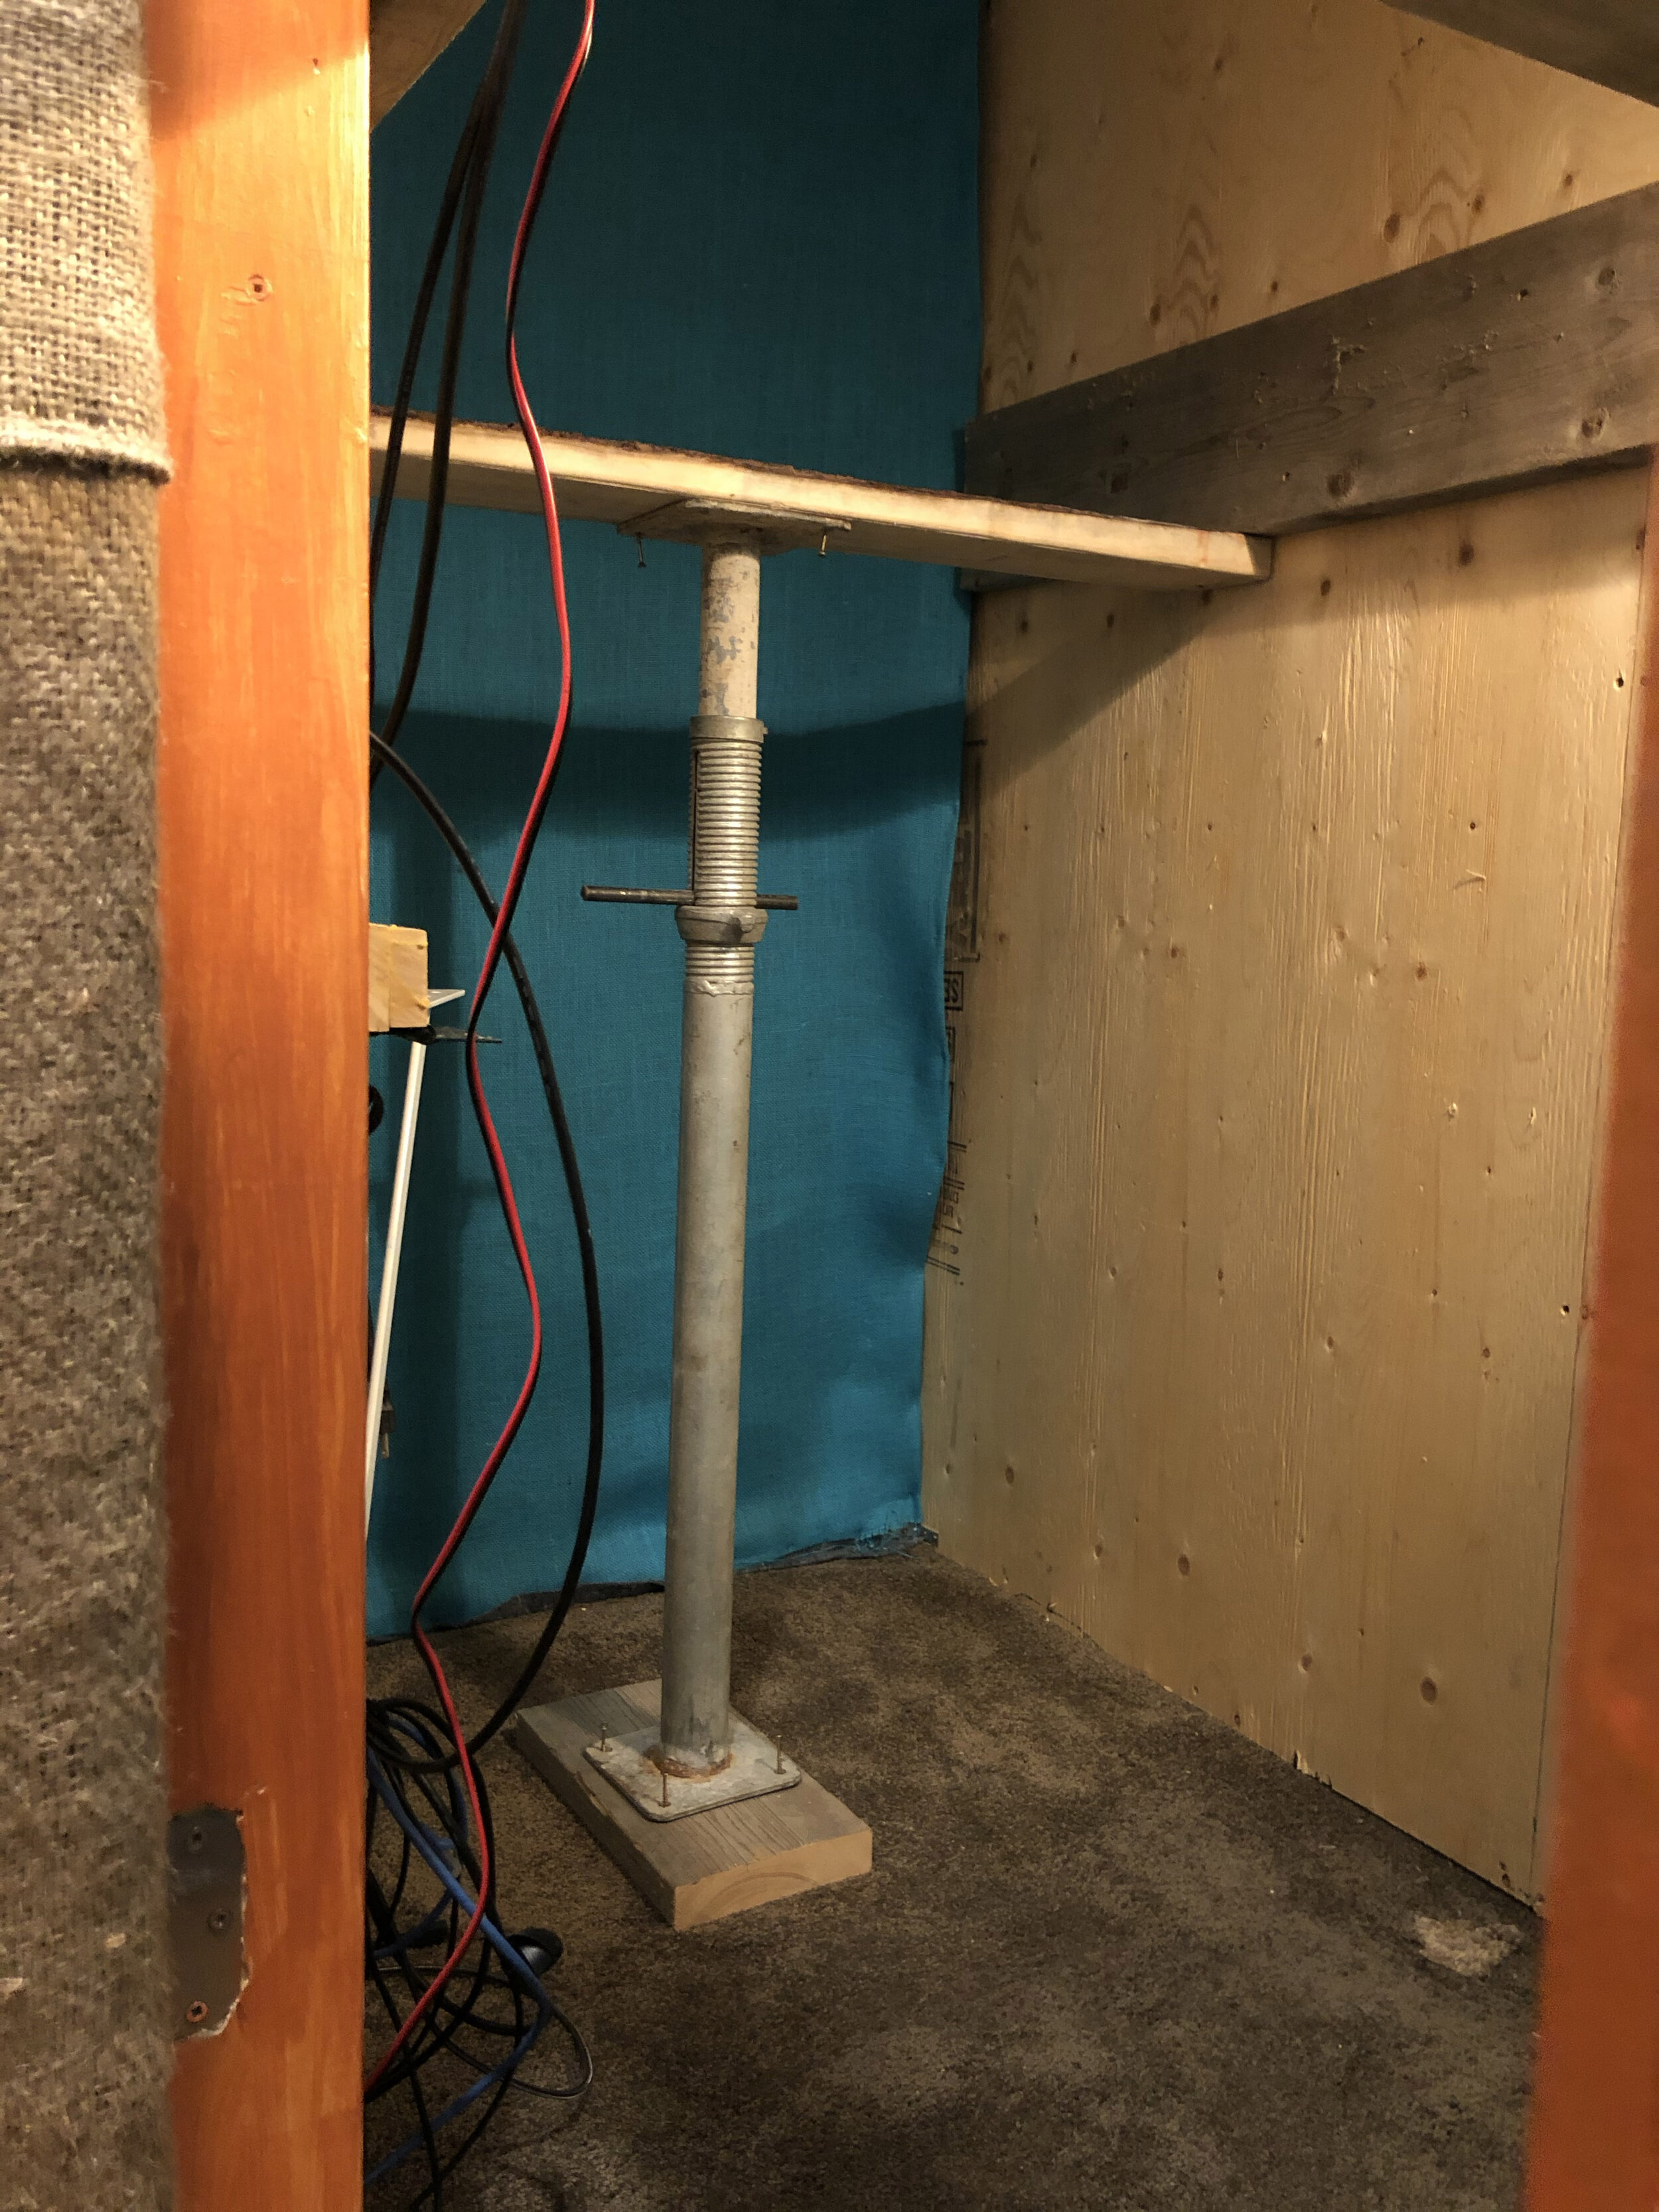
Since we didn’t really understand the importance of social distancing at the time we asked our landlord if we could borrow his house levelling jacks. They didn’t want to miss out on the fun so they kindly came over and helped us lift the beast.
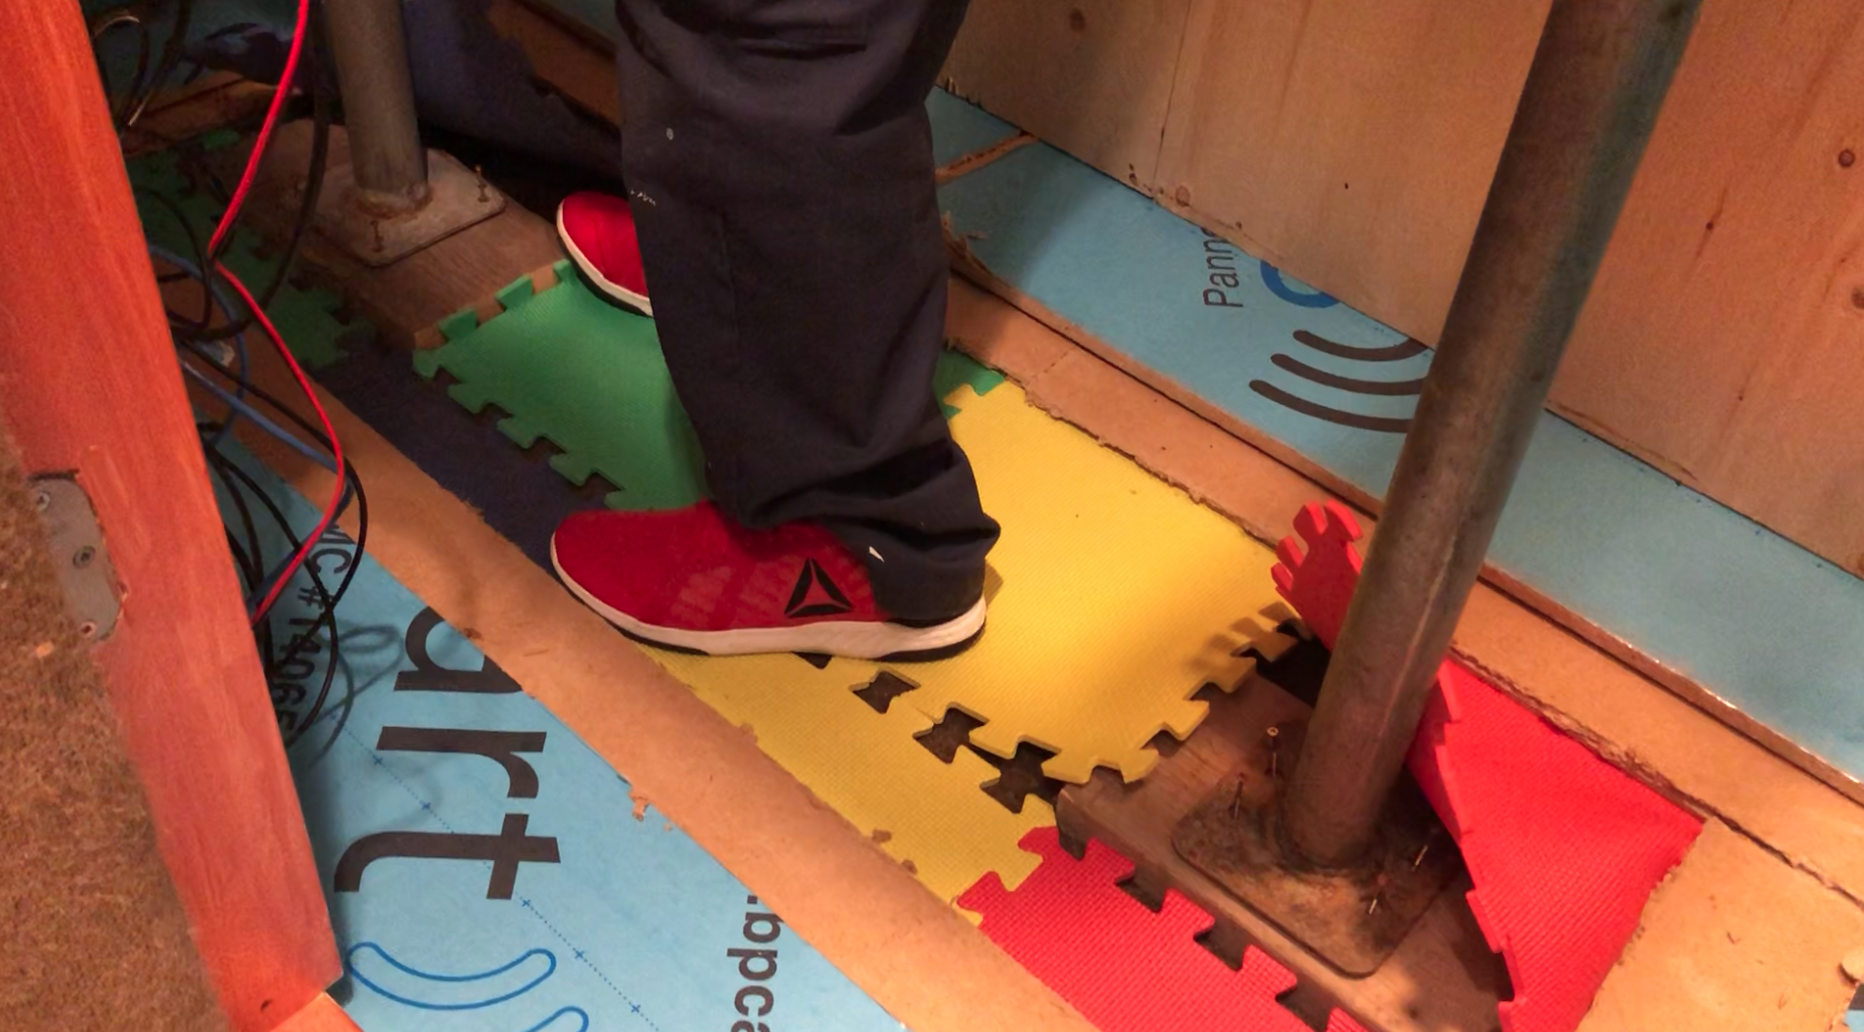
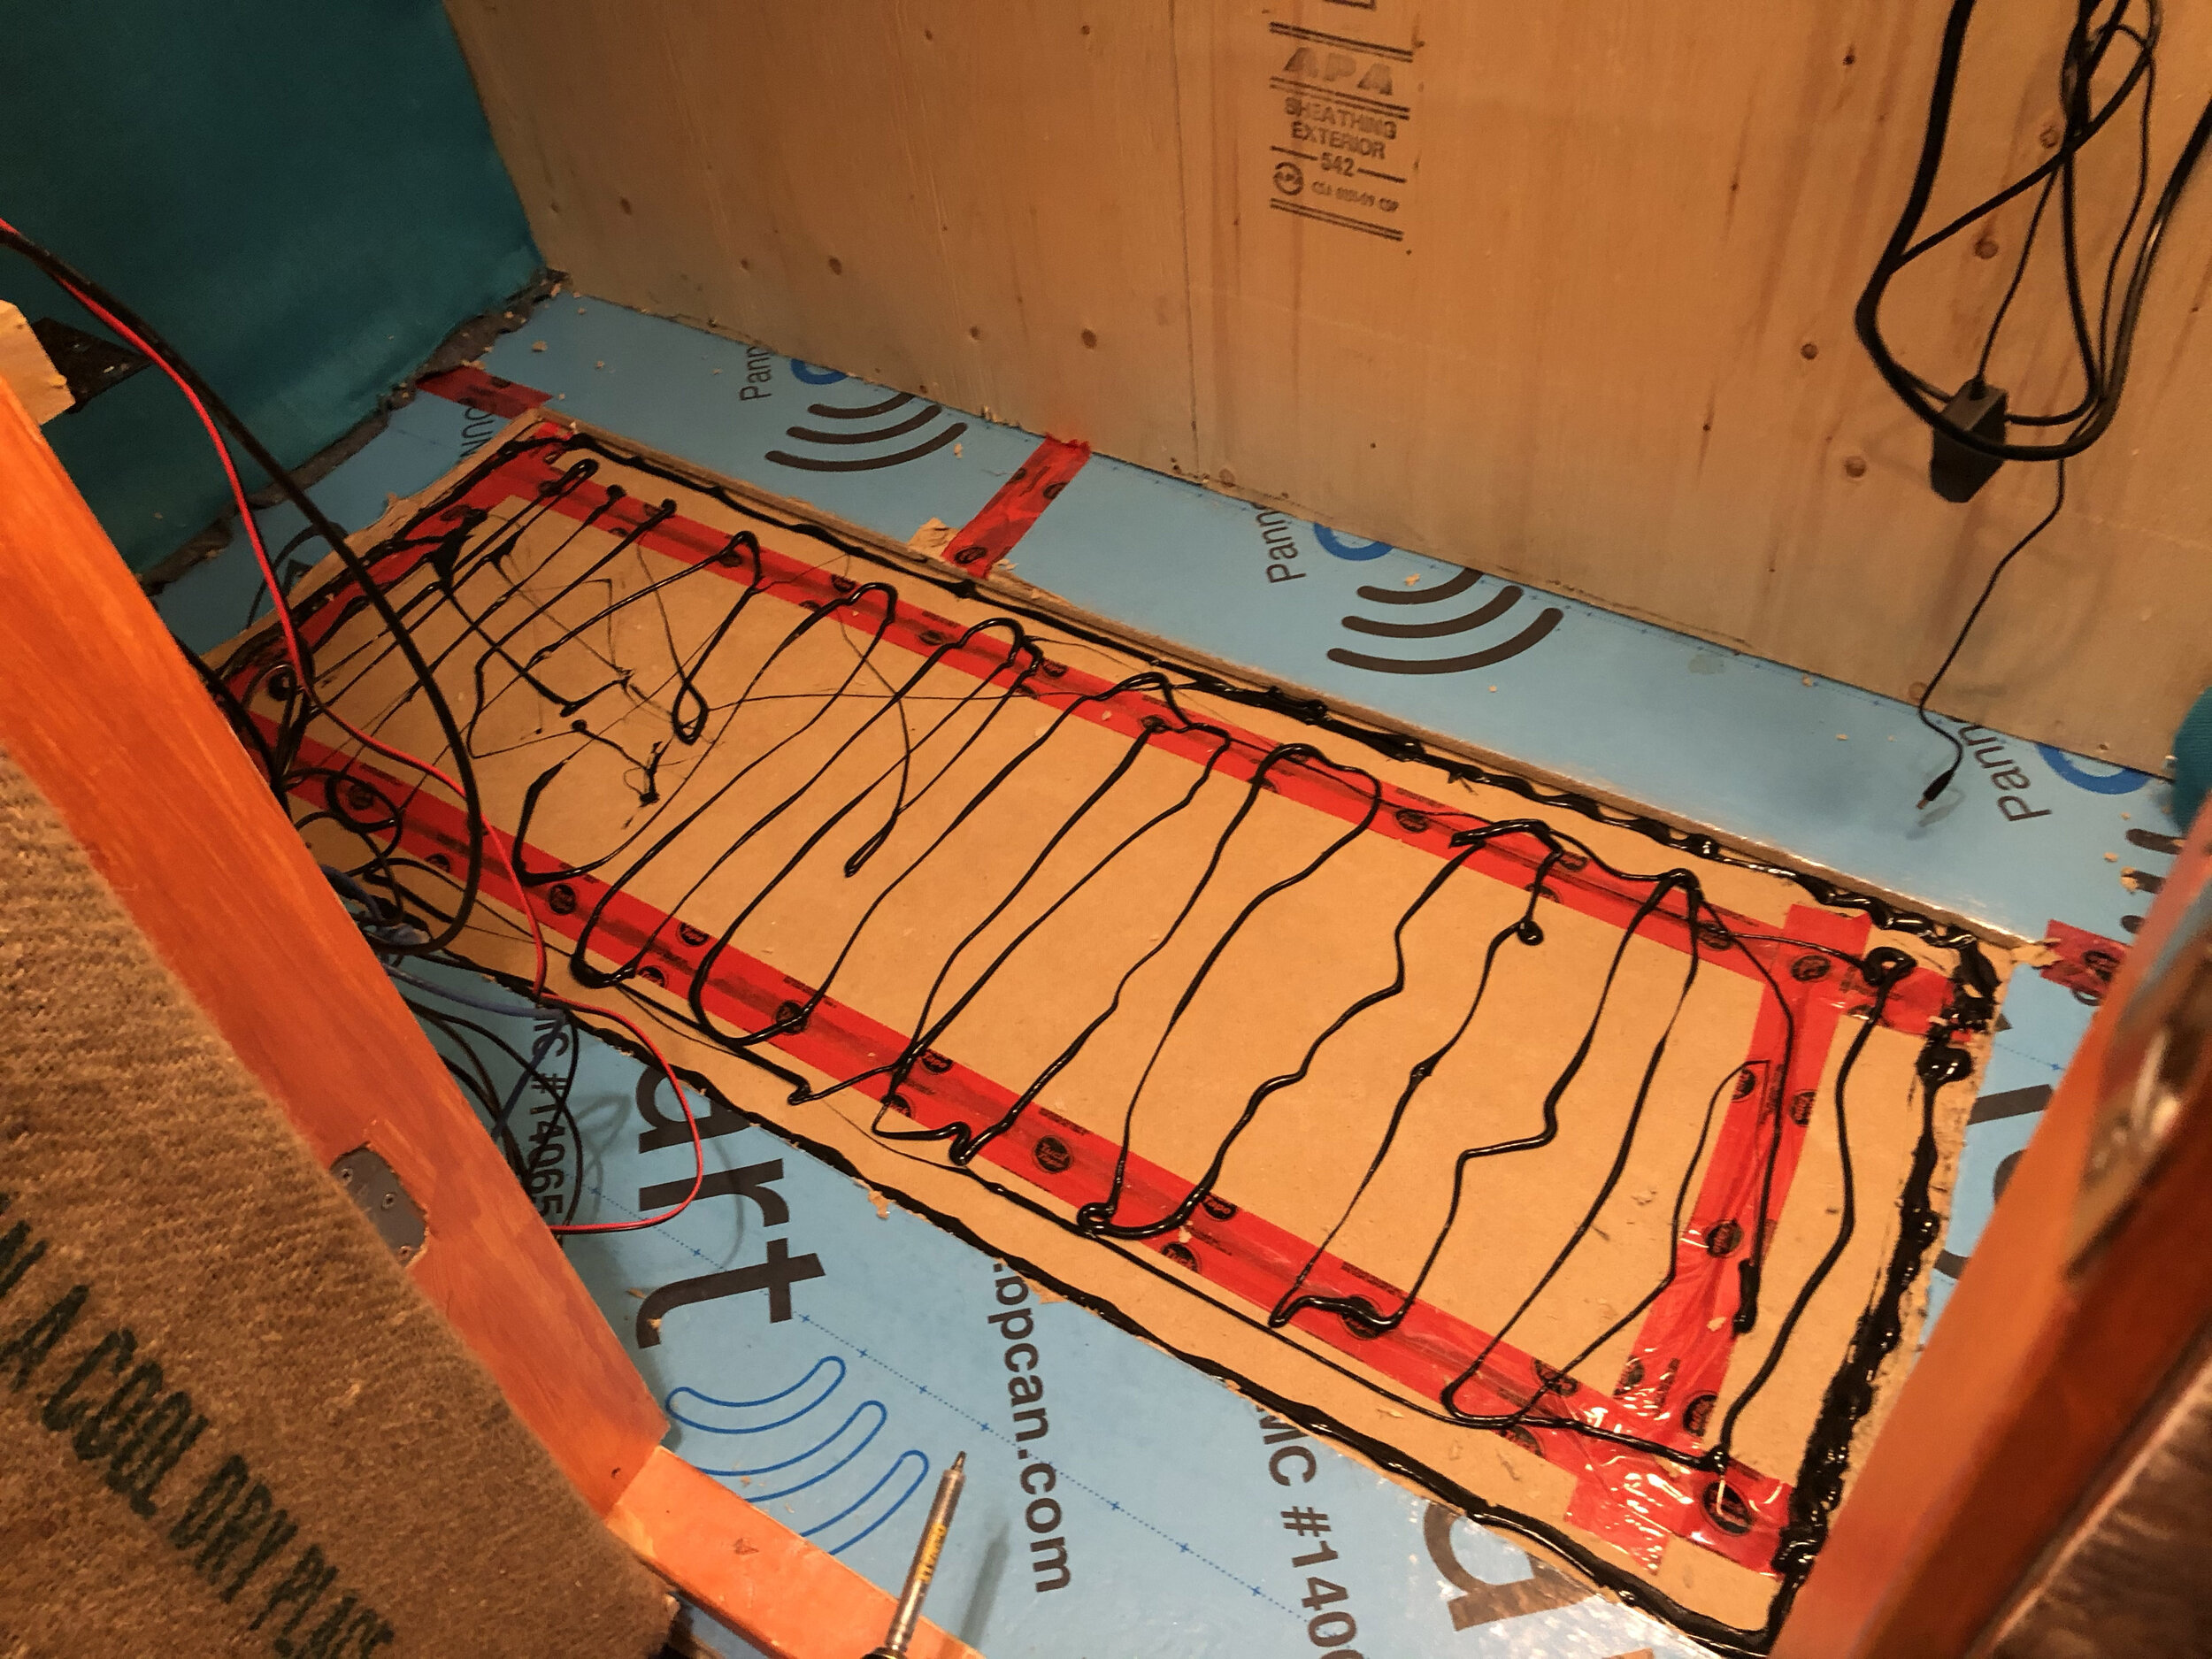
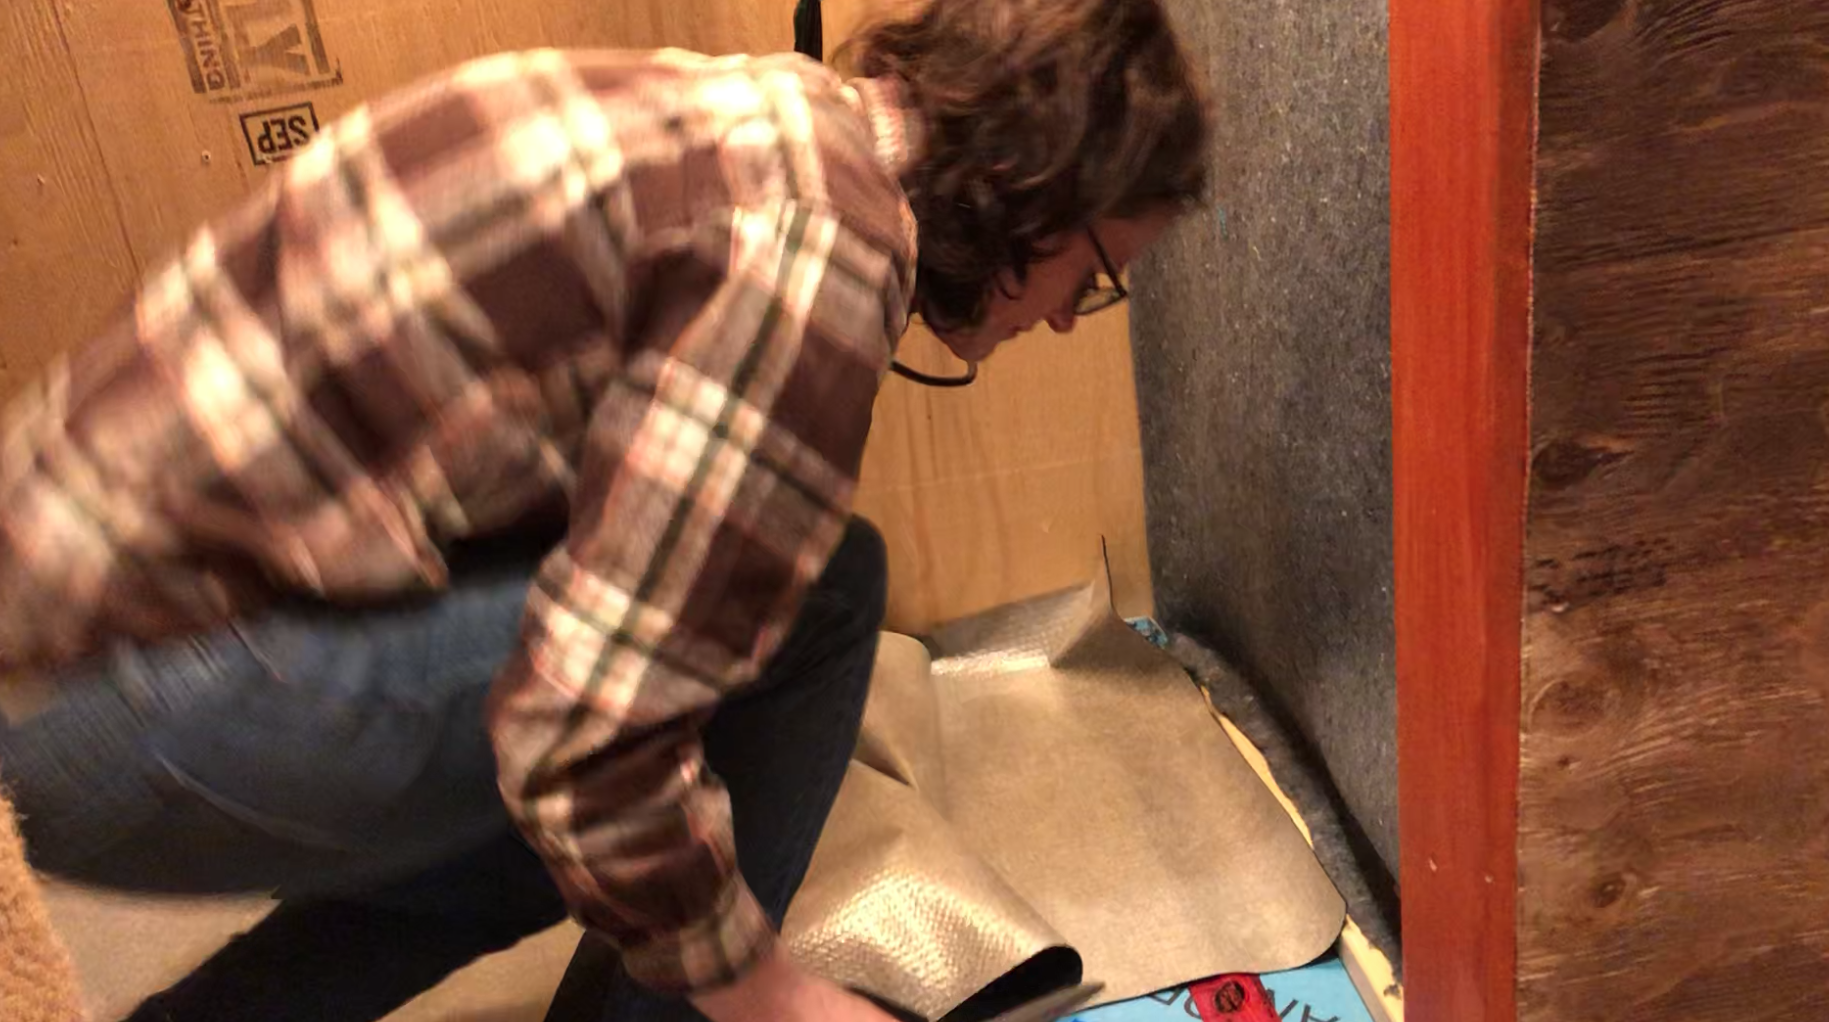
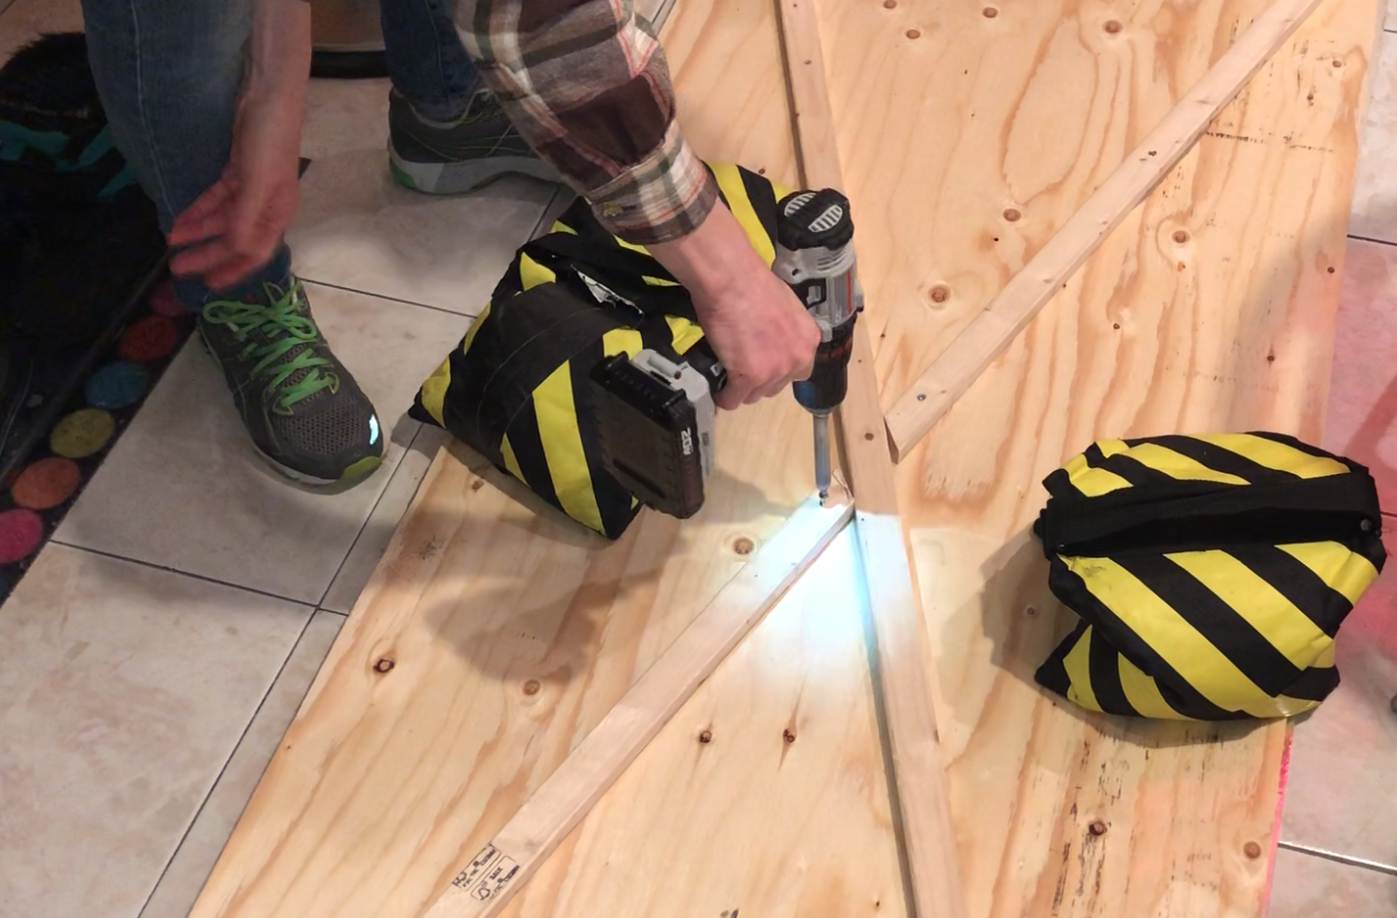
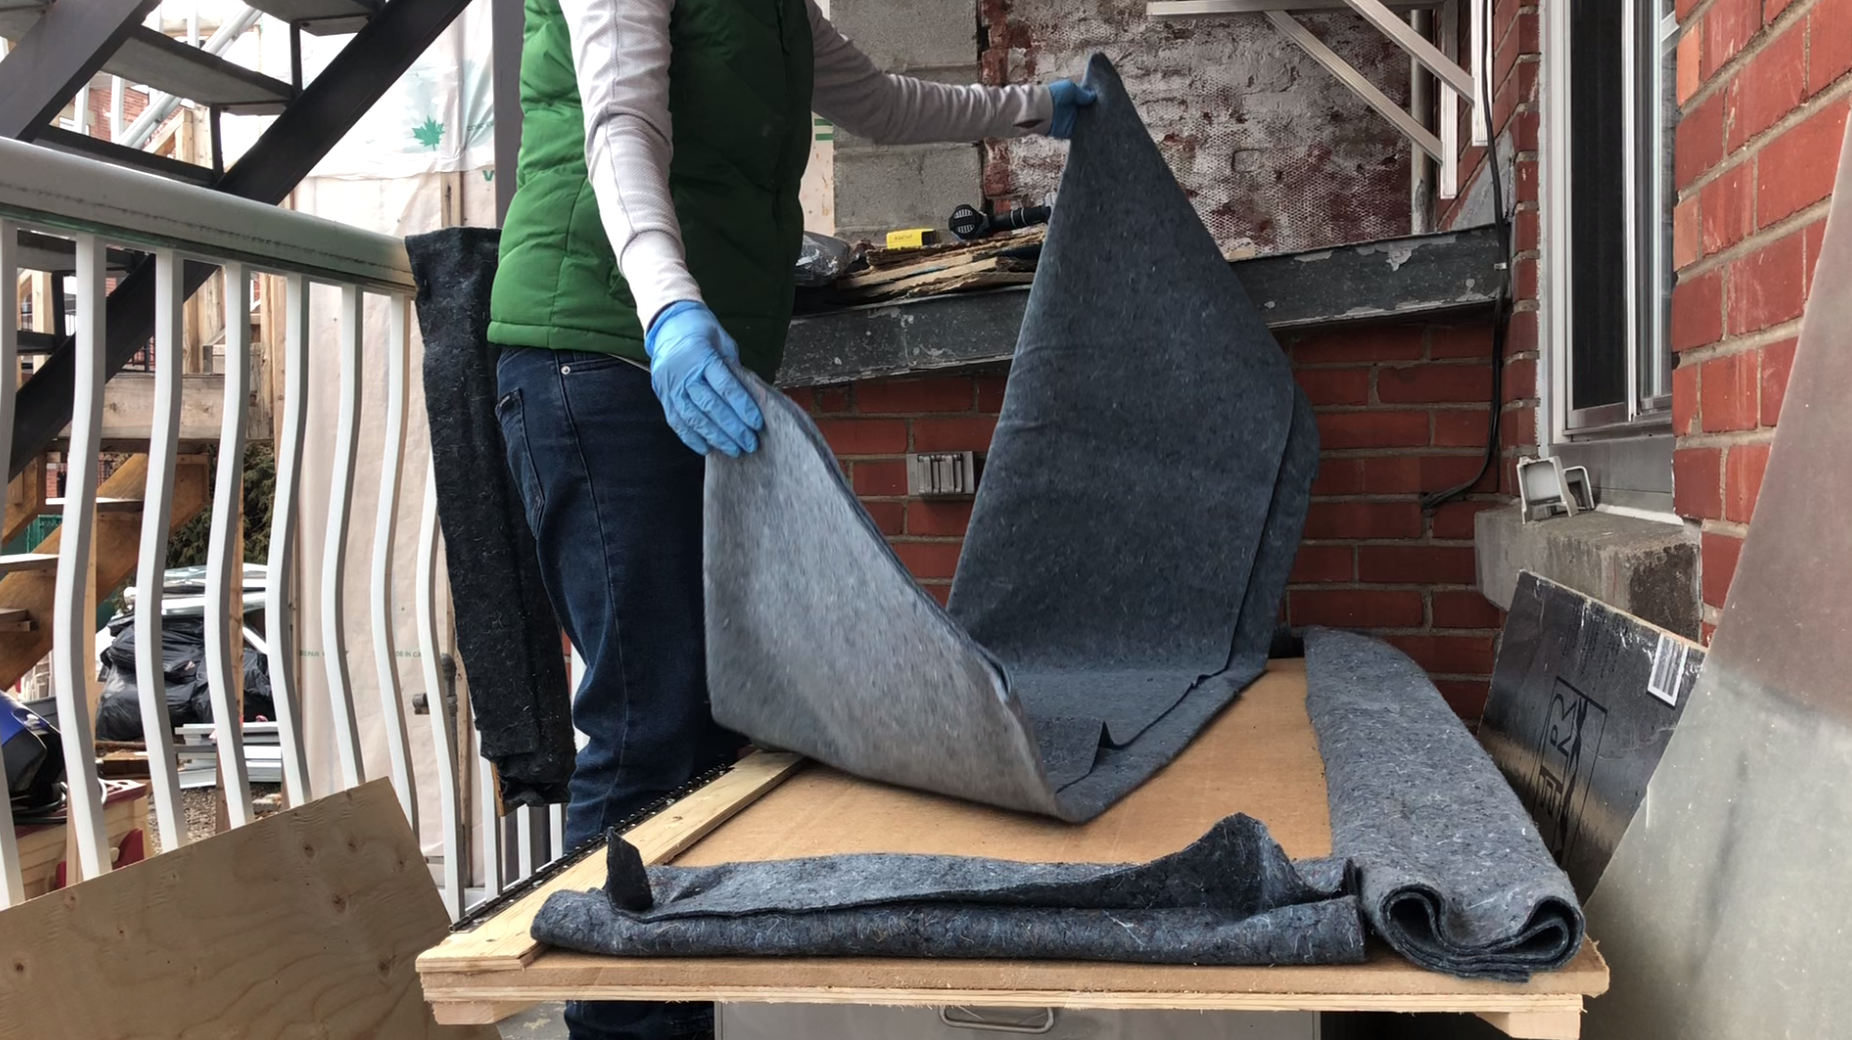
We put a layer of kids play area foam, and 2 layers of acoustical sound board under the booth. Fit together like a poorly cut puzzle! After that I squeezed a piece of plywood into the booth. Then I put a layer of acoustical underlayment and a layer of Roberts Super Felt Underlayment. I also wrapped the side walls and ceiling with Roberts Super Felt Underlayment. You don’t need the Roberts Super Felt as explained later. I could have just used the Uhaul Felt Furniture Pads.
My new solution for audio diffusion within the voiceover booth is 100% cotton felt moving blankets. Before settling on these I did a tremendous amount of research on various options. I contacted several suppliers of cotton insulation for home installations but found out that the insulation isn’t structured enough to hang from the walls. Next I search high and low for 100% cotton felt fabric and finally 100% cotton felt moving blankets. Looking at amazon it was a little difficult to find moving blankets that were 100% cotton. Many were a random fabric blend. But since cotton is such a great sound absorber I really wanted 100% cotton. Someone had tested several different moving blankets and found uBoxes Textile Moving Blankets to be the best balance between quality and price - but they aren’t 100% cotton. But, I decided to order a 6 pack and give them a try. Well this was just about the time that everyone started panic buying on Amazon due to the COVID-19 outbreak. After I ordered them with 2 day shipping, the order update said 2 weeks. I wanted to get this booth done so that I could start recording again. My mom suggested I try the Uhaul moving blankets. DUH! Why didn’t I think of that, I used them for my original build! I looked them up on Uhaul’s website and booyah! 100% denim cotton! I can’t believe how much time I wasted researching cotton felt when all along the solution was at my corner Uhaul store. They didn’t come up in my search because Uhaul calls them “Furniture Pads”! It’s all about finding the right search words.
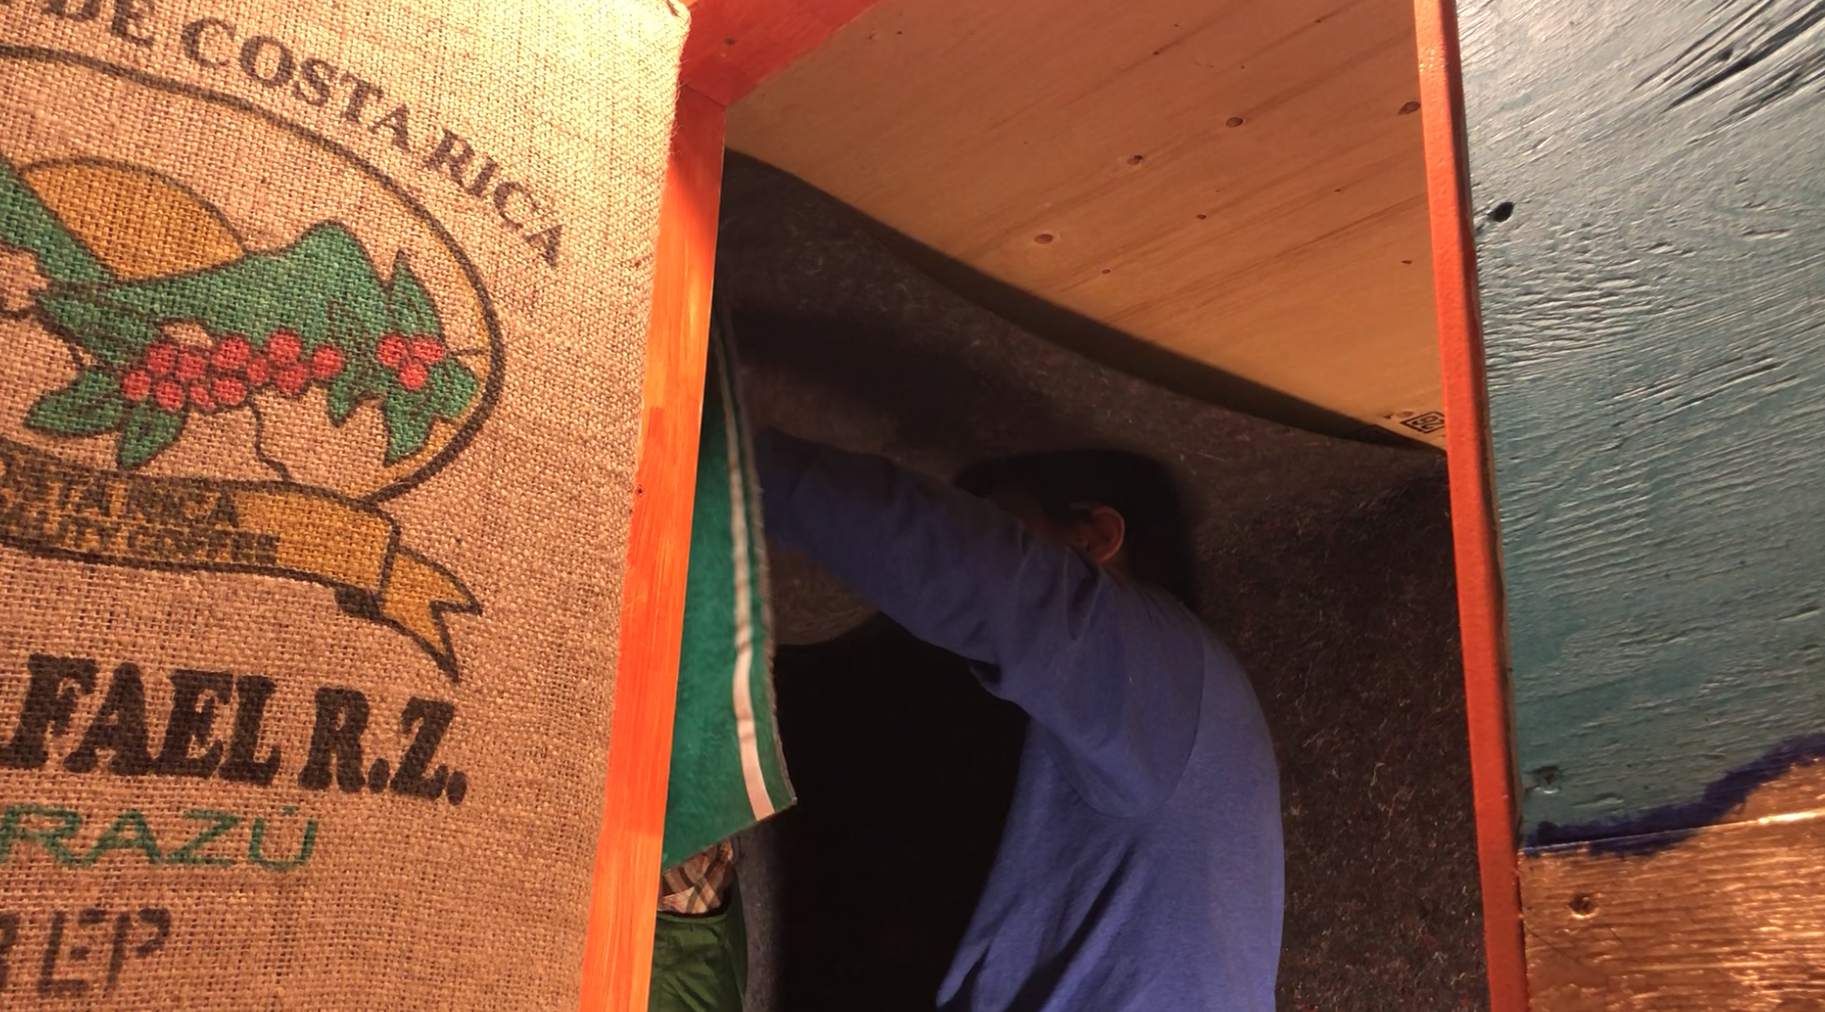
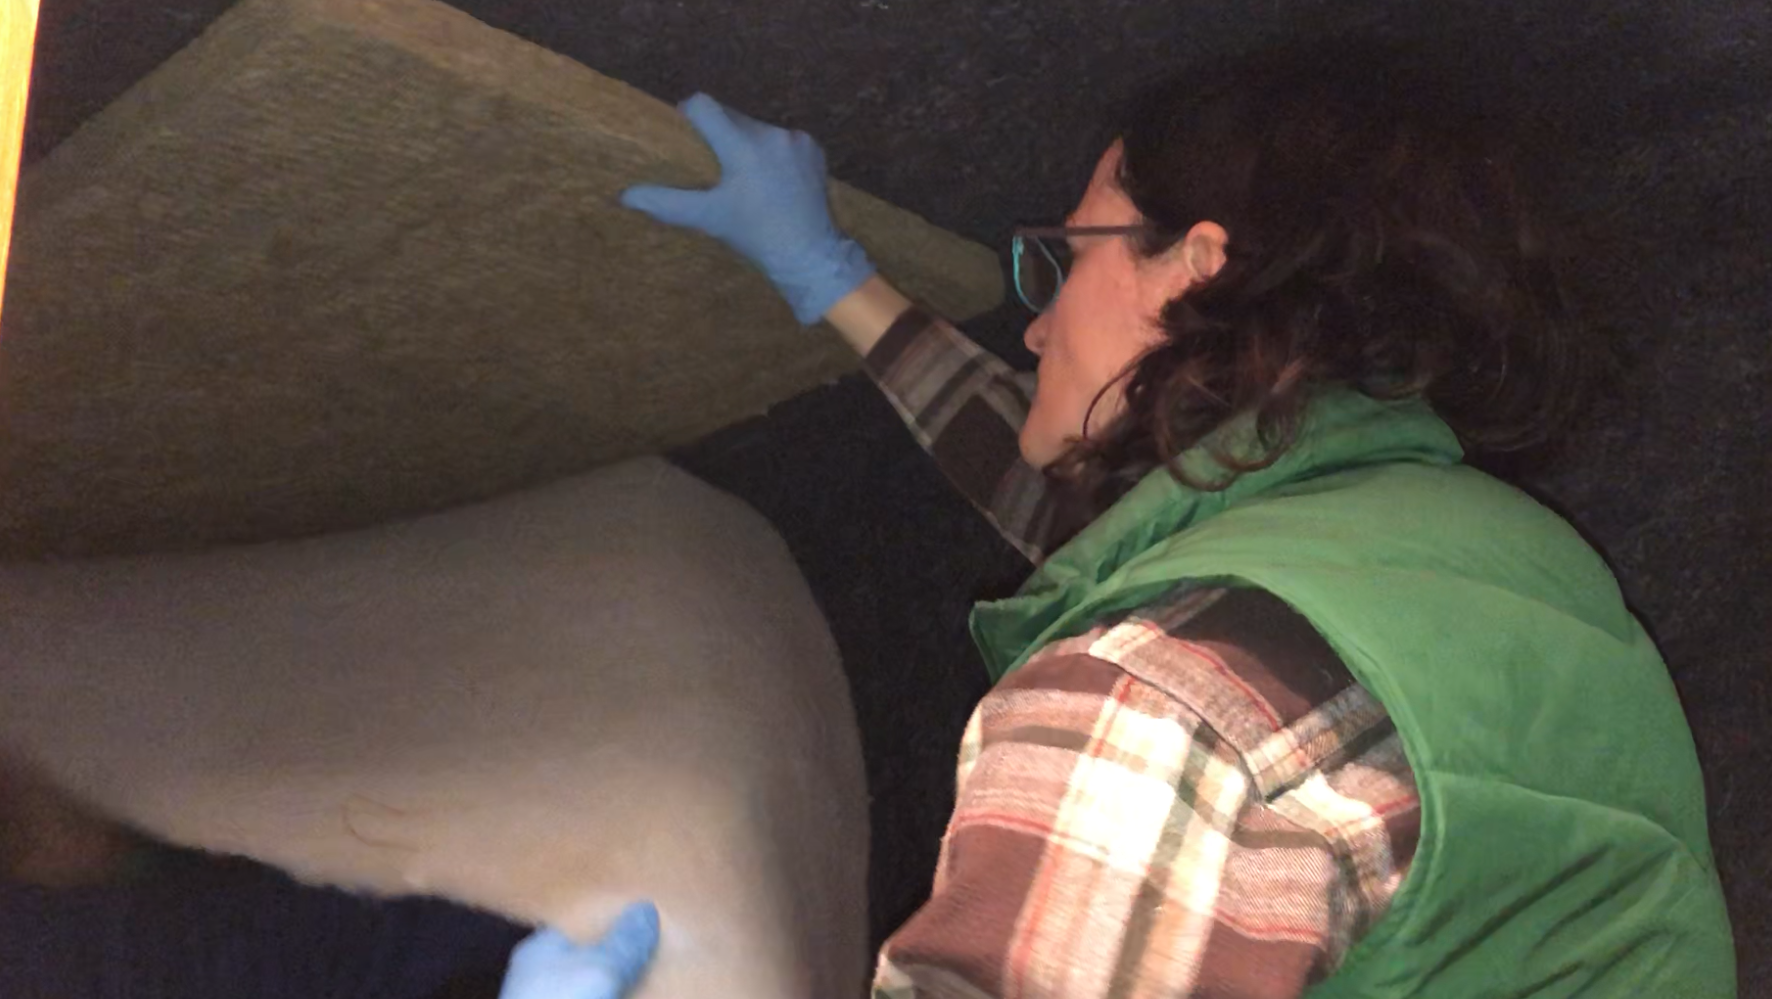
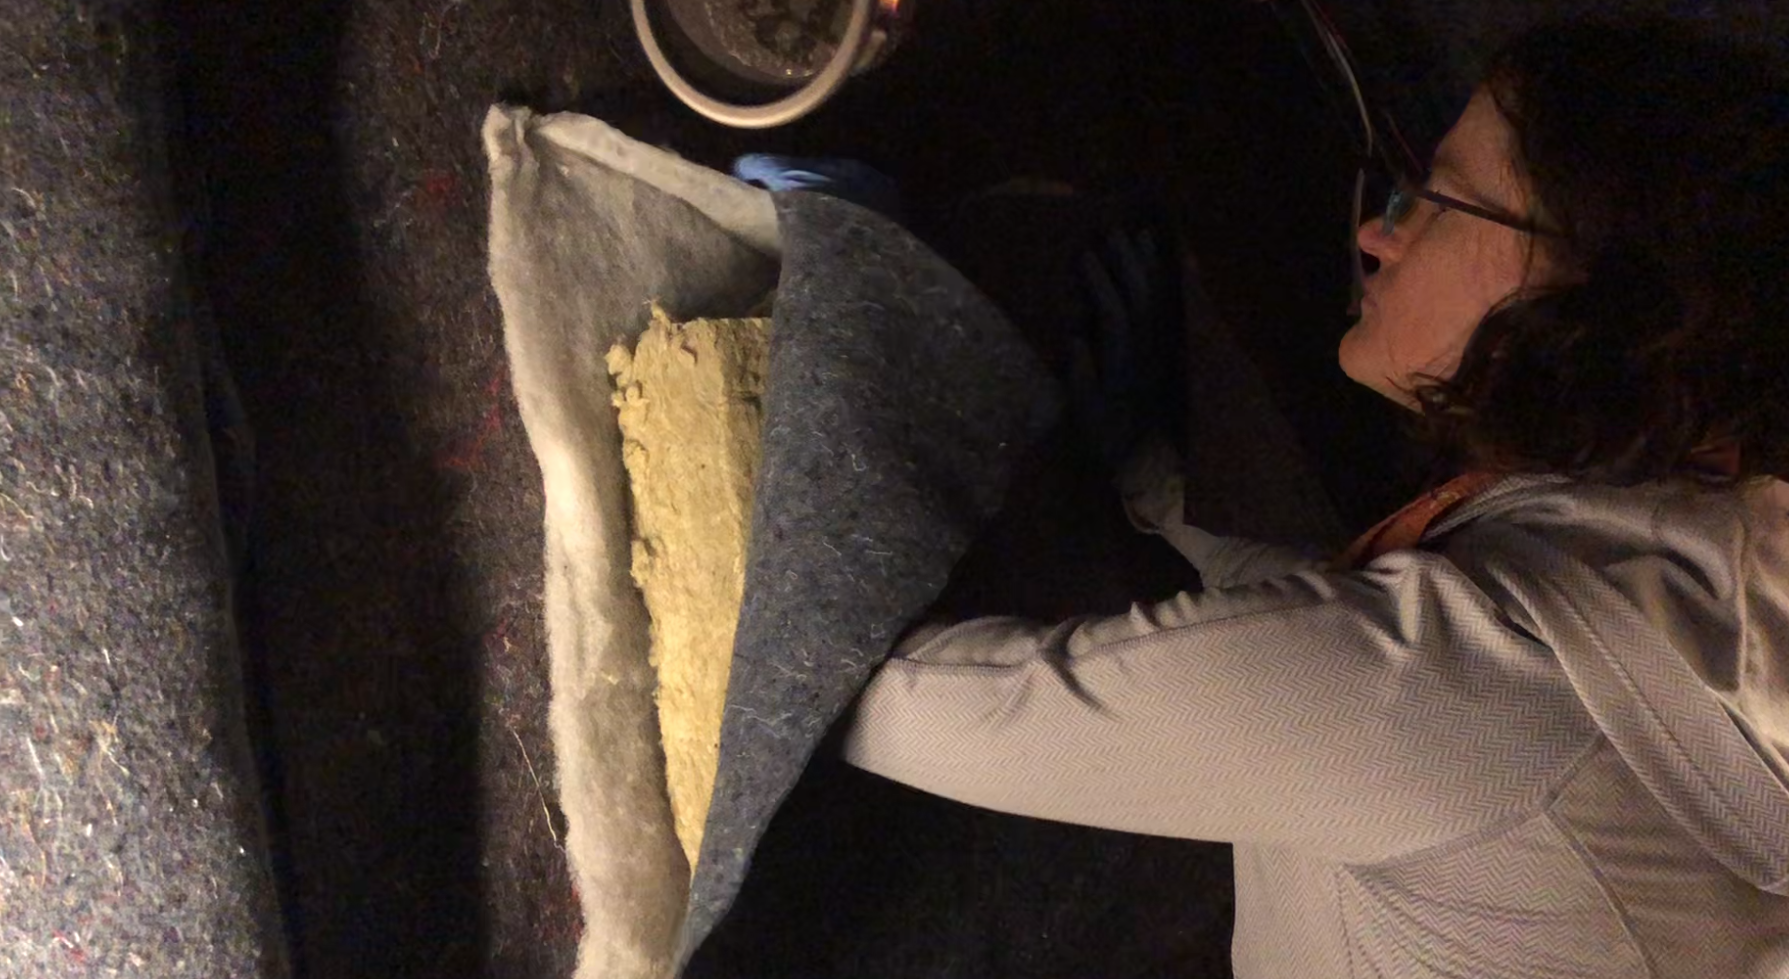
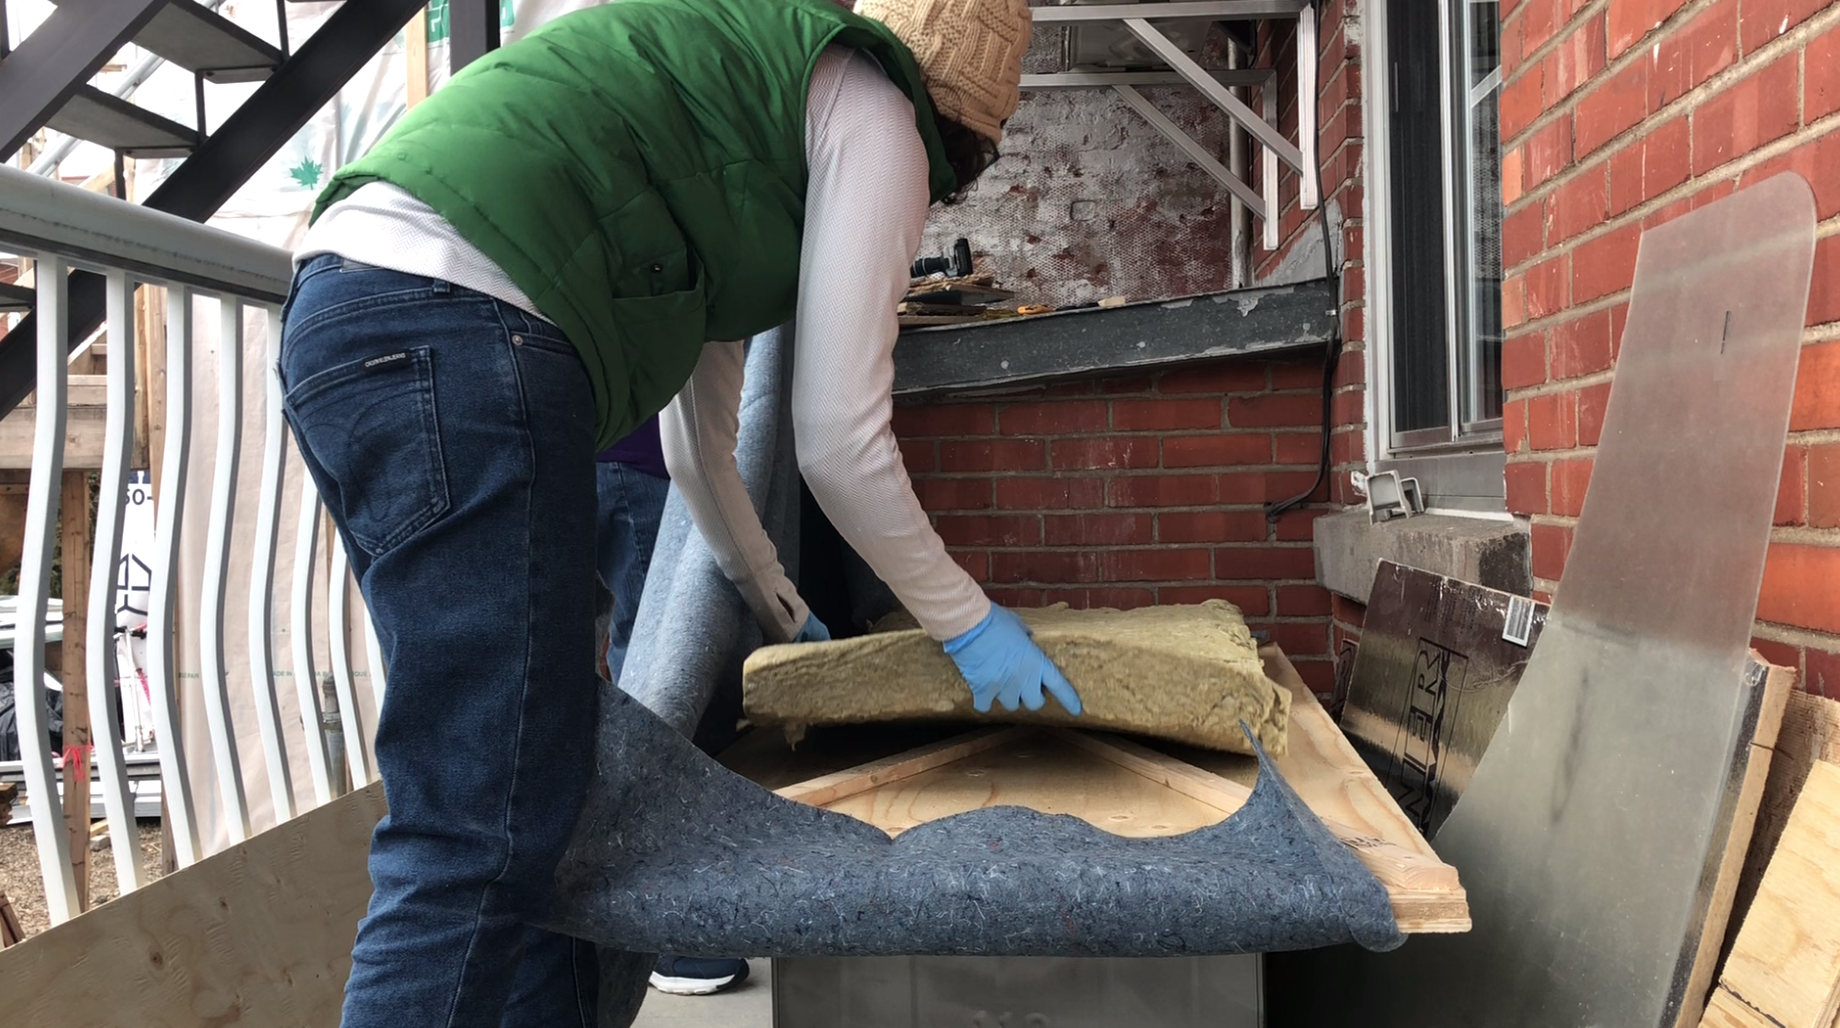
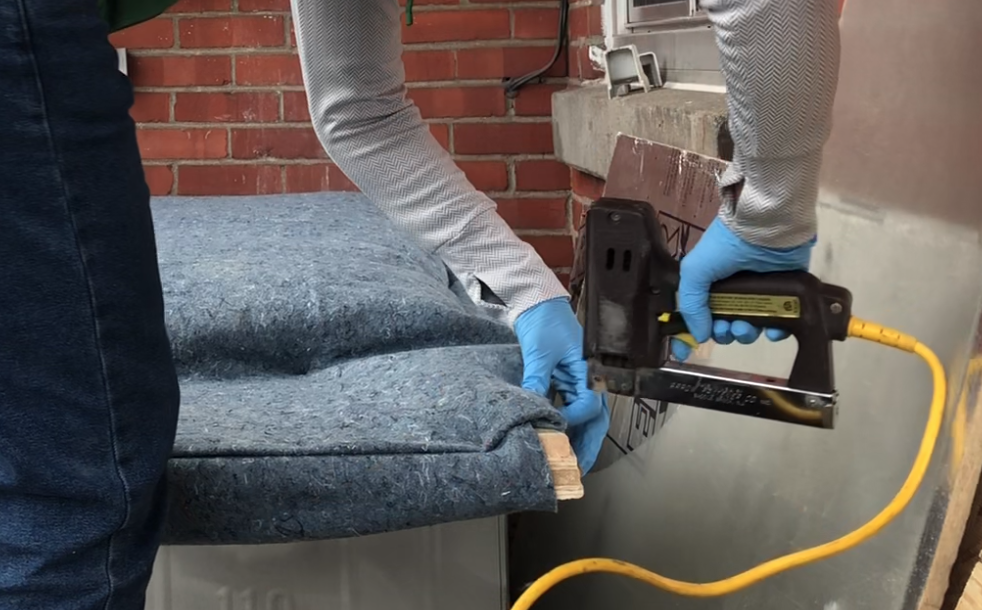
I cancelled the uBoxes moving blanket order and went directly over there and grabbed 6 of those bad boys. I took a few scraps I had left over from my original build, put a panel of Roxul Safe n’ Sound under it and stapled them to the walls to the right and left of where I would be standing. I staple the rigid Roxul insulation just above where I would stand. I stapled 2 layers of free hanging furniture pads over that. Finally I put the teal burlap over the area behind where I would stand. I added an extra 2 layers to the floor and finished it off with my 2 cotton braided rugs.
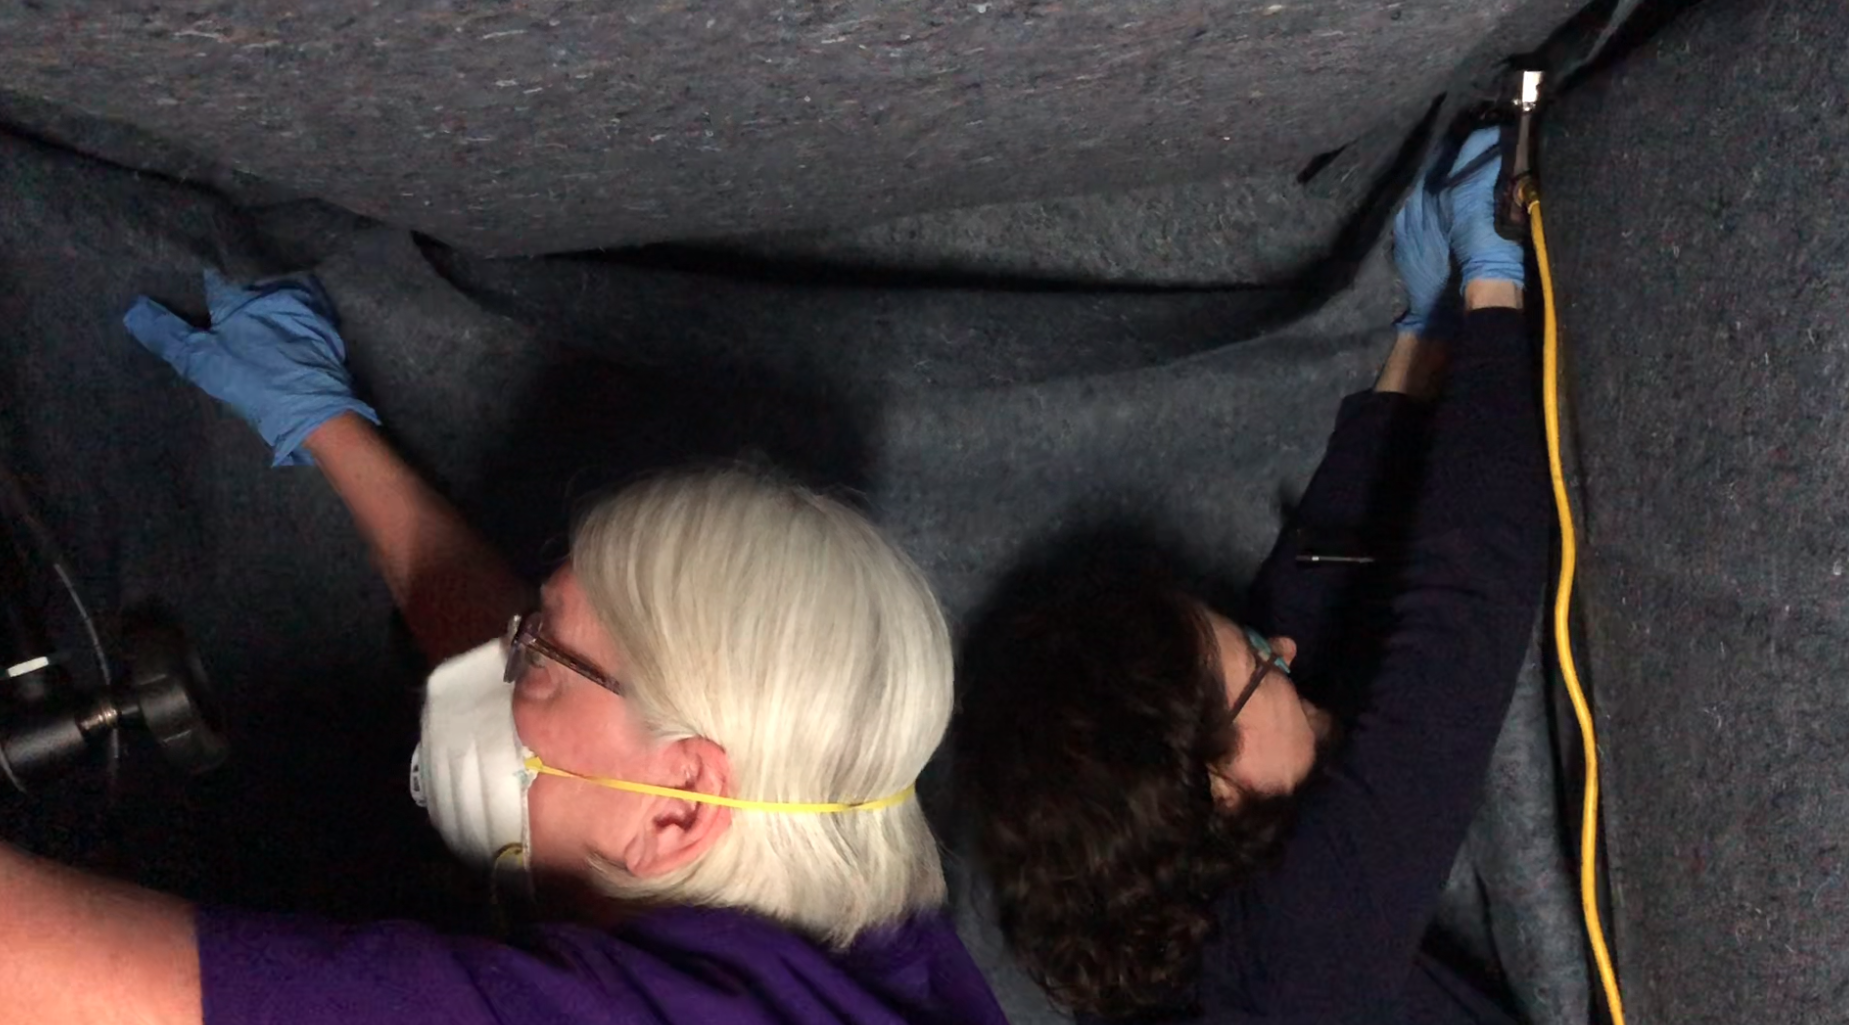
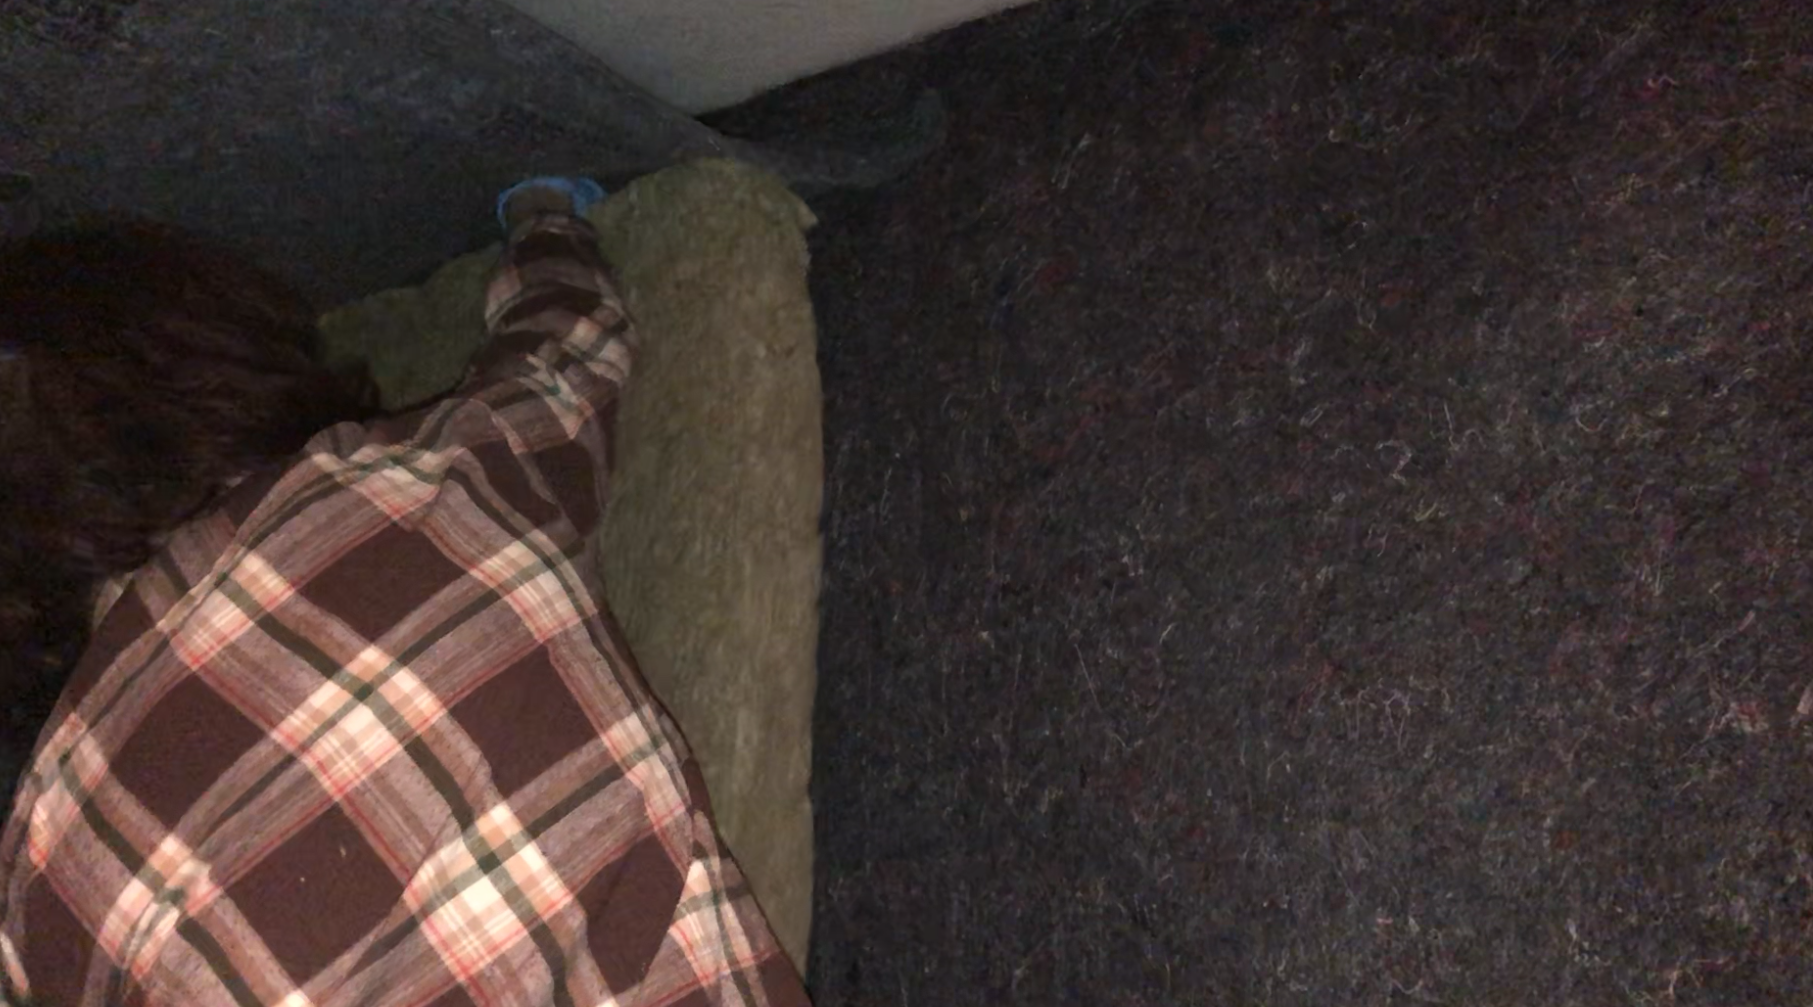
Next I needed to get rid of the nodes caused by 90 degree angles. Check out this video to see how simple it was to deal with them.
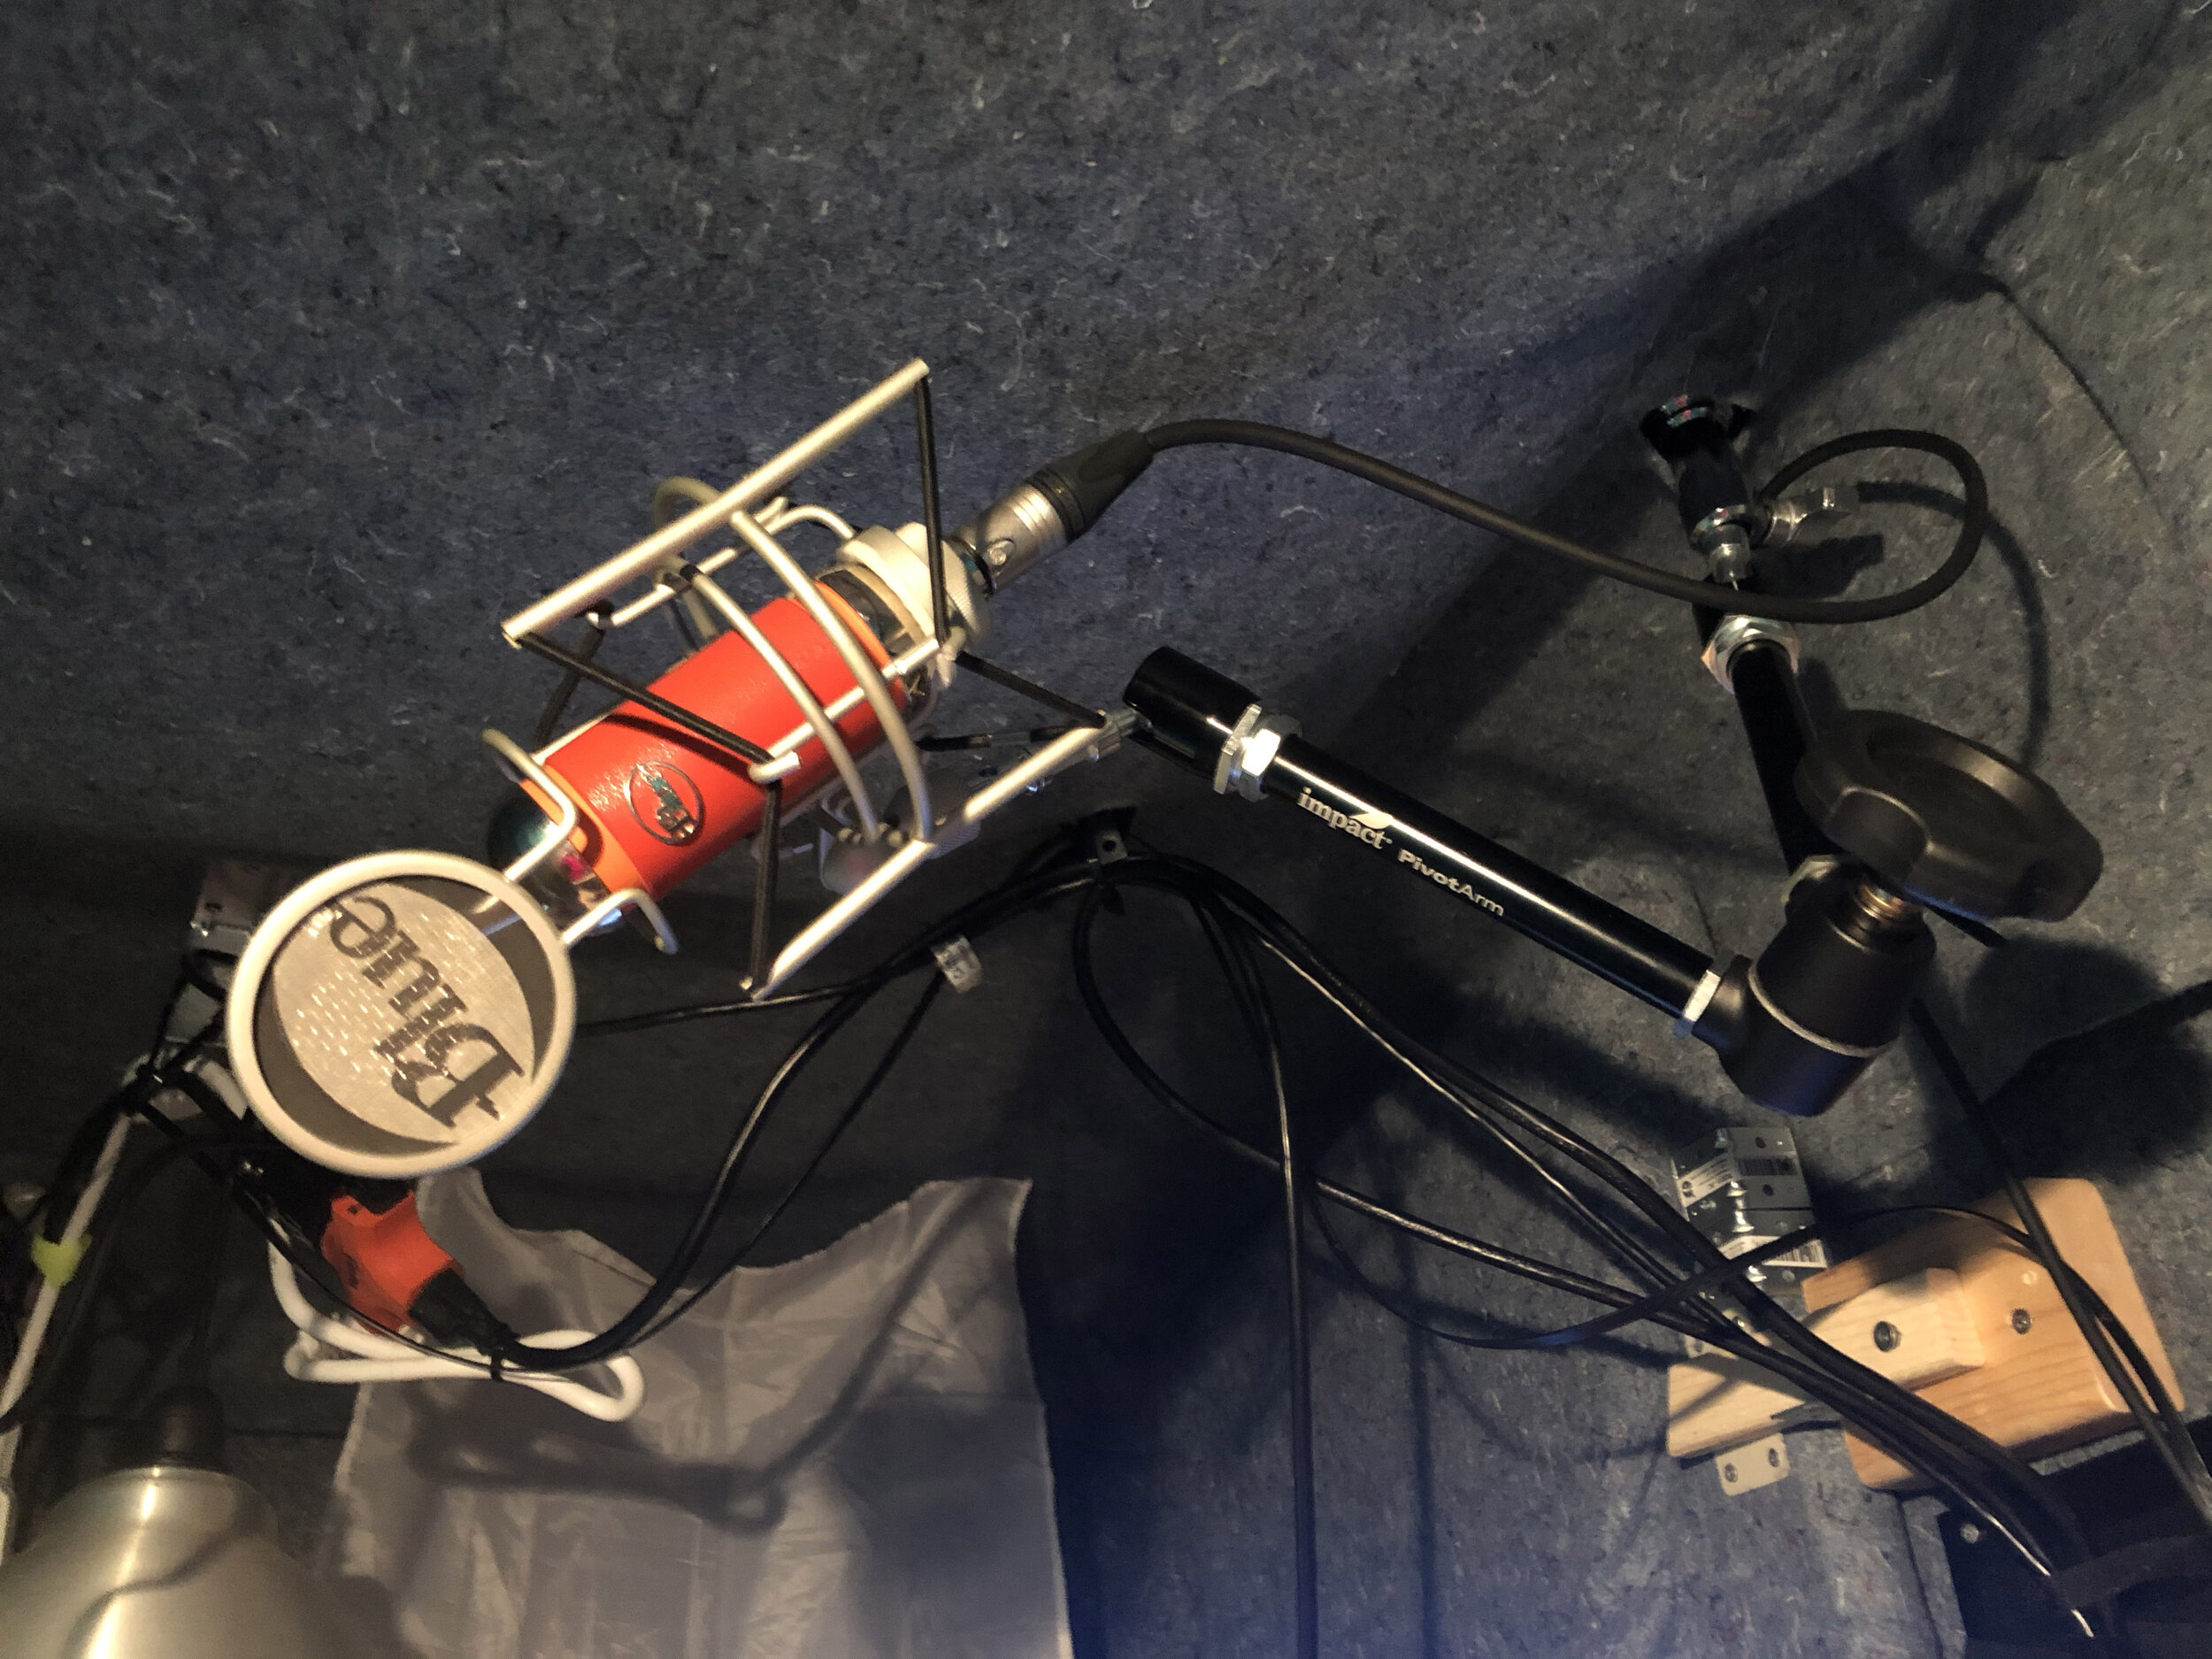
Did you happen to see what microphone I was using in that video? Take a closer look:
That’s right, at the suggestion of my commercial demo producer Chuck Duran, I upgraded to the Neumann TLM 103. I trusted Chuck’s advice 100 % and never doubted that the upgrade would be worth it…but honestly I was shocked at how much better this microphone sounded. Besides representing my voice better it produced much cleaner audio making the editing and mixing process easier. The noise floor was lower and my WAVES DeBreath plugin worked even better. The Blue Spark is more suited for a singer or band situation, but it picks up too much peripheral sound for voiceover production. If you use this mic for voiceovers I highly recommend making a microphone shield.
This video explains the limitations of buying a little shield: https://youtu.be/tFRhQG-I5L0
I replaced the barber chair with a posture knee down chair and reinstalled the table, shelf and equipment. Four days later guess what appeared at my door? The uBoxes felt moving blankets!!!! My order cancellation was too late and their shipping estimation was wrong. Anyone need some moving blankets? They are almost as good as the Uhaul ones! Maybe I’ll stuff a few in my luggage when I go on vacation so I can audition from my hotel closet!
So what are the results? I have a much more sound isolated booth. Is it 100% sound proof? No, but it’s much better. And since the microphone upgrade I haven’t heard anything from outside the booth. Previously I could hear everything. ‘Oh the neighbor is using his saw.’ ‘Oh my son just dropped a toy.’ I can still hear a little rumble here and there, but now I can’t really determine what it was, and it soon passes. Someday when I have time I’ll wrap the exterior of the booth in Mass Loaded Vinyl(MLV) and get rid of those rumbles.
With that I’m ready to record my Commercial demo. Chuck Duran of Demo’s that Rock will be producing the demo from his studio in California, while I record the VO tracks from my booth. He’ll be coaching me through the session live via Zoom and I’ll send him the raw tracks after the session. The next post will be dedicated to the premier of my commercial demo. Stay tuned!
Best Voiceover Audio Booth Ever?
Is this the best audio booth ever? Well the best audiobooth for you really depends on a lot of things including your personal preferences, your budget, and where you live. But I hope that as you’ve followed my DIY construction adventure you can identify what might work for you.
Which brings me to the lessons learned. Save yourself all the time researching, the extra cost of all that plywood not to mention the delivery, all the frustration with that stupid acoustical caulk, and all those insulation and coffee bean burlap flying fibers by following the following recommendations. This simple booth will get you started on a small budget and by the time you make it big you’ll have money to buy a fancy pre-built StudioBricks voiceover booth.
When you go to build your booth, find a quiet place in your home. If it’s not quiet and you want to make voiceover your career, move. Seriously, you will eventually move if your home isn’t in a quiet neighborhood and well insulated.
When designing the shape and dimensions, don’t build a square or rectangle if possible. Read these pages very carefully:
https://www.soundcontrolroom.com/design-considerations-for-recording-studios.php
https://www.primacoustic.com/designing-a-vocal-booth/
If you have a very low budget, you can frame your booth out of 2x4s. Wrap it in Mass Loaded Vinyl from here:
https://www.tmsoundproofing.com/mass-loaded-vinyl/
On the Inside put a layer of this, overlapping the edges. Staple or nail it to the 2x4’s:
https://www.acousticalsurfaces.com/noise_barrier/acousti-board-ultra.html
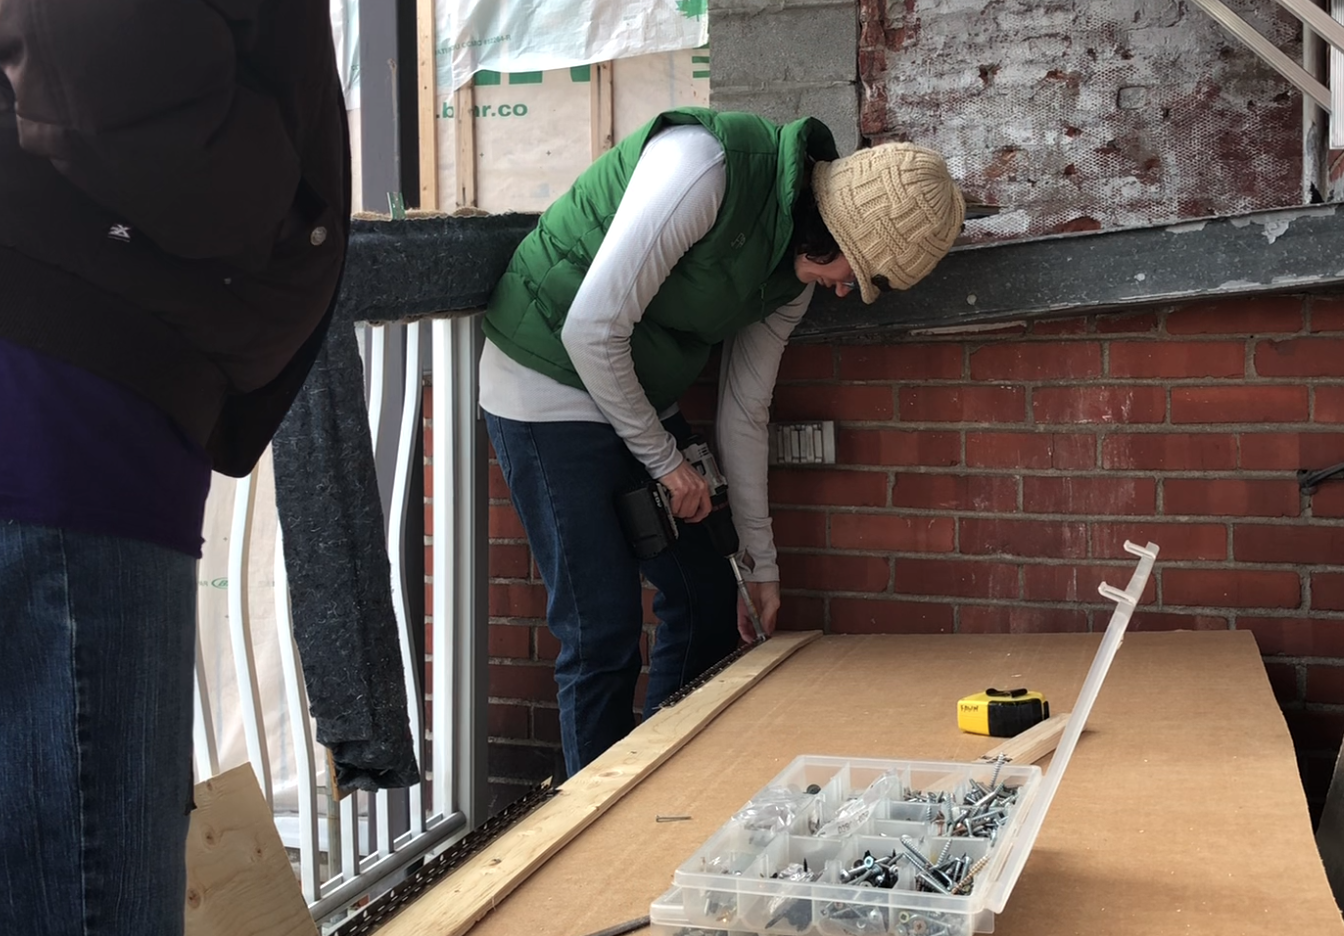
Incorporate 1 or 2 bass traps like the ones I built for my end walls. Put it behind where you will be standing. Try to incorporate Roxul or Cotton insulation diffusion panels above you and to your sides.
Then add about 3 layers of hanging Uhaul felt furniture pads. Put a little air space between layers by nailing a 1x2 in between them.
https://www.uhaul.com/MovingSupplies/Packing-Supplies/Furniture-Pad/?id=2670
Put a braided cotton rug on the floor.
Use these parts to make a microphone mount:
https://www.bhphotovideo.com/c/product/1310404-REG/impact_20_pivot_arm_with.html
https://www.bhphotovideo.com/c/product/570226-REG/Avenger_F301_F301_Baby_Wall_Plate.html
https://www.bhphotovideo.com/c/product/546500-REG/Manfrotto_119_119_Short_16mm_Adapter.html
Use these self brackets to make a table that can move out of the way:
https://www.homedepot.ca/product/everbilt-16-inch-x16-inch-white-folding-shelf-bracket/1000773670
As for the Roberts Super Felt, you don’t need it. The felt part looked almost identical to the uBoxes Textile Moving Blankets. The only difference between the Roberts Super Felt Underlayment and the uBoxes felt Textile Moving Blankets is that Roberts has a layer of thin plastic glued to one side. It acts as a moisture barrier. Moisture shouldn’t be a problem in your booth, so just get the 100% Cotton Denim Uhaul felt Furniture Pads.
Check out this page for another perspective:
https://murrant.ca/words/build-a-professional-vocal-booth-on-a-500-dollar-budget/