Terp Tech Tips Part 2- Tips for Recording Video Interpretations
This is part 2 of a series about the best tech tips for ASL and LSQ interpreters working from home to provide remote video interpreting and recorded interpretations.
Subscribe to my youtube channel to find out when I make new tech tip videos. Subscribe to my blog to hear about new blog posts.
Have a question or want to request a tutorial video, leave a comment. I will continue to add information to these posts as I have time.
Before you start recording read part one of this series to make sure your recording space is optimally set up: Part 1: Sign Language Video Production and Live Streaming Tech Tips

Before you start Recording:
Check out Part 1 of this series explaining how to select equipment, set up your lighting, background and camera.
Optimizing Your Camera for Sign Language
You’ll get best results from turning off the autofocus and autoexposure. Make sure frame rate is given priority over exposure.
Make sure it’s set to 30 frames per second(FPS). In some models you will have to lower the resolution in order to activate 30 FPS. Having it set for 640 standard definition at 30 FPS, is better than 15 at 720P.
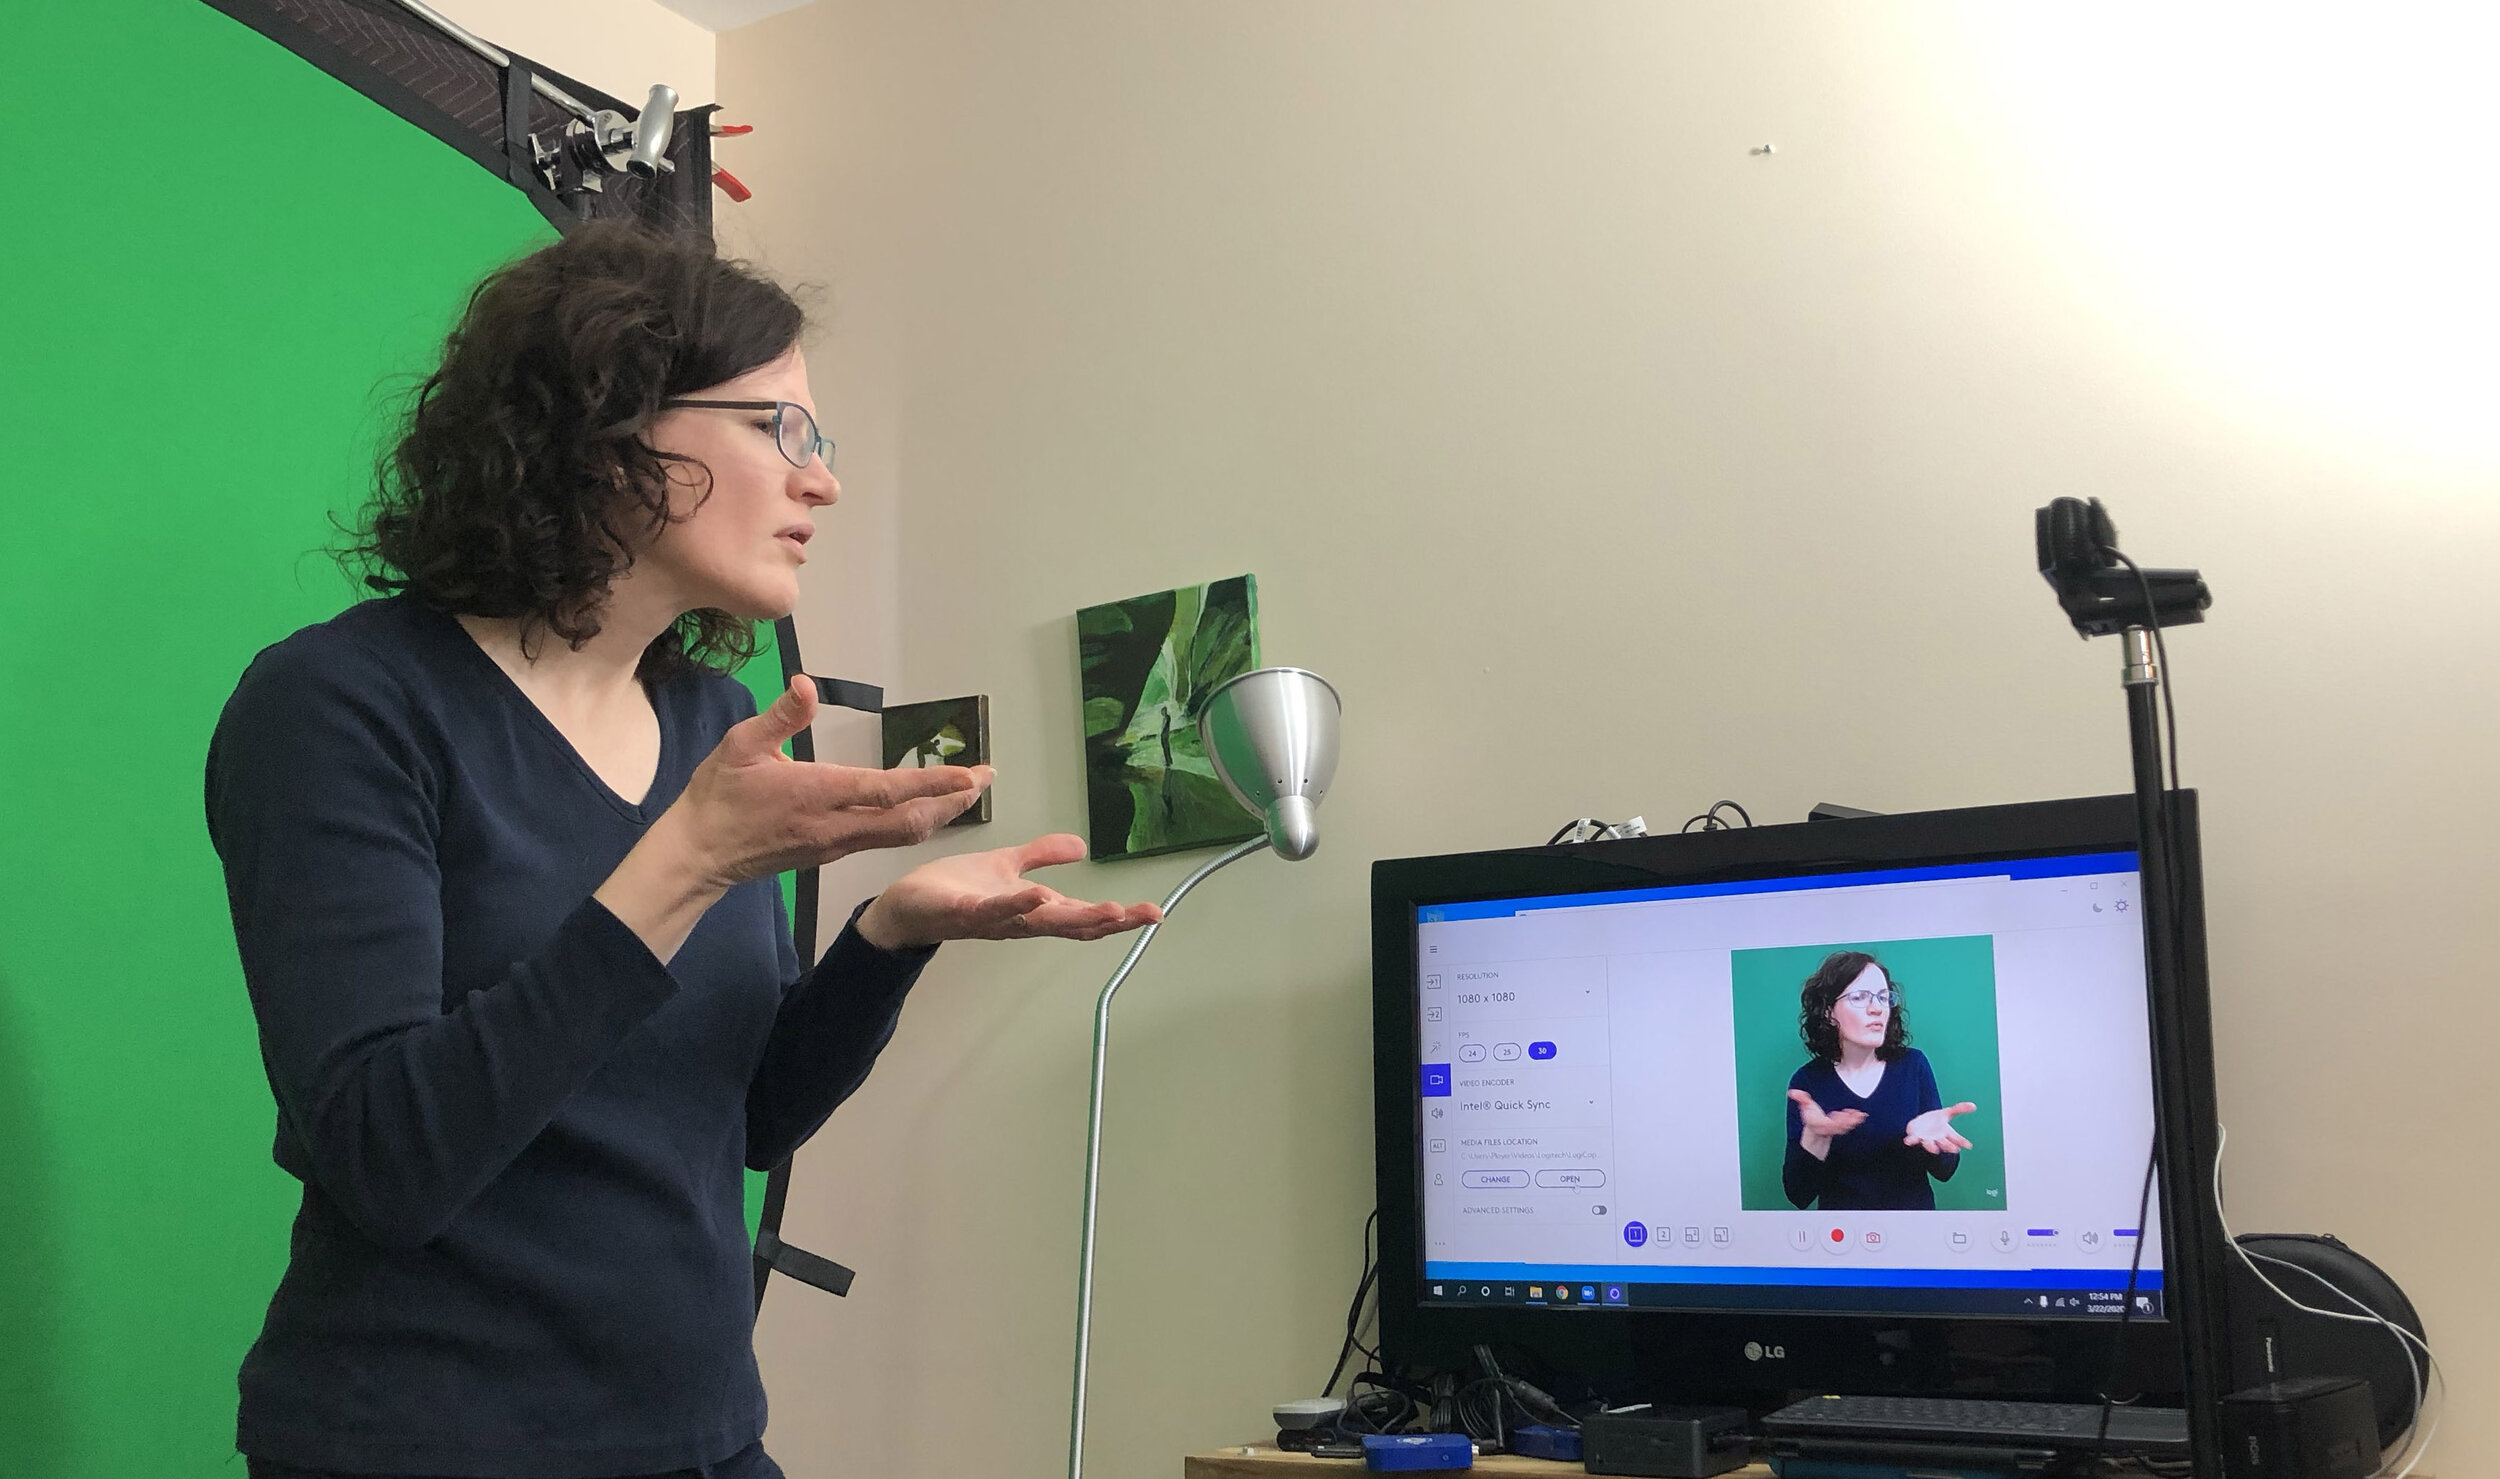
Override the Default Settings
The Logitech software shown on the TV screen is free and can be used to set the frame rate, turn off the autofocus and record.
The following video will show you how to find the right settings in Logitech’s camera control app.
If you are interpreting a recorded presentation and want to avoid the editing step a nice solution is to open a Zoom meeting with no invited guests. You can share your screen using the side by side function. Then play the video presentation on your screen(be sure to share the video’s audio) and hit record as you interpret it.

Eeek Interlaced Signal
If you notice your recording has these horizontal lines whenever you move, your camera is sending an interlaced signal through the HDMI output.
Please note that I have discovered that Zoom does not deinterlace the video signal from a camcorder that sends 1080i or 720i through the HDMI port to your video capture card or device. My Panasonic camcorder can record 1080p(p is for progressive) but only sends 1080i through the HDMI port. This means that you will have to use your webcam until I find a work around or Zoom adds deinterlacing functionality to their platform. I have not noticed this problem in the Teams platform. If you camcorder outputs an interlace signal you can record the interpretation in OBS(Opensource Broadcast Software. OBS is a free program that allows you to do a multitude of video recording and streaming functions. It will allow you to put yourself or the presentation in a box - called PIP or Picture-in-Picture. The drawback to having such a deep functionality set is that OBS presents a steeper learning curve. But for those that have time to invest there are many great tutorials on Youtube..
I’ll be adding more on recording later.
Part 3 of this series explains how to edit and deliver your interpreted gems to your clients